Table of Contents
Advertisement
OWNER'S MANUAL
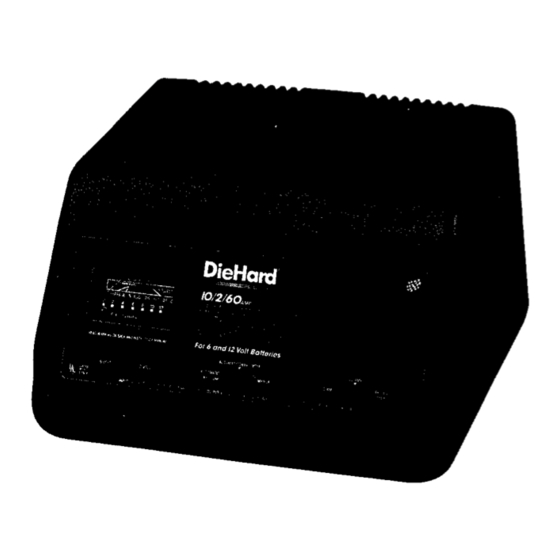
DieHard
10/2/60 AMP
FULLY AUTOMATIC
BATTERY CHARGER
ENGINE STARTER
Model No.
200.713101
CAUTION:
Before first use of charger,
read this manual, and
follow all its Safety and Operating
Instructions
with
every charger use.
Save these instructions.
Made in U.S.A. of U.S. and imported parts.
Sears, Roebuck and Co., Hoffman Estates, IL 60179 U.S.A.
597-198
Advertisement
Table of Contents

Summary of Contents for DieHard 200.713101
- Page 1 Before first use of charger, follow all its Safety and Operating every charger use. Save these instructions. Made in U.S.A. of U.S. and imported parts. Sears, Roebuck and Co., Hoffman Estates, IL 60179 U.S.A. 597-198 read this manual, and Instructions with...
-
Page 2: Table Of Contents
FULL THREE YEAR WARRANTY Within three years from the date of purchase, if this battery charger fails due to a defect in materials or workmanship, RETURN IT TO THE PLACE OF PURCHASE, be repaired or replaced free of charge. This warranty gives you specific legal rights, and you may also have other rights which vary from state to state. -
Page 3: Safety
WARNING: To reduce the risk of explosion, explosive gases, or injury while using your battery charger, follow the precautions listed below: • Read all instructions and cautions printed on the battery charger, battery, and vehicle or equipment using battery. • Use charger only on lead-acid type... - Page 4 This may spark or short circuit the battery or another electrical device that may cause an explosion. • Always operate your battery charger in while an open, well ventilated area. • Never smoke or allow a spark or flame in the vicinity of the battery or engine.
-
Page 5: Operation
It is importantto understandyour charger's requirements.This section will tell you about your charger's electrical requirementsand how to prepare a battery for charging. ASSEMBLINGYOURCHARGER Included with your battery charger are two cord wrap posts for storage of the clamp cables. To install, align the three tabs to corre- spond with the three receptacles and push until you hear a snap. -
Page 6: Preparing Your Battery To Be Charged
To obtain the best results from your battery charger, you must know how to use it properly. This section will tell you how to set the controls, how to charge a battery in or out of a vehicle, and how to use the engine st-arf feature. -
Page 7: Charge Type And Rate
Charge Type: • Use the MANUAL setting only if you check the charging progress frequently. The charger will not stop charging when the battery reaches full charge, possibly damaging the battery it left on too long. You must monitor and unplug the charger when battery is fully charged. -
Page 8: Charging Your Battery
Then, standing away from the battery, remove the charger clamp from the chassis first, then from the battery post. Clean and store the battery charger in a dry location. GROUNDED SYSTEM Figure A must monitor and... -
Page 9: Outside Vehicle
11. Standing awayfrom the battery, remove the negative lead from the insulated cable connected to the NEGATIVE post first. Then remove the lead from the POSITIVE post. 12. Clean and store the battery charger in a dry location. C.,ROE POWER CORD GROUNDED... -
Page 10: Using The Engine Start Feature
Your battery charger can be used to jump start your car if the battery is low. Follow these instructions on how to use the ENGINE START feature. 1. Connect the chargerto the batteryand vehicle as instructedin the "Charging your battery"sectionon page 8. -
Page 11: Calculating Charge Time
Battery Rating Method Use the following table to more accurately determine the time it will take to fully charge a battery that is initially at 50% State-of-Charge. Identify you r battery type and its associated Charge Time in the table. Common battery types are: •... -
Page 12: Maintenance And Care
[(RC x Charge Factor) + Charger Setting] x 0.73 = Hours Needed [(95 x 0.75) + 10] x 0.73 = 5.2 Hours To keep your battery charger working properly for years: Clean the clamps each time you are finished charging. -
Page 13: Troubleshooting
Separate the clamps. Circuit breaker cycles when current draw is too high. Check for worn cables and replace if needed. battery. Have a Sears technician test the battery. Correct connections. Use shorter or heavier extension Sulfated battery will eventually take a plate. -
Page 14: Parts
This section shows an illustration of your battery charger. Use it to become familiar with where all the parts are located, and what they look like. Item Description Transformer Diode Asm Kit PC Board Asm Circuit Breaker DC Cable Asm... - Page 16 Call 7 am - 7 pro, 7 days a week 1-800-366-PART (1-800-366-7278) For the location of an authorized Sears Service Center in your area Call 24 hours a day, 7 clays a week 1-800-488-1222 When requesting service or...


