Table of Contents
Advertisement
Advertisement
Table of Contents

Related Manuals for Tuscany QL055


Summary of Contents for Tuscany QL055
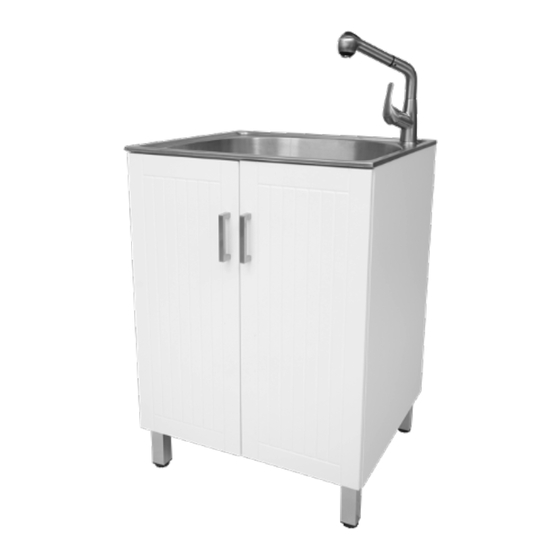
- Page 1 2-DOOR LAUNDRY CABINET KIT QL055 OWNER’S MANUAL # 6725161...
-
Page 2: Table Of Contents
Table of Contents Table of Contents . . . . . . . . . . . . . . . . . . . . . . . . . . . . . . . . . . . 2 Door Handle Installation . -
Page 3: Warranty
Warranty A thorough inspection must be made before installation and any damage must be promptly reported . We will not be liable for failures or damage that could have been discovered or avoided by proper inspection and testing prior to installation . We warrant this laundry cabinet, sink and components to be free from defects in materials or workmanship for one (1) year from the date of purchase . -
Page 4: Pre-Installation
Pre-Installation TOOLS/MATERIALS REQUIRED (NOT SUPPLIED) Adjustable Needle nose Phillips wrench pliers screwdriver Utility knife Pipe wrench Sealant Carpenter’s level Hacksaw Safety gloves Safety goggles Masking Tape PARTS REQUIRED (NOT SUPPLIED) P-Trap Tail Pipe Supply Line # 6725161... -
Page 5: Package Contents
Pre-Installation (continued) PACKAGE CONTENTS Part Description Quantity Cabinet Utility Sink Faucet Strainer Basket Strainer Assembly Door Handles Leveling Legs Door Handle Screws Leveling Leg Screws Allen Key Please contact 1-800-626-3525 for further assistance . -
Page 6: Installation
Installation FAUCET ASSEMBLY/INSTALLATION Faucet head 1 . Carefully take out all the parts of the faucet assembly . Connect the Big end faucet head to the big end of the hose . 2 . Take the washer, gasket and retaining ring off of the faucet body . 3 . -
Page 7: Strainer Installation
Installation (continued) STRAINER INSTALLATION Sealant 1 . Apply a ring of sealant to the underside of the strainer flange. 2 . Insert the strainer body into the sink . Basket 3 . Assemble the rubber gasket, friction washer and locknut onto the strainer body from under the sink . -
Page 8: Leveling Leg Installation
Installation (continued) INSTALLING THE LEVELING LEGS CAUTION: Do not place side load on the leveling legs when righting the cabinet as they may break . Carefully check the utility sink for damage and/or missing parts prior to installation . If there is any damage or if you are missing parts, do not proceed with the installation . -
Page 9: Door Position Adjustment
Installation (continued) DOOR POSITION ADJUSTMENT If the doors need to be repositioned, the hinges can be adjusted to ensure a precise fit with the cabinet. 1 . The lateral adjustment screw adjusts the door left or right . 2 . Horizontal adjustment of the screws adjust the door forward and backward . -
Page 10: Placement
Installation (continued) PLACEMENT Move the assembled unit to its final location. Final hook up of the supply lines and drain system can now be completed. SUPPLY LINES (NOT INCLUDED) The supply lines that attach the faucet to the household water system, are not supplied with this unit . They need to be purchased separately . -
Page 11: Care And Cleaning
Care and Cleaning UTILITY SINK CABINET After use, always rinse your sink with tap water to dilute and Remove dust and dry dirt with a soft, damp cloth . remove deposits . Clean grease, oil, paint and ink stains with isopropyl Towel dry after use whenever possible to prevent water (rubbing alcohol) . -
Page 12: Service Parts
Service Parts If you are missing parts or if you require replacement parts, please contact our customer service team at 1-800-626-3525, 8:30 am – 5 pm, EST, Monday–Friday . Identify the required part(s) and have the part number(s) ready . Part Description Code Quantity... - Page 13 Questions, problems, missing pieces? Before returning to the store, please contact Customer service from 8:30 am to 5 pm, EST, Monday - Friday 1-800-626-3525 Keep this manual for future use. Made in China Retain this manual for future use.
Need help?
Do you have a question about the QL055 and is the answer not in the manual?
Questions and answers