Table of Contents
Advertisement
Windows 10 / 8.1 / 7
SAFETY INSTRUCTIONS & INSTALLATION MANUAL
MANUAL DE INSTALACIÓN E INSTRUCCIONES DE
The Manual provides the following information.
Be sure to read it before installing
into your personal computer.
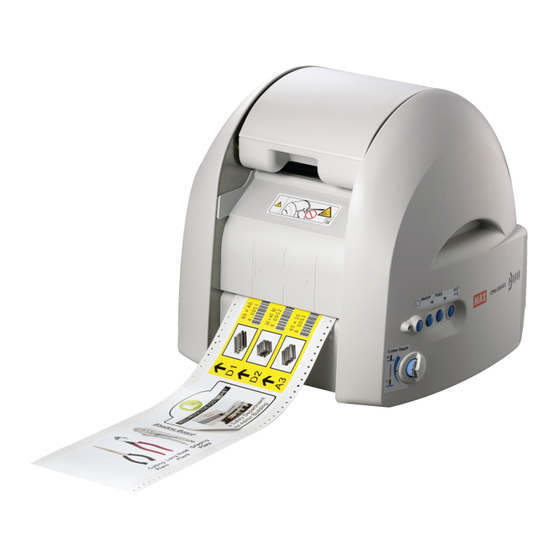
Precautions for using the CPM-100G5/CPM-100HG5
How to install and uninstall BepopPC EX software
How to install and uninstall the printer driver
How to set the IP Address of the CPM-100HG5
Basic operation of BepopPC EX software
The manual corresponds to BepopPC EX
CD-ROM.
Note that other Bepop PC/Bepop PC EX CD-ROM
versions
may
require
operating systems and operating methods.
The CD-ROM is compatible with Windows 10 / 8.1 / 7 .
Keep
this
manual
CPM-100G5/CPM-100HG5.
It is prohibited to reproduce part or all of the manual
without our permission.
The information in the Manual is subject to change
without prior notice.
SEGURIDAD
안전 지침
- CPM-100G5/CPM-100HG5 -
- CPM-100HG5K -
El manual corresponde a BepopPC EX CD-ROM.
completely
different
El CD-ROM es compatible con Windows 10 / 8.1 / 7.
together
with
without prior notice.
El Manual brinda la siguiente información.
Asegúrese de leerlo antes de la instalación
en su computadora personal.
Precauciones para el uso de CPM-100G5/CPM-100HG5
Cómo instalar y desinstalar el software BepopPC EX
Cómo instalar y desinstalar el controlador de la impresora
Cómo establecer la dirección IP de CPM-100HG5
Funcionamiento básico del software BepopPC EX
Tenga en cuenta que las otras versiones de Bepop
PC/Bepop PC EX CD-ROM pueden requerir sistemas
operativos y métodos de operación completamente
diferentes.
Guarde
este
manual
CPM-100G5/CPM-100HG5.
Está prohibido reproducir parte o todo el manual sin
nuestra autorización.
La información en el Manual está sujeta a cambios sin
previo aviso.
junto
con
N188N
Advertisement
Table of Contents


Need help?
Do you have a question about the CPM-100G5 and is the answer not in the manual?
Questions and answers