Table of Contents
Advertisement
Quick Links
Download this manual
See also:
User Manual
PLACEPOD SMART PARKING
SENSOR
INSTALLATION GUIDE
Instructions for physical installation of a PlacePod Smart Parking
Sensor
ELECTRONICS
UNITRONIC GmbH
UNITRONIC GmbH
Telefon 0211 / 95 110
Telefon 0211 / 95 110
Mündelheimer Weg 9
Mündelheimer Weg 9
Telefax 0211 / 95 11 111
Telefax 0211 / 95 11 111
40472 Düsseldorf
40472 Düsseldorf
info@unitronic.de
info@unitronic.de
PART OF
PART OF
LAGERCRANTZ GROUP
LAGERCRANTZ GROUP
Advertisement
Table of Contents

Summary of Contents for PNI PlacePod
- Page 1 PLACEPOD SMART PARKING SENSOR INSTALLATION GUIDE Instructions for physical installation of a PlacePod Smart Parking Sensor UNITRONIC GmbH UNITRONIC GmbH Telefon 0211 / 95 110 Telefon 0211 / 95 110 PART OF PART OF Mündelheimer Weg 9 Mündelheimer Weg 9...
-
Page 2: Table Of Contents
5.1 PREPARING THE PARKING SPACE ...................... 7 5.2 DRILL THE CORE ..........................7 5.3 REMOVE THE CORE ..........................7 5.4 PREPARE THE HOLE FOR THE PLACEPOD ................... 8 5.5 INSERT THE PLACEPOD INTO THE HOLE .................... 8 5.6 SEAL THE HOLE ..........................9 SURFACE MOUNT INSTALLATION PROCEDURE ............ -
Page 3: Placepod Overview
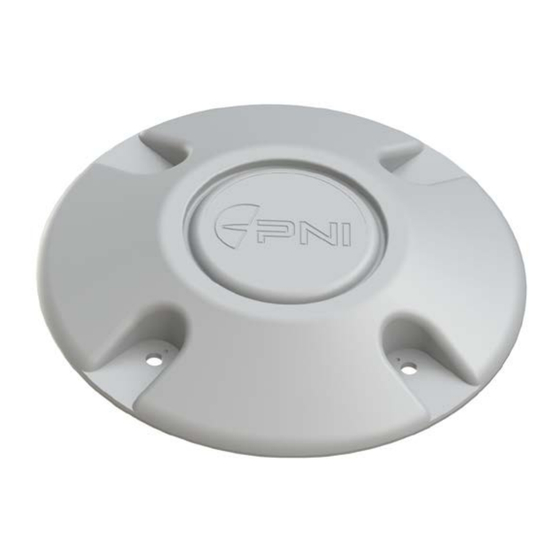
1 PLACEPOD OVERVIEW PlacePod™ is an IoT-enabled smart parking sensor for on-street and off-street municipal and private parking management. It solves the most mission-critical aspects of parking management: accurate, real-time vehicle detection and location of available parking spaces. Key Features & Benefits •... -
Page 4: Pre-Installation Steps
1. Ensure the LoRa Network Gateways are installed and functional. 2. Perform a site survey to ensure that the RF signal is strong enough. PNI recommends having an RSSI reading of around -90dBm as a reference when no vehicle is parked on top of the parking space. - Page 5 Figure 5: Sample Parking Map with PlacePod Serial Numbers 3. Knowing the location of where each sensor is installed is useful for individual parking space monitoring as well as trouble-shooting sensor performance and communication. PNI Sensor DOC# : PlacePod Installation Guide R01_draft7...
-
Page 6: Equipment Needed
• ¼” Self-Tapping Masonry Screws o At the time of writing PNI recommends: Wedge-Bolt ¼” X 1 ¾” manufactured by Powers Fastening Innovations. Two versions are available: o Part No 7701N - 410 Stainless steel @ $1.44 each (low magnetic) o Part No - Zinc plated carbon steel @ $0.24 each... -
Page 7: Installation On Graded Surfaces
PLEASE FOLLOW THE INSTRUCTIONS FOR THE MULTIPART APPLICATION OF THE SPECIFIED EPOXY FILL EXACTLY AS DESCRIBED DURING INSTALLATION. THE APPLICATION PROCESS IS DESIGNED TO ALLOW THE EPOXY TO FULLY ENCAPSULATE THE PLACEPOD ON THE TOP, BOTTOM AND SIDES IN ORDER TO PROVIDE LONG TERM PROTECTION FROM MOISTURE, CHEMICAL AND OTHER FORMS OF CONTACT DEGRADATION OVER THE INTENDED LIFETIME OF THE PRODUCT. -
Page 8: In-Ground Installation Procedure
5 IN-GROUND INSTALLATION PROCEDURE This section outlines the steps required to physically install an in-ground PlacePod. PREPARING THE PARKING SPACE See Section 2.2. DRILL THE CORE Have a professional drilling and coring company drill the holes for each sensor. Give them these instructions for drilling: 1. -
Page 9: Prepare The Hole For The Placepod
PREPARE THE HOLE FOR THE PLACEPOD After the core is removed, the hole needs to be cleaned out and leveled so the PlacePod sensor can be placed at the right height. 1. Remove leftover debris to make a relatively flat surface. -
Page 10: Seal The Hole
WARNING! The epoxy must not protrude above the pavement surface in order prevent vehicle weight from being transferred directly onto the sensor. Figure 11: Seal the PlacePod in the hole with sealant PNI Sensor DOC# : PlacePod Installation Guide R01_draft7... -
Page 11: Surface Mount Installation Procedure
Figure 12: Align PlacePod with center of parking space If you intend to screw the PlacePod down to the pavement follow the below steps. Note: To optimize signal strength orient the sensor in the middle of the space such that the arrow (inside the half circle next to the “P”) points towards the nearest gateway. -
Page 12: Preparing Placepod For Adhesive
6. If desired, apply an additional bead of adhesive around the seam of the sensor and the pavement. Note: If you intend to also screw the PlacePod down ensure that you align the PlacePod with the pre-drilled screw holes. INSTALL THE PLACEPOD W ITH SCREW S... - Page 13 1. Align the PlacePod in the center of the parking space with the pre-drilled screw holes. 2. Screw the PlacePod down with the Masonry Screws, hand tighten. Do not over tighten the screws as this can damage the PlacePod housing.
-
Page 14: Post-Installation Steps
After the PlacePod has been successfully installed there are some additional steps that should be taken. 1. Activate the PlacePod, taking it out of shipping mode, such that it begins sending RF messages. 2. Calibrate the PlacePod sensor for the empty parking space. This is important and required of each sensor. - Page 15 (90) days following the date of shipment unless a different warranty time period for such Product is specified: (i) in PNI’s Price List in effect at time of order acceptance; or (ii) on PNI’s web site (www.pnicorp.com) at time of order acceptance, be free from defects in material and workmanship and will operate in accordance with PNI’s published specifications and...


Need help?
Do you have a question about the PlacePod and is the answer not in the manual?
Questions and answers