
Related Manuals for AAS 19-100i


Summary of Contents for AAS 19-100i
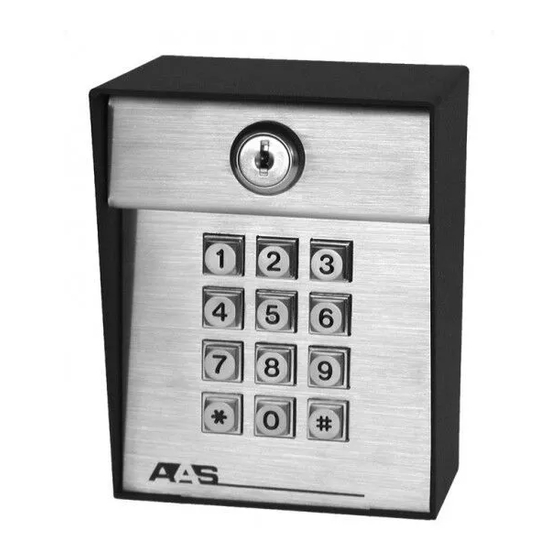
- Page 1 www.ShopAmericanAccess.com (800) 878-7829 User/installation Manual ADVANTAGE DKLP MODEL 19-100(i) trol” “Your Partner in Access Con...
- Page 2 What we will do: If your AAS product is defective and returned within 2 years of the date of purchase, we will repair it or, at our option, replace it at no charge to you. If we repair your AAS product, we may use new or reconditioned parts. If we choose to replace your AAS product, we may replace it with a new or reconditioned one of the same or similar design.
-
Page 3: Parts Checklist
PARTS CHECKLiST Enclosed with this box you should have the following items. Description Control Station 1/4 by 1/2 carriage bolts (Post mount units only) 1/4-20 hex nuts (Post mount units only) Square mounting flange (Post mount units only) if any of the above items are missing from this box, contact American Access Systems Tools Needed For Basic installation •... -
Page 4: Step 1-Mounting The Unit
7/16” socket. Mounting the unit to an AAS gooseneck (18001) or double height (18003)pedestal Locate the four carriage bolts and four hex nuts found inside the unit box. Place the unit up to the pedestal flange and insert the four carriage bolts from the backside. - Page 5 Red to positive (+) and Black to negative (-). NOTE: If you are using the optional AAS-12vdc transformer, cut the end connector from the transformer cable and discard. Using appropriate wire nuts, connect black to black and black/white to red.
- Page 6 SUB-MODES “1” Sub-Mode 1 (Enter New Access Codes) To enter new access codes enter the MASTER CODE, followed by 1, then enter each new ACCESS CODE you wish to program into the unit. (MASTER CODE) + 1 + (ACCESS CODE) + (ACCESS CODE) etc... (# to exit) Should you make an entry error, simply press the * key and re-enter the correct data.
- Page 7 DKLP CIRCUIT BOARD DIAGRAM PROGRAM/RESET BUTTON POWER/CONTROL HARNESS (JP1) RELAY Page 7 American Access Systems / Security Brands, Inc.
- Page 8 MASTER CODE ____________ Page 8 American Access Systems / Security Brands, Inc.
- Page 9 SECURITY BRANDS Page 9 American Access Systems / Security Brands, Inc.
- Page 10 NOTES Page 10 American Access Systems / Security Brands, Inc.
- Page 11 NOTES Page 11 American Access Systems / Security Brands, Inc.
- Page 12 SECURITY BRANDS...
Need help?
Do you have a question about the 19-100i and is the answer not in the manual?
Questions and answers