
Related Manuals for Master Bilt MBGFP-HG


Summary of Contents for Master Bilt MBGFP-HG
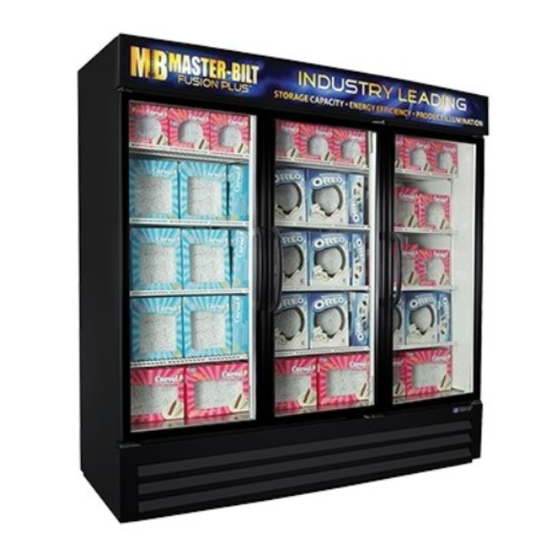
- Page 1 Installation & Operations Manual for MBGFP-HG Model Bottom Mounted Swing Glass Door Freezer Merchandisers With Lighted Sign 6/17 Rev. D 57-02400...
- Page 2 Customer Service/Warranty Parts Phone: 800-684-8988 Fax: 866-882-7629 Email: service@master-bilt.com 6/17 Rev. D 57-02400...
-
Page 3: Table Of Contents
TABLE OF CONTENTS INTRODUCTION STORE CONDITIONS WARNING LABELS AND SAFETY INSTRUCTIONS ..5 PRE-INSTALLATION INSTRUCTIONS..........................6 Inspection for Shipping Damage INSTALLATION INSTRUCTIONS ...6 General Instructions MECHANICAL ELECTRICAL . .. 7 Leg / Caster Installation DOORS ...8 Grill ELECTRONIC REFRIGERATION CONTROL .. -
Page 4: Introduction
INTRODUCTION This manual contains important instructions for installing, using, and servicing a MBGFP Fusion Plus case. A parts list is included with this manual. Read all these documents carefully before installing or servicing your equipment. STORE CONDITIONS The MBGFP cases are designed to operate in the controlled environment of an air-conditioned store. The store temperature should be at or below 75°F and a relative humidity of 55% or less. -
Page 5: Warning Labels And Safety Instructions
WARNING LABELS AND SAFETY INSTRUCTIONS This symbol is the safety-alert symbol. When you see this symbol on your cabinet or in this manual, be alert to the potential for personal injury or damage to your equipment. Be sure you understand all safety messages and always follow recommended precautions and safe operating practices. -
Page 6: Pre-Installation Instructions
PRE-INSTALLATION INSTRUCTIONS INSPECTION FOR SHIPPING DAMAGE You are responsible for filing all freight claims with the delivering truck line. Inspect all cartons and crates for damage as soon as they arrive. If damage is noted to shipping crates or cartons or if a shortage is found, note this on the bill of lading (all copies) prior to signing. -
Page 7: Electrical
ELECTRICAL WARNING Before servicing electrical components in the case or the doors or door frames make sure all power to case is off. Always use a qualified technician. Check voltage and amps drawn on (TABLE 2) to determine proper line and fuse or circuit breaker size. Check power supply for low voltage. -
Page 8: Doors
DOORS The cabinets have Anthony glass doors Leveling Adjustment that are equipped with a patented TorqueMaster hinge system. The doors are easily adjusted using a flathead screwdriver (Fig.3). * The tension needs to be checked and set when first install. Torque Adjustment Figure 3 NOTICE... -
Page 9: Grill
GRILL To remove bottom grill, unscrew the 2 screws on the bottom for the grill then drop the grill down from the key-slot hole and pull out. (See Figure 4) Screw Figure 4 Screw 6/17 Rev. D 57-02400... -
Page 10: Electronic Refrigeration Control
ELECTRONIC REFRIGERATION CONTROL Display Lay-out Compressor When power is first turned on the controller will go through the start-up. After the start-up delay the compressor comes on. The LED indicator stays on while compressor relay is energized. Display will show actual box temperature. -
Page 11: List Of Parameters
HOW TO CHANGE THE SETPOINT HOW TO CHANGE a parameter value LIST OF PARAMETERS Here is a list of the parameters the value of which can be changed in the programming mode, as well as their ranges. TABLE 1 Display Factory Parameter Symbol... -
Page 12: Check List
FINAL CHECK LIST Check operating pressures. Check condensing unit for vibrating or rubbing tubing. Dampen and clamp as Check electrical requirements of unit to required. supply voltage. All valves should be completely opened Set temperature control for desired counter-clockwise. temperature range. Check packing nuts on all service valves. -
Page 13: Temperature Sensor, Defrost Heater And Fan Motor Replacement
Temperature sensor, defrost heater and fan motor replacement Before making any change, technician should: 1. Disconnect power to the cabinet 2. Remove screws from venturi and pull down To change a temperature sensor (cabinet sensor or defrost sensor), simply disconnect the sensor wires from the controller and replace the new sensor in the original position. -
Page 14: Part List
PART LIST The table below gives componet part numbers. Use this chart when ordering replacement parts for your MBGFP cabinets. Always Advise Cabinet Serial Number When Ordering Parts MBGFP23-HG MBGFP27-HG MBGFP48-HG MBGFP74-HG Ballast 23-01709 23-01709 23-01709 23-01709 Bulb 23-01576 23-01576 23-01575 23-01577 Lamp Holder... -
Page 15: Accessories
November 1995 and in accordance with all applicable local, regional, or national standards. The customer service department at Master-Bilt should be contacted at the time of sale or disposal of your cabinet so records may be kept of its new location. -
Page 16: Wiring Diagrams
6/17 Rev. D 57-02400... - Page 17 6/17 Rev. D 57-02400...
- Page 18 6/17 Rev. D 57-02400...
Need help?
Do you have a question about the MBGFP-HG and is the answer not in the manual?
Questions and answers