Table of Contents
Advertisement
Record in the space below the listed information for future reference. The rated current is
printed on the serial number label attached to the oven side trim.
SERIAL NUMBER...............................................................................................
DATE OF PURCHASE..........................................................................................
PURCHASED FROM............................................................................................
.........................................................................................................................
Do not attempt to install or maintain the Air Conditioner yourself. Only authorised
agents are to carry out installation and repairs. The manufacturer shall not assume
responsibility for accidents or injury caused by incorrect installation. The installation
instructions are provided in a separate booklet entitled "Installation Instructions"
SPLIT WALL MOUNTED TYPE
AIR CONDITIONERS
Users Manual
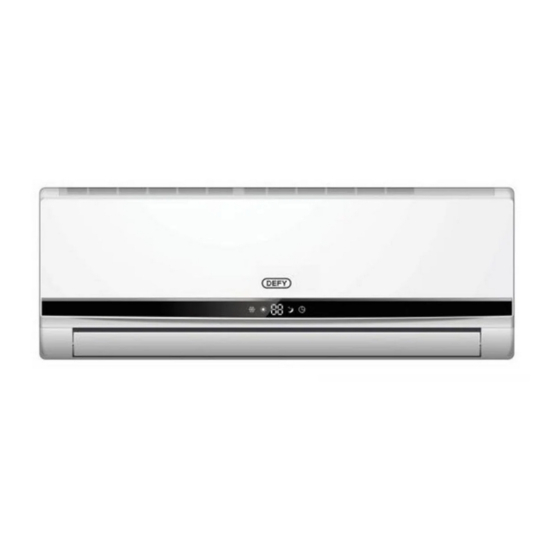
INDOOR
UNITS
AH12H3
AH18H3
AH24H3
The manufacturer strives for continuous
improvement. For this reason, the text and
illustrations in this manual are subject to change
without notice.
Page 1
OUTDOOR
UNITS
AC12H3
AC18H3
AC24H3
Advertisement
Table of Contents


Need help?
Do you have a question about the AH18H3 and is the answer not in the manual?
Questions and answers