Table of Contents
Advertisement
Quick Links
Advertisement
Table of Contents

Related Manuals for Atlas Equipment Atlas TC221

Summary of Contents for Atlas Equipment Atlas TC221
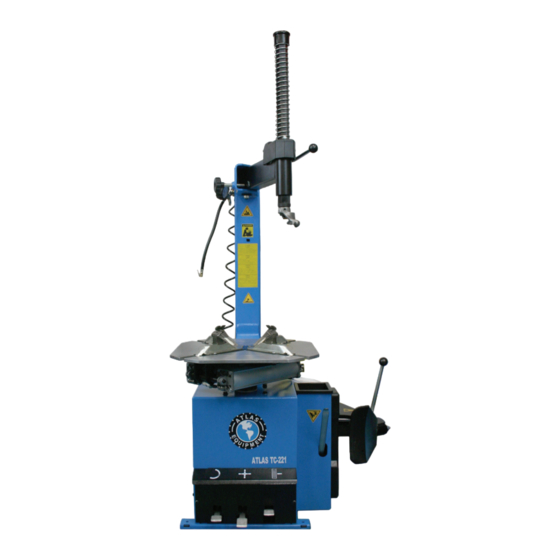
- Page 2 This guide provides a basic understanding of the steps required to assemble the Atlas TC221 Tire Changer. Please read this guide and the Owner’s Manual carefully and completely before assembling or operating your new tire changer. STEP 1: Carefully remove the tire changer and included accessories from the plywood container.
- Page 3 STEP 4: Remove the bead breaker pivot bolt and nut. Set them nearby. You will need them in a later step. Install the round rubber pad onto the bead breaker shaft (arrow). Position the bead breaker arm onto the chassis as shown. STEP 5: Install the return spring as shown below.
- Page 4 STEP 7: Guide the bead breaker shaft through the pivot pin (on the breaker arm). Install the locknut using a socket wrench and extension. If an extension is not available to you, you may pull the breaker shaft outward to access the shaft and nut with a wrench. STEP 8: Use the locking handle to lock the hex shaft into place.
- Page 5 STEP 10: Install the stop bolt into the main column as shown. STEP 11: Connect the 8mm coiled air line from the inflator gun to the elbow fitting on the rear of the changer. This is a push-lock fitting. Press the hose completely into the fitting. It will lock into place.
Need help?
Do you have a question about the Atlas TC221 and is the answer not in the manual?
Questions and answers