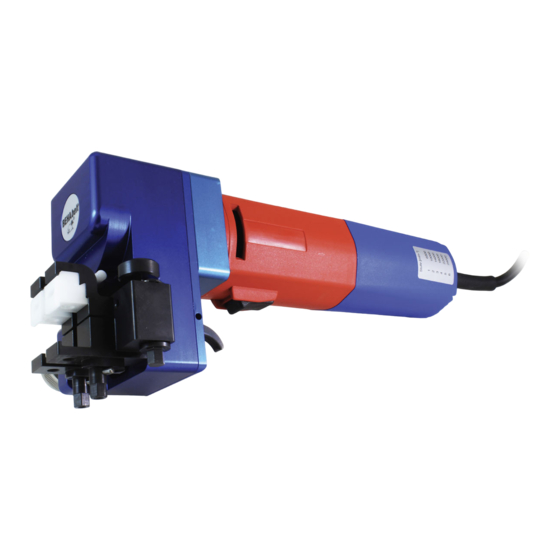
BEHABELT RS02 Instruction Manual
Hide thumbs
Also See for RS02:
- Instruction manual (28 pages) ,
- Instruction manual (40 pages) ,
- Instruction manual (56 pages)
Advertisement
RS02 INSTRUCTION MANUAL
2
1) Drive motor
8) Adjusting knob for
2) Speed regulator
3) ON/OFF switch
9) Profi le jaws
4) Excentric drive
10) Adapter for standard
5) Clamping equipment
6) Centre lever
11) Hexagonal head bolt
7) Release button key
Friction welding machine RS02 for
Polyurethane Profi les consisting of:
Drive motor 230 Volt/AC with speed control and ON/OFF switch
Excentric drive with automatically activated piston stroke
Clamping device with centre lever and release button key
Exchangeable profi le jaws
Adjusting knob for contact pressure
Work sequence
Please note the safety instructions and warnings on the back.
Select and insert the clamping jaws (9). Remove adapter (10) for
customised profi les if required and insert the customised clamping
jaws.
Driving jaws (9) apart and rotate the external hex (5) with a key
to the left until the clamping equipment engages.
Cut off both ends of the profi le to be connected.
Insert the profi le in the middle of the clamping jaws (9) and hold
it tight with the centre lever (6). Tighten the hexagonal head bolt
(11) with the hexagonal socket wrench. Repeat process for other
side.
Between the two ends profi le now should still minimal welding
gap (light gap).
Warning: It is not necessary to tighten the
tension bolts to the full stop point when
fastening belts in the RS02 welder. Only
tighten the tension bolts as required to
prevent belt slippage in the jaws. Over tightening can cause
damage to the tension bolts and cause the material to defl ect.
1
3
contact pressure
6
profi les
to clamp the profi le
STOP
4
7
5
11
Note for the welding of small profi les: Clamp profi le in the fi xed clamping
jaw with only 2 mm supernatant Clamp other end of the profi le in the
oscillating jaw with only 3 mm supernatant. Do not crush profi le so that a
planar friction surface as possible is preserved.
Set the speed regulator (2) (steps 1 - 6) depending on the profi le to be
welded. Small profi les step 4 - 6; depending on PU quality, large profi les
step 5-6.
Set the contact pressure on adjustment knob (8).
Heavily depressed position
slightly depressed position
General:
large profi les from Ø 12
Full set pressure (8)
small profi les < Ø 12
Half set pressure (8)
Unit connected to 230 volts / AC power connect
Switch on the machine (3) Important: only with clamped profi le,
risk of voiding parts (profi le jaws)!
After reaching the max. Speed of the motor by pressing the release
button (7) fusion process (welding jaws move together).
When profi le swells up, switch off the machine (3)
Welding process is fi nished
Leave profi le clamped for 2-3 min. in the machine to cool off.
Note: Allow to cool profi le after removal for about another 10 minutes
before the weld is loaded.
First, open the hex head bolt (11) to take out the profi les. Then move
apart with the external hex (5) the sealing jaws to facilitate the removal
of the profi le.
Now the next welding process can be performed.
Made in Germany
PATENT
Patent EU: EP 0 974 772
Patent US: 6,250,178B1
Patent DE: DE4318781
10
8
full pressure
half pressure
9
Advertisement
Table of Contents

Summary of Contents for BEHABELT RS02
- Page 1 First, open the hex head bolt (11) to take out the profi les. Then move fastening belts in the RS02 welder. Only apart with the external hex (5) the sealing jaws to facilitate the removal tighten the tension bolts as required to of the profi le.
-
Page 2: Technical Data
This machine is not designed for continuous operation. Risk of motor over heating and damaging of the machine. Reg. No. 241088Q1 BEHA Innovation GmbH In den Engematten 16 · 79286 Glottertal/Germany · Tel.: +49(0) 7684 /907-0 · Fax: +49(0)7684/907-101 · info@behabelt.com · www.behabelt.com...


Need help?
Do you have a question about the RS02 and is the answer not in the manual?
Questions and answers