Epson LQ-2180 Setup Manual
24-pin dot matrix printer
Hide thumbs
Also See for LQ-2180:
- User manual (234 pages) ,
- Service manual (56 pages) ,
- Manual (30 pages)
Table of Contents
Advertisement
Quick Links
24-pin Dot Matrix Printer
Setup
Unpacking the Printer
Unpacking the Printer
Unpacking the Printer
Unpacking the Printer
ribbon cartridge
printer
power cord
Software CD-ROM
Assembling the Printer
Assembling the Printer
Assembling the Printer
Assembling the Printer
1. Make sure the printer is turned off and unplugged.
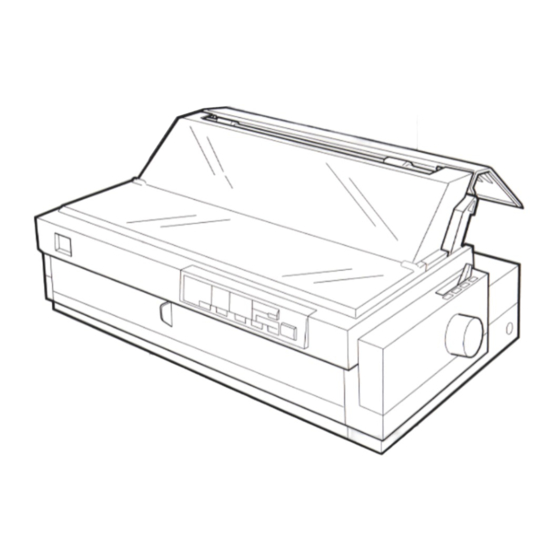
2. Remove the printer cover.
3. Slide the print head to the ribbon installation position (the indented portion of the
paper tension unit) by hand.
4. Remove the new ribbon cartridge from the package. Remove the separator from
the middle of the ribbon cartridge and discard the separator. Then turn the
ribbon-tightening knob in the direction of the arrow to remove any slack in the
ribbon.
ribbon-tightening knob
5. Hold the cartridge with the ribbon-tightening knob up. Fit the two front notches of
the ribbon cartridge over the small pegs on each side of the printer as shown below.
Then lay the cartridge flat.
6. Make sure that the two rear notches of the cartridge fit over the small pegs on
each side of the printer. Then gently press down the cartridge until both ends click
into place.
4041599-00
xxx
paper separator
paper guide
Notice sheet
Setup Guide
separator
Cautions and Notes
c
Cautions
must be observed to avoid damage
to your equipment.
Remove the protective materials
Follow the directions on the Notice Sheet to remove the protective materials.
Save all packing and protective materials in case you need to ship the printer in the
future.
7. Lift the ribbon guide of the ribbon cartridge (A) and insert it firmly over the metal
pins behind the print head (B). Make sure the ribbon is not twisted or creased and
that it is in place behind the print head. Press down the guide until it clicks into place.
ribbon-tightening knob
8. Turn the ribbon-tightening knob in the direction of the arrow to remove any slack
in the ribbon as shown above. Then slide the print head from side to side to make
sure it moves smoothly.
9. Replace the printer cover.
10.Turn over the paper guide and insert the paper separator's tabs into the slots on
the paper guide.
11.Make sure the paper guide cover is open as shown below. Attach the paper guide
by sliding the slots on the bottom of the paper guide over the pegs behind the
paper tension unit.
paper guide cover
12.Close the paper guide cover.
Notes
contain important information and useful tips on
the operation of your printer.
ribbon guide
paper separator
paper guide
paper tension unit
Advertisement
Table of Contents

Related Manuals for Epson LQ-2180


Summary of Contents for Epson LQ-2180
-
Page 1: Remove The Protective Materials
24-pin Dot Matrix Printer Setup Cautions and Notes Cautions Notes 4041599-00 must be observed to avoid damage contain important information and useful tips on to your equipment. the operation of your printer. Unpacking the Printer Unpacking the Printer Unpacking the Printer Unpacking the Printer Remove the protective materials Follow the directions on the Notice Sheet to remove the protective materials. -
Page 2: Connecting The Printer
SEIKO EPSON CORPORATION’s operating and maintenance instructions. SEIKO EPSON CORPORATION shall not be liable for any damages or problems arising from the use of any options or any consumable products other than those designated as Original EPSON Products or EPSON Approved Products by SEIKO EPSON CORPORATION.
Need help?
Do you have a question about the LQ-2180 and is the answer not in the manual?
Questions and answers