Advertisement
Table of Contents
- 1 Table of Contents
- 2 Refrigerating Cooling System
- 3 Compressor Room View and Parts List
- 4 How to Replace the Main Parts
- 5 How to Reverse the Door Swing
- 6 Auto Defrost
- 7 Storage
- 8 Parts
- 9 Installation Instruction
- 10 Electric Connection
- 11 Safety Precautions
- 12 Maintenance and Care
- 13 Trouble Shooting
- Download this manual
Can Help Service:
VT-46TS-2Z; VT-46SBB; VT-46SSDST
VT-36TS-SM; EL-1958BWC; VT-36TS
VT-32TS-FE; VT-32TSFE-SM; VT-28-2Z-SSDST; VT-BC32TSSM-L
Compressor Built-in Model
CONTENT
Before use, please read and observe all safety rules and operation instructions.
1
Advertisement
Table of Contents

Related Manuals for Vinotemp VT-46SSDST


Summary of Contents for Vinotemp VT-46SSDST
-
Page 1: Table Of Contents
Can Help Service: VT-46TS-2Z; VT-46SBB; VT-46SSDST VT-36TS-SM; EL-1958BWC; VT-36TS VT-32TS-FE; VT-32TSFE-SM; VT-28-2Z-SSDST; VT-BC32TSSM-L Compressor Built-in Model CONTENT 3. REFRIGERATING COOLING SYSTEM 4. COMPRESSOR ROOM VIEW AND PARTS LIST 5. HOW TO REPLACE THE MAIN PARTS 6. HOW TO REVERSE THE DOOR SWING 7. -
Page 2: Refrigerating Cooling System
3. REFRIGERATING COOLING SYSTEM 3.1 REFRIGERANT CYCLE DIAGRAM For models with Without Solenoid Valve 1. Compressor 2. Spiral Tube (Not available for some models) 3. Condenser Fan (Not available for some models) 4. Condenser 5. Hot Pipe 6. Process Tube 7. - Page 3 3.2 For models with Solenoid Valve 1. Compressor 2. Spiral Tube 3. Condenser Fan 4. Condenser 5. Hot Pipe 6. Process Tube 7. Filter Drier 8. Solenoid Valve 9. Capillary 10. Evaporator Fan 11. Accumulator 12. Evaporator 13. Suction Tube 14.
- Page 4 3.3 Circuit connection diagram Single temperature without heating: Dual temperature with solenoid valves:...
- Page 5 3.4 Dual temperature without solenoid valves:...
-
Page 6: Compressor Room View And Parts List
COMPRESSOR ROOM VIEW AND PARTS LIST 1. Joint of condenser outlet tubing and hot pipe inlet tubing 2. Electrical Box of Compressor 3. Process Pipe 4. Electrical Box (Power PCB inside) 5. Compressor 6. Suction Pipe 7. Discharge Pipe 8. Condenser Fan Motor (Not available for some models) 9. -
Page 7: How To Replace The Main Parts
5. HOW TO REPLACE THE MAIN PARTS 5.1 REPLACE THE POWER PCB 1. Remove the screws 5. 2. Pull out the electrical box and Power PCB 6. 3. Disconnect the cables from the Power PCB and then you can replace the Power PCB. 5.2 REPLACE THE DISPLAY PCB 1. - Page 8 5.3 Replace door alarm switch (BWR-171DS.BWR-281DZ.BWR-401DS.BWR-462DZ) 1. Remove 4 screws ① first. 2. From the door alarm switch box② , take out the door alarm switch ③ replace it. 5.4 Replace the temperature sensor and interior fans 1. Remove 4 screws① and 4 screws ④ . 2.
- Page 9 5.5 REPLACING THE EVAPORATOR ASSEMBLY 1. Cut off the process tubes of the compressors at the specified place (to release the cooling media). 2. Using the welding gun to melt the interface between the evaporator and the condenser, and then pull out the pipeline.
- Page 10 5.6 REPLACING THE CONDENSER Before replacing any component of the refrigeration system, make sure to read the instructions “Service NOTE: Precautions for R600A System” or “Service Precautions for R134a System”. 1. Disconnect the unit from the power source. 2. Clean and then solder the inlet and the outlet tube from the old condenser. 3.
- Page 11 5.7 Replace the guide rail 1. As shown in Figure 1, remove 3 screws on the left and right of the fixed wood frame; 2. As shown in Figure 2, remove 8 fixed screws at the left and right guide rail; 3.
-
Page 12: How To Reverse The Door Swing
HOW TO REVERSE THE DOOR SWING If you want to open the door in an opposite direction, please follow the following instructions. ① Lockup screw ② Lower door hinge ③ Door pivot assembly ④ Right upper door hinge ⑤ Lower door hinge (the same for the left and right) ⑥... -
Page 13: Auto Defrost
7.AUTO DEFROST ● The wine cooler can automatically defrost. ● The wine cooler can work for a total of 10 hours (If power off, the working hours will be reset to 0). than will defrost automatically for 45 minutes. ● During defrosting, the temperature of the product will rise automatically. After defrosting is over, the refrigeration of the wine cooler will continue. -
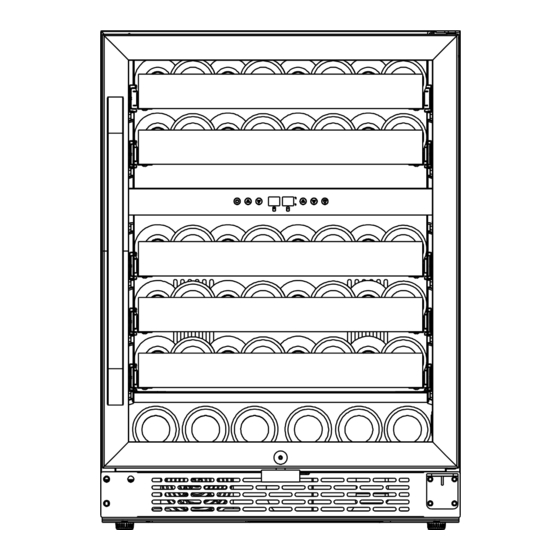
Page 14: Parts
9.PARTS 9.1 With Sabbath mode, door opening alarm and temperature memory function Stainless steel door 不锈钢门体 Temperature control 温度控制面板 panel Iron wire shelf 铁丝层架 (5 in all) (共5个) Door handle 门拉手 Air-out grid 出风栅格 Adjustable box leg 可调箱脚 (4 in all) (共4个) 箱体... -
Page 15: Installation Instruction
10. INSTALLATION INSTRUCTION Before use of drinks cabinets l Remove all interior and exterior packing. l Before connection of the drinks cabinet to power, make it at an upright position for about 2 hours. l This will reduce the possibility of failure in the refrigerating system arising from the transportation process. -
Page 16: Electric Connection
11.ELECTRIC CONNECTION Check whether the voltage marked on the product is consistent with your supply voltage. Warning: Improper use of grounding plugs may result in risk in electric shock. If the power cord is damaged, allow eligible technicians or an authorized service center to replace it. For your safety, this device must be properly grounded. -
Page 17: Safety Precautions
12.SAFETY PRECAUTIONS When the equipment is used, it is required to always observe basic precaution measures so as to minimize fire, electric shock and personal hazard. These basic precautions include: 12.1 For Your Safety: Even if you are familiar with this device, you are required to read all the instructions carefully. l This device will be used only based on the description in these Instructions. - Page 18 12.2 Keeping these instructions In the case of any failure in the operation process, please consult the guide to troubleshooting attached to these instructions. Causes of small operation failures have been listed for you to remove such small troubles by yourself. 12.3 Disposal of old equipment Properly treat your device packing.
-
Page 19: Maintenance And Care
13.MAINTENANCE AND CARE 14.1 Demounting the shelves For common shelves Cleaning the drinks cabinet l It is required to take out any shelf from the l Switch off the power supply, and pull out gap on both sides of the shelf. Please move the device plug and take out all items, the shelf at the gap on both sides to be just including shelves and trusses. -
Page 20: Trouble Shooting
14.TROUBLE SHOOTING You can solve many common troubles in the drinks cabinet very easily. This can help you save costs and expenses to be incurred in possible repairs. Before you call the customer service, try the following recommendations to see whether you can do troubleshooting yourself.
Need help?
Do you have a question about the VT-46SSDST and is the answer not in the manual?
Questions and answers