Table of Contents
Advertisement
Advertisement
Table of Contents

Related Manuals for EasyWater RevitaLife

Summary of Contents for EasyWater RevitaLife
- Page 1 Installation Manual & Owner’s Guide...
-
Page 2: Table Of Contents
................................... RevitaLife | Installation Manual & Owner’s Guide... -
Page 3: How Revitalife Works
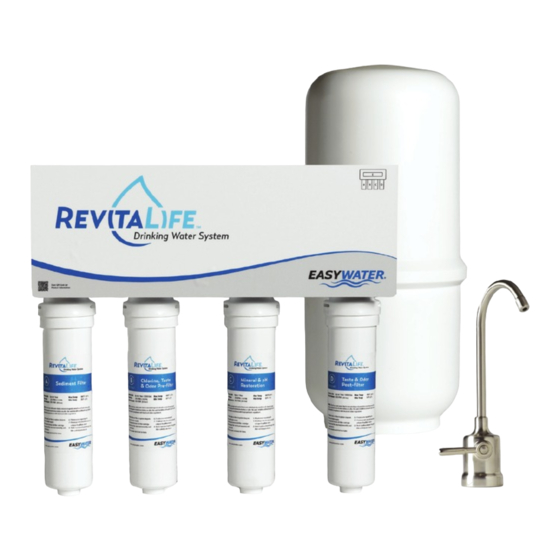
Congratulations on the purchase of your new EasyWater RevitaLife Drinking Water System. As with every EasyWater product, we are confident that you will be completely satisfied with your purchase. EasyWater is dedicated to providing the healthiest and most eco-friendly products to our customers. -
Page 4: Unpacking & Inspection
Be sure to inspect the entire shipment immediately upon receipt for any shipping damage or parts loss. Also note any damage to the shipping carton. Contact the transportation company for all damages and loss claims. EasyWater is not responsible for damages in transit. Specifications... -
Page 5: Installation
Different sink or countertop materials require different tools and methods for punching or drilling a hole. Use proper tools and follow your sink or countertop manufacturer’s instructions to prevent damage. EasyWater accepts no responsibility for damage resulting from the installation of an RO faucet. - Page 6 When faucet base is securely fastened to the sink, insert the faucet spout into the faucet base until it is fully sealed. Do NOT remove O-rings or plastic spacer on faucet spout base. Turn the handle to the “off” position. Proceed to Adapt-A-Valve Installation. RevitaLife | Installation Manual & Owner’s Guide...
- Page 7 19” from the bottom of the cabinet to allow for changing cartridges. Mount securely. System is heavy when installed and full of water. Note: Do NOT cut any system tubes at this time. RevitaLife | Installation Manual & Owner’s Guide...
- Page 8 Tighten screws evenly and securely on both sides of the drain saddle. Caution: Do not over tighten the screws. This may crack the drain saddle. RevitaLife | Installation Manual & Owner’s Guide...
- Page 9 IF FAUCET AIR GAP IS REQUIRED The black ¼” line from permeate pump output will connect to faucet air gap inlet. The black ∕ ” line from faucet outlet will connect to drain saddle. RevitaLife | Installation Manual & Owner’s Guide...
-
Page 10: Installation
Attach face plate to the wall module. OPTIONAL REFRIGERATOR KIT INSTALLATION NOTE: A refrigerator kit can be ordered by contacting EasyWater. Tee off from the line running from the RO unit to the faucet. It is recommended to install a shutoff valve on the line running from the line in Step 1 to the refrigerator. -
Page 11: Start Up Instructions
Turn on the incoming cold water at the angle stop valve. Open the Adapt-A-Valve by turning counter clockwise. Check the system for leaks and tighten any fittings as necessary. Open the RevitaLife faucet and leave open until water begins to trickle out slowly, then close the faucet. -
Page 12: Annual Maintenance Recommendations
Remove and discard all filters (A, B, C and D) and membrane (E). To place system back in service, replace filters (A, B, C and D) and membrane (E), then follow startup and tank sanitization procedures. RevitaLife | Installation Manual & Owner’s Guide... -
Page 13: Limited Warranty
Limited Warranty EasyWater, Inc., Fishers, IN warrants this EasyWater RevitaLife (referred to as System) as stated herein: From the date of installation, within the warranty period described below, we will repair or replace any part which we find defective because of faulty materials or workmanship. You pay only freight to our factory and local labor charges.
Need help?
Do you have a question about the RevitaLife and is the answer not in the manual?
Questions and answers