Cisco TelePresence Codec C60 Installing Manual
Hide thumbs
Also See for TelePresence Codec C60:
- Administrator's manual (94 pages) ,
- Reference manual (224 pages) ,
- User manual (51 pages)
Advertisement
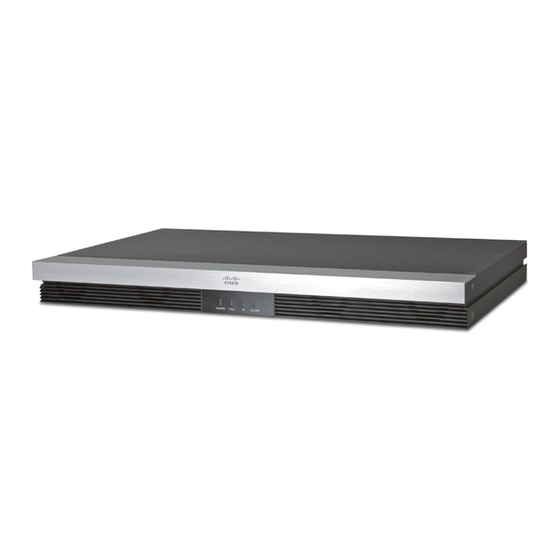
Installing Cisco TelePresence System Codec C60
This box contains:
Codec C60
Top tray
TRC V remote control
A.
Rack profiles (2 pcs)
B.
Rack rear brackets (2 pcs)
C.
Rack extension brackets (2 pcs)
D.
Rack ear profiles (2 pcs)
C
B
A
A
B
Remote Control
D
D
Rack mounting and connecting cables
1
Assembling the rack profiles
Slide the rack profiles A and B together.
LEFT
A
RIGHT
A
2
Optional: Assembling the extension rails
If the rack is deeper than the length of the
rack profiles A+B, then the extension rails C are
needed.
A+B
78-19806-02 Codec C60 Installation Sheet | December 2012 | © 2010-2012 Cisco Systems, Inc. All rights reserved.
Accessories box and cable kit
•
HDMI cable (3 m / 10 ft)
•
Ethernet cable (5 m / 16 ft)
•
Power cable (1.8 m / 6 ft)
•
Batteries LR03 AAA 1.5 V for the remote control
•
Screwdriver, combi 2 mm / 4 mm Allen Key (unbraco)
•
Screws (M6 and M3) and cage nuts (M6)
•
Universal rack brackets*
* Universal rack brackets: Use these only if the supplied rail based rack
mounting kit does not fit your type of rack.
User guides
The user documentation for this product, including compliance
and safety information, is available on the Cisco web site.
Go to:
http://www.cisco.com/go/cseries-docs
NOTE:
be assembled with the
bend in the direction as
shown in the illustration.
B
B
Mount the extension rail (C) to the
rack profiles (A+B) using M6 screws.
Tool: Screwdriver, 4 mm Allen Key
C
C
A+B
Rack mounting
WARRANTY:
Rack mounting the codec without using the
supplied mounting kit will void the warranty.
3
Mounting the rack profiles to the rack
The profile should
Mount the left and right rack profiles A+B(+C) to the rack. The screws,
screwdriver and cage nuts are found in the accessories box.
Details in front
If the supplied rack profiles are incompatible
NOTE:
with the rack, use the supplied universal rack
brackets.
Follow the instructions in step 4 on the next page
when assembling the universal rack brackets.
Page 1
TIP
If the menu is not already present,
press Home key or OK key on the
remote control to open the menu.
Navigate in the menu with the
arrow keys.
EMC Class A declaration
此为A级产品,在生活环境中,该产品可能会造成无线电干扰。在这种
情况下,可能需要用户对其干扰采取切实可行的措施。
Please follow the steps in
WARNING: This is a class A product. In a domestic environment
WARNING:
this installation guide when
product may cause radio interference in which case the user may be
this product may cause radio interference in which case the user
rack mounting the codec.
required to take adequate measures.
may be required to take adequate measures.
a)
Mount the rack profiles in front
using two M6 screws on each side.
Tool: Screwdriver, 4 mm Allen Key
b)
Snap the cage
c)
Mount the rack
nuts to the rack.
profiles on the rear
side using the M6
knob screws.
声 明
This is a class A product. In a domestic environment this
Details on rear side
d)
On both sides:
Fasten the rack profiles A+B
together, using one M3 screw on
each side.
Tool: Screwdriver, 2 mm Allen Key
Advertisement
Table of Contents

Related Manuals for Cisco TelePresence Codec C60


Summary of Contents for Cisco TelePresence Codec C60
- Page 1 Tool: Screwdriver, 2 mm Allen Key Follow the instructions in step 4 on the next page when assembling the universal rack brackets. 78-19806-02 Codec C60 Installation Sheet | December 2012 | © 2010-2012 Cisco Systems, Inc. All rights reserved. Page 1...
- Page 2 On the remote control key in the following sequence: HDMI 1 or Line Out 1-2) cable (optional) • Disconnect – – – – – – – 78-19806-02 Codec C60 Installation Sheet | December 2012 | © 2010-2012 Cisco Systems, Inc. All rights reserved. Page 2...
Need help?
Do you have a question about the TelePresence Codec C60 and is the answer not in the manual?
Questions and answers