Advertisement
Quick Links
Advertisement

Related Manuals for Craftex TENONING JIG


Summary of Contents for Craftex TENONING JIG
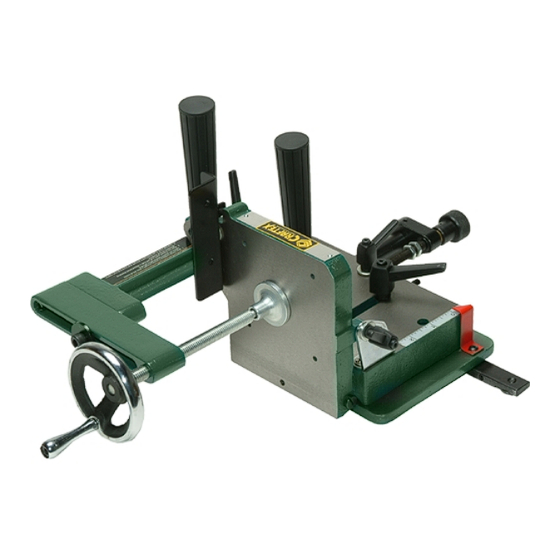
- Page 1 CT084 TENONING JIG User Manual...
-
Page 2: Product Specifications
Read this manual to understand this Tenoning Jig. DO environment or expose them to rain. NOT operate this Tenoning Jig if you do not fully under- stand the limitations of this tool. DO NOT modify this 3. DO NOT use electrical tools in the presence of Tenoning Jig in any way. - Page 3 “ON”. WARNING 14. USE ONLY RECOMMENDED ACCESSORIES. This Tenoning Jig is for indoor use only. Do not expose Use of incorrect or improper accessories could to rain or use in damp locations. cause serious injury to the operator and cause This jig should only be used with suitable tablesaws.
- Page 4 Tenoning Jig. before operating the Tenoning Jig and Table Saw. 14. DO NOT use the Tenoning Jig as a toy. DO NOT 2. DO NOT OPERATE THIS MACHINE until it is use near or around children.
-
Page 5: Carton Contents
If any parts are missing, do not attempt to use the This Tenoning Jig will require a minimal amount of Tenoning Jig. The Tenoning Jig can only be used after assembly. Allen wrenches are provided for assembly. all the parts have been obtained and installed correctly. - Page 6 See This jig should only be used with suitable tablesaws. Figure 3. If you are using the Tenoning Jig on a Please refer to your tablesaw’s manual for further right tilting arbor saw, proceed with instructions for information.
- Page 7 2 and 3 in reverse order. Figure 7 shows the Tenoning Jig reassembled for a Left Tilting Table Saw. 2. Place Tenoning Jig guide bar (A) into left miter slot (D) of machine and slide miter gage back and forth WARNING to determine if there is any side-to-side play.
- Page 8 See Figure 8. 5. Insert the Tenoning Jig back into the miter slot of the table saw. Recheck the fit by sliding miter gage back and forth to determine if there is any side-to- side play.
- Page 9 12. Tighten the two guide bar screws inside holes (U). lock handle. 13. Reinstall the micro-adjustment assembly and 5. IMPORTANT: The Tenoning Jig is not equipped tighten setscrew (T). See Figure 13. with a bevel scale for the positioning of the back- stop (J) or vertical work support plate (A).
-
Page 10: Operation
2. An auxiliary board can also be added to the vertical work support plate (C) through four pre-drilled holes (D). This auxiliary board will help prevent the saw blade (E) from contacting the Tenoning Jig. See Figure 15. WARNING This jig should only be used with suitable tablesaws. - Page 11 9. Loosen clamp handwheel (B) and rotate work piece 90-degrees and tighten handwheel. Make certain that the workpiece is properly secured and posi- tioned in the jig. Align the Tenoning jig with the saw blade to make the cosmetic cheek cuts. 10. Connect saw to power source.
- Page 12 Fig. 19 4. Using a miter gage (F) equipped with a backup board (G), position the workpiece so the structural shoulders can be cut. See Figure 19. Make certain the workpiece is against the wooden stop block and the backup board. 5.
- Page 14 PARTS CT084 WARNING When servicing, use only manufacturer replacement parts. Use of any other parts may create a HAZARD or cause product damage. This jig should only be used with suitable tablesaws. Please refer to your tablesaw’s manual for further information. All tablesaw safety features and guards must be kept in place and in good working order during the use of this jig.
- Page 15 CT084 WARNING This jig should only be used with suitable tablesaws. Please refer to your tablesaw’s manual for further information. All tablesaw safety features and guards must be kept in place and in good working order during the use of this jig.
Need help?
Do you have a question about the TENONING JIG and is the answer not in the manual?
Questions and answers