Advertisement
Table of Contents
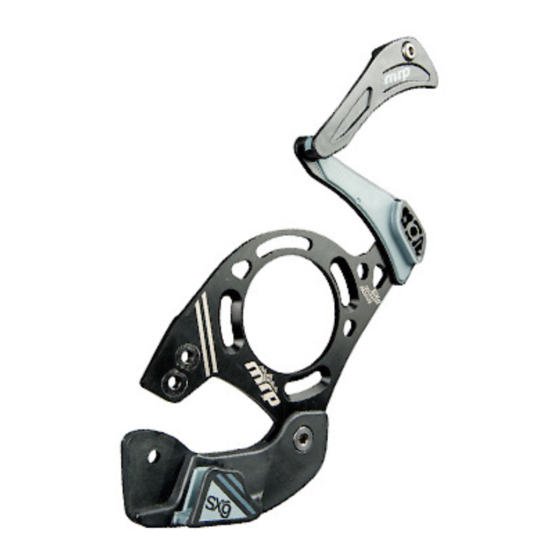
SXg INSTALLATION INSTRUCTIONS
1) Begin the installation of the SXg
by removing your crankset. Remove
the chain from the chainring to ease
this process. If you have a Shadow
Plus or Type 2 derailleur, disengage
the clutch or lock the cage in the
relaxed position.
2A) Remove the fastener bolt from
the upper guide and swing the front
half of the guide open.
4) Reinstall the
crankset and chain.
Close the upper guide
and skid.
2B) Remove the rear skid bolt located at
the rear of the guide. With that removed
the skid should swing open and down.
5) To check guide alignment, from
above, look directly down on the upper
guide and find the joint of the two upper
guide pieces and the chainring aligned.
Use the ISCG spacers to achieve this.
5B) Orient the rotational position of
the SXg so that the MRP logo on the
Upper Guide is roughly parallel with the
ground. Tighten the ISCG bolts to 8-9
Nm for alloy models, 5-7 Nm for carbon.
3A) Attach the backplate to the
three threaded tabs around the
bottom bracket shell of your frame.
ISCG spacers are included with
your guide, install these washers
between the backplate and frame
as needed for alignment (step 5).
6) Align the rear skid bolt hole
with the correct position in the
backplate. If you are using a
chainring size in the middle of the
accommodated range (32T for
the small SXg, 36T for the large),
choose the upper skid position first
(some installations may require the
lower position). Tighten the rear
skid bolt to 4 Nm.
SM SXg LG SXg
Advertisement
Table of Contents

Related Manuals for MRP SXg


Summary of Contents for MRP SXg
- Page 1 4 Nm. SM SXg LG SXg 5B) Orient the rotational position of the SXg so that the MRP logo on the upper guide is roughly parallel with the ground. Tighten the ISCG bolts to 8-9 Nm for alloy models, 5-7 Nm for carbon.
- Page 2 RUBBING, BENDING, CRACKING OR OTHER DAMAGE. IF YOU NOTICE ANYTHING ABNORMAL, DO NOT RIDE IT. RETURN IT TO YOUR DEALER OR CONTACT MRP FOR A COMPLETE INSPECTION AND NECESSARY REPAIR. 3. MRP RECOMMENDS THAT YOU WEAR PROPER SAFETY EQUIPMENT EVERY TIME YOU RIDE, INCLUDING AN APPROVED BICYCLE HELMET.
Need help?
Do you have a question about the SXg and is the answer not in the manual?
Questions and answers