Table of Contents
Advertisement
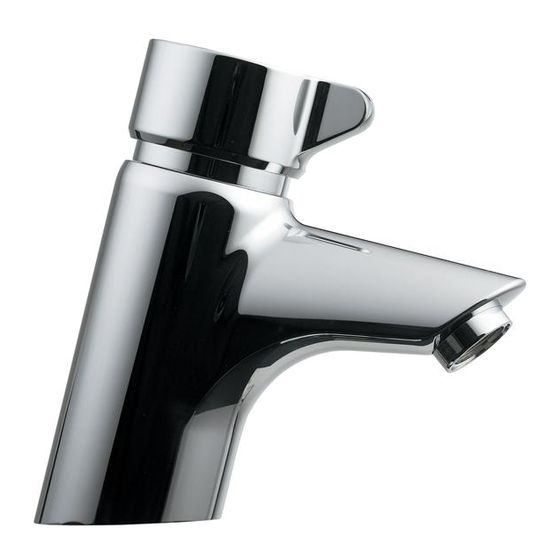
Avon 21 Self-closing mixer
(Push button)
BEFORE CONNECTION, FLUSH WATER THROUGH PIPEWORK TO REMOVE
ALL DEBRIS ETC. WHICH COULD DAMAGE THE VALVE MECHANISM
INSTALLER:
After installation please pass this instruction booklet to user
IMPORTANT
INSTALLATION
INSTRUCTIONS
The more
stars the more
water efficient
WATER RATING
www.waterrating.gov.au
3.0
litres per
minute
In accordance with AS/NZS 6400
Licence No. 1459
Armitage Shanks Limited
B0993AA Self closing basin monobloc
mixer – push button with variable tem-
WaterMark
AS/NZS 3718 WMK 25822
SAI Global
™
Advertisement
Table of Contents

Subscribe to Our Youtube Channel
Related Manuals for Armitage Shanks Avon 21


Summary of Contents for Armitage Shanks Avon 21
- Page 1 INSTALLATION Avon 21 Self-closing mixer INSTRUCTIONS (Push button) The more stars the more water efficient WATER RATING www.waterrating.gov.au ™ litres per minute WaterMark In accordance with AS/NZS 6400 Licence No. 1459 AS/NZS 3718 WMK 25822 Armitage Shanks Limited SAI Global B0993AA Self closing basin monobloc mixer –...
-
Page 2: Table Of Contents
Avon 21 Self closing basin monobloc mixer B0993AA fitted with flexible inlet hoses. This Avon 21 product is a self-closing mixer designed for water economy. The product is fitted with a simple press down handle for easy actuation. Rotation of the handle permits water temperature adjustment. -
Page 3: Product Box Contents
PRODUCT BOX CONTENTS Coloured index pins to be fitted into the handle as shown. Fit blue pin into the slot on the right. Depending on local requirements, fit either red or yellow pin into the second slot. Discard the extra pin. Fit blue Fit red or yellow index pin... -
Page 4: Dimensions
DIMENSIONS Ø56 Ø35 G3/8“ G1/2“ Note for installer: fit the most suitable colour of index pin into the handle of the basin mixer. Blue for cold water & either red or yellow for warm water. See sect.1... -
Page 5: Water Supply Conditions
AS/NZS 3500 & any relevant local regulations. Installations not complying with AS/NZS 3500 may void the product performance & warranty. Armitage Shanks strongly recommends that this product is fitted by a professional installer. 4.1 Water supply controlling devices (external) Pressure &... -
Page 6: Installation Guide
INSTALLATION GUIDE Red, blue & yellow index pins are supplied. The appropriate coloured pins should be pressed into the handle. See sec.1 1. Before connection, flush water through pipe- work to remove all debris etc.to prevent damage to the valve mechanism. 2. - Page 7 6. Orientate the CV housings & inlet adaptors as shown below.The parts should be assembled in this sequence. 7. Check valves (CV) & filters (with integral seals) should be located within the CV-housings Flexible as shown. No need to separate these assem- hose blies.
-
Page 8: Flexible Hose Guidelines
FLEXIBLE HOSE GUIDELINES Flexible hoses fitted are hand tightened into the mixer. Tightening with tools to achieve a good seal is not necessary. Avoid sharp bends, twist- ing, kinking & stretching these hoses as this may result in damage. Hold the flexi hose steady whilst tightening the nut. -
Page 9: Outlet Details
OUTLET DETAILS This product is factory fitted with a laminar PCA regulated outlet which is secured with an anti-vandal (AV) housing. Table 3 shows the flow rate performance for the flow regulator outlet 3,8 L/min 300KPa Table 3 Flow rate data (Q=flow rate) To replace/clean/service the outlet, use the outlet key supplied with the product to unscrew the AV housing. -
Page 10: Maintenance (Clearing Pilot Hole)
3. Adjustment With the handle removed, engage the “run time adjustment key” (provided) into the cut-outs in the brass adjusting ring Clockwise rotation will provide longer run time, & conversely anti-clockwise rotation will provide shorter run time. (Cartridge not shown for clarity). 4. - Page 11 Complete cartridge sub assembly Filter screen Gently pull off lower cartridge cap Press the spring a few times with a finger. This will exercise the pilot pin (integral to spring) and clear the pilot hole. Before reassembling the cartridge cap, make sure that the filter screen is clean (slides out from inside of cap).
-
Page 12: Cartridge Replacement
CARTRIDGE REPLACEMENT Before replacing the cartridge make sure: 1.The cartridge filter is not blocked with debris. If debris is found, clean the filter. 2. Check the pilot hole in the cartridge is clear. For more details see section 10. After cleaning, refit the cartridge & recheck the product Handle removal: Firstly remove the handle as detailed in section 9. -
Page 13: Spare Parts
SPARE PARTS 12.1 (ABOVE THE BASIN ITEMS) A 861040 NU A 861045 AA B 960602 NU With adjustment B 960627 AA A 960611 NU S 960171 AA Cartridge only A 861044 NU Cartridge plus housing A 961810 NU O-ring (pair) A 860970 AA with AV key... -
Page 14: Below The Basin Items
12.2 Below the basin items: A 963680 NU Single B 964894 NU A 861042 NU A 861043 NU... -
Page 15: Cleaning Chrome Surfaces
CLEANING CHROME SURFACES When cleaning chromed products use only a mild detergent, rinse & wipe dry with a soft cloth. Ideally clean after each use to maintain appearance. Never use abrasive, scouring powders or scrapers. Never use cleaning agents containing alcohol, ammonia, hydrochloric acid, sulphuric acid, nitric acid, phosphoric acid or organic solvents. - Page 16 Armitage Shanks pursues a policy of continuing improvement in design and performance of its products. This right is therefore reserved to vary specification without notice. CUSTOMER CARE HELPLINE Armitage Shanks limited +44 (0)844 543 6170 Armitage Near Rugeley CUSTOMER CARE FAX...
- Page 17 YEAR REECE PRODUCT QUALITY GUARANTEE You have purchased a product from Reece Australia Pty Ltd This warranty does not cover products purchased as an ABN 84 004 097 090 (“Reece”). This product is covered by a ex-display without being fully checked and tested for sale 5 year replacement product warranty and a 12 month warranty by the manufacturer.
Need help?
Do you have a question about the Avon 21 and is the answer not in the manual?
Questions and answers