Advertisement
INSTALLATION, OPERATION AND MAINTENANCE INSTRUCTIONS
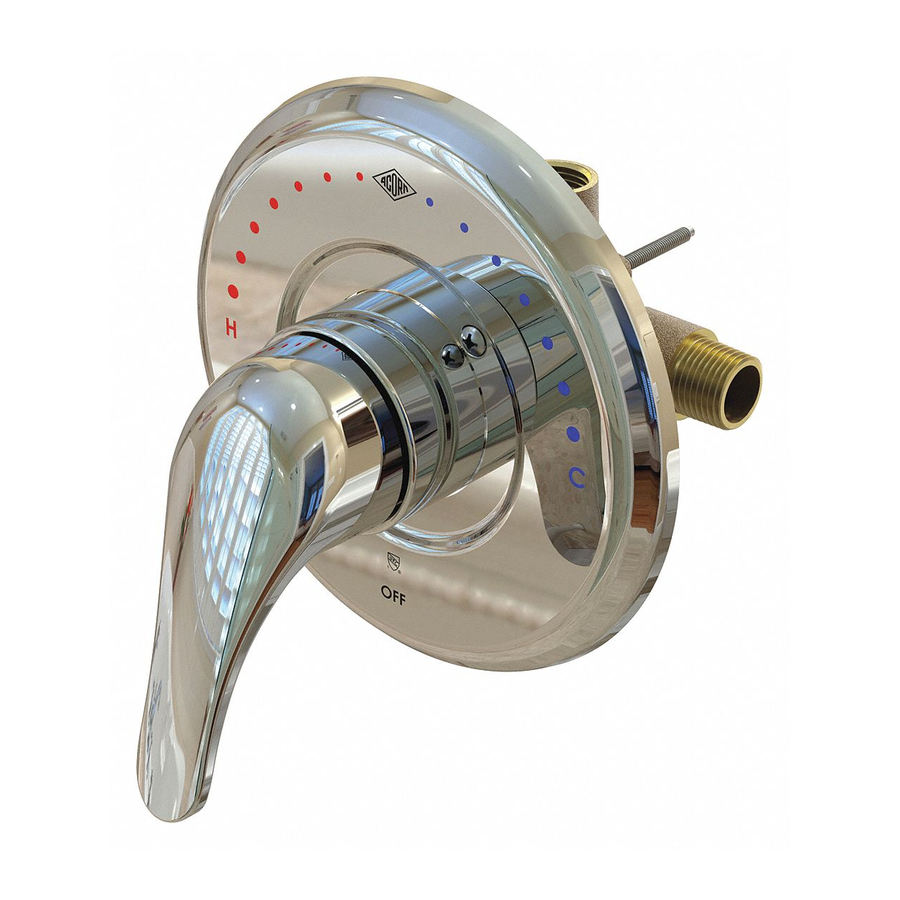
SV16 TEMPERATURE/PRESSURE BALANCING MIXING VALVE
Patent Pending
NOTES TO THE INSTALLER:
1. Please leave this documentation with the owner of the fixture when finished.
2. Please read this entire booklet before beginning the installation.
3. Check your installation for compliance with plumbing and other applicable codes.
Acorn Controls warrants that its products are free from defects in material or workmanship under normal use and
service for a period of one year from date of shipment. Acorn's liability under this warranty shall be discharged solely
by replacement of repair of defective material, provided Acorn is notified in writing within one year from date of
shipment, F.O.B. Industry, California.
This warranty does not cover installation or labor charges and does not apply to materials, which have been
damaged by other causes such as mishandling or improper care or abnormal use. The repair or replacement of the
defective materials shall constitute the sole remedy of the Buyer and the sole remedy of Acorn under this warranty.
Acorn shall not be liable under any circumstances for incidental, consequential or direct charges caused by defects in
materials, or any delay in the repair or replacement thereof. This warranty is in lieu of all other warranties expressed
or implied. Product maintenance instructions are issued with each unit and disregard or non-compliance with these
instructions will constitute an abnormal use condition and void the warranty.
Acorn Controls
Division of Acorn Engineering Company
Manual #7802-116-000
Model SV16
FOR TECHNICAL ASSISTANCE
1.800.743.8259
fieldservice@acorneng.com
LIMITED WARRANTY
UNITED STATES AND CANADA
ACORN ENGINEERING COMPANY
P.O. BOX 3527
CITY OF INDUSTRY, CA 91744
UNITED STATES OF AMERICA
WWW.ACORNENG.COM
Patented Tri-Lever
Handle
, A member of Morris Group International
®
Model SV16-LVR
™
Federal
Public Law
111-380
(No Lead)
Date: 09/01/16
Advertisement
Table of Contents

Related Manuals for Acorn SV16


Summary of Contents for Acorn SV16
- Page 1 Acorn Controls warrants that its products are free from defects in material or workmanship under normal use and service for a period of one year from date of shipment. Acorn's liability under this warranty shall be discharged solely by replacement of repair of defective material, provided Acorn is notified in writing within one year from date of shipment, F.O.B.
-
Page 2: Supplies Required
5. Snap-ring pliers with pins less than 0.03” DAMAGE, PERSONAL INJURY AND/OR DEATH. IMPORTANT Acorn Controls is not responsible for damages resulting from improper installation and/or Ÿ Flush supply lines of all foreign material such maintenance. Installation of this valve shall be in as pipe dope, chips or solder prior to accordance with Uniform Plumbing Code. -
Page 3: Rough-In Dimensions
SV16 Installation & Operation Manual ROUGH-IN DIMENSIONS: 72" 72" (1829) (1829) 24" 24" A.F.F. A.F.F. (610) (610) REF. " (44) REF. " (44) MIN. MIN. " (64) " (64) MAX. MAX. ROUGH-IN ROUGH-IN GUIDE GUIDE 5 1 8 " 1/2" NPT... -
Page 4: Installation
Figure 4 and 5. NOTE: Insure that outer gasket 4 gap is towards bottom of escutcheon 5. 9A. SV16 Valve Trim Installation: Figure 6 a. Remove adhesive protective film from foam gasket 7 and wrap around valve body as shown. -
Page 5: Back-To-Back Installation
SV16 Installation & Operation Manual VALVE TRIM INSTALLATION CONTINUES: 9B. SV16-LVR Valve Trim Installation: Figure 7. a. Slide valve sleeve 13 over valve body. b. Place escutcheon with gaskets 6 over valve sleeve 13 and against finished wall and secure with screws 8. -
Page 6: Cartridge Removal
SV16 Installation & Operation Manual CARTRIDGE REMOVAL: 1. Bonnet Removal: Figure 8. a. Close Checkstops 16. b. Using snap-ring pliers with pins less than 0.03”, by others, remove snap-ring 17. c. Remove both temperature limit washers 18. d. Loosen 1/16” hex set screw 19. - Page 7 SV16 Installation & Operation Manual OFF POSITION SETTING: 1. Turn on hot and cold water supply. Open both check stop assemblies by turning check adjustment screw 16 counterclockwise until screw tops out. Check for leaks around bonnet and stop assemblies at this time.
-
Page 8: Troubleshooting
SV16 Installation & Operation Manual SHOWERHEAD COLD SHOWERHEAD HANDHELD SUPPLY WATER WATER CONNECTION SUPPLY SUPPLY HANDHELD SHOWER SV16 SHOWER TUB SPOUT VALVE TYPICAL PIPING w/ TUB SPOUT DIVERTER VALVE COLD WATER WATER SUPPLY SUPPLY SV16 SHOWER VALVE TYPICAL PIPING w/ HANDHELD SHOWER... -
Page 9: Repair Parts
SV16 Installation & Operation Manual REPAIR PARTS: NOTE: Individual parts not available for purchase, sold in repair kits only. Parts called out for reference only. VALVE BODY SHOWN FOR REFERENCE EXTRA RETAINING RING PROVIDED. USE ONLY ONE DURING REASSEMBLY. IMPORTANT O-RINGS SHOULD BE LUBRICATED WITH AN NSF APPROVED LUBRICANT.
Need help?
Do you have a question about the SV16 and is the answer not in the manual?
Questions and answers