Advertisement
Table of Contents
- 1 Quick Start Guide
- 2 Quick Start Installation
- 3 Before You Begin
- 4 Check Package Contents
- 5 Windows 2000
- 6 Initial Configuration of the PRO 4060
- 7 Network Settings
- 8 Sonicwall PRO 2040 Front View
- 9 Sonicwall PRO 2040 Rear View
- 10 Sonicwall PRO 3060 Front View
- 11 Sonicwall PRO 3060 Rear View
- 12 Sonicwall PRO 4060 Front View
- 13 Sonicwall PRO 2040 Technical Specifications
- 14 Sonicwall PRO 3060 Technical Specifications
- 15 Sonicwall PRO 4060 Technical Specifications
- Download this manual
Advertisement
Table of Contents

Subscribe to Our Youtube Channel
Related Manuals for SonicWALL PRO 2040


Summary of Contents for SonicWALL PRO 2040
-
Page 1: Quick Start Guide
COMPREHENSIVE INTERNET SECURITY ™ S o n i c WALL Internet Security Ap p l i a n c e s PRO 2040/3060/4060 Quick Start Guide... -
Page 2: Quick Start Installation
Quick Start Installation Thank you for purchasing a SonicWALL Internet security appliance. The SonicWALL acts as a secure barrier between your private LAN and the public Internet (WAN) to protect your networks from security threats on the Internet. This Quick Start Guide provides instructions for installing and configuring your SonicWALL PRO Series appliance as an Office Gateway on your network. - Page 3 IP Addressing using a Single, Static Public IP Address IP Address:________________________ Subnet Mask:______________________ Default Gateway:___________________ Primary DNS:______________________ Secondary DNS:___________________ Alert! If you are not using one of the network configurations above, step by step installation instructions for additional networking methods are found in Configuring the Network Mode section of your Administrator’s Guide.
- Page 4 Connect one end of the gray Ethernet cable to your DSL modem, cable modem, or Internet router. Connect the other end of the gray Ethernet cable to the WAN (X1) port of the SonicWALL. The link LED lights indicating an active connection. If the LED does not light, try the Crossover cable.
-
Page 5: Windows 2000
Configuring Your Management Station Your SonicWALL is configured with the default IP address of 192.168.168.168. This IP address is used to initially access the Management interface of the SonicWALL. To access the Management interface for the first time, you must configure your computer with an IP address in the same network range as the SonicWALL. - Page 6 SonicWALL default LAN IP address, 192.168.168.168. Follow the instructions below: Alert! Please allow enough time for the SonicWALL to power up completely before attempting to log into the Management Interface. It takes approximately three minutes for the SonicWALL to cycle completely. When the Test light is no longer lit, the SonicWALL is ready for configuration.
- Page 7 Step 6: LAN Settings - Review the LAN IP address and subnet mask. Use the default values. Step 7: LAN DHCP Settings - To allow the PRO 2040 or PRO 3060 to distribute IP addresses to computers on your LAN, select Enable DHCP Server. Use the default IP address range. Click Next.
-
Page 8: Initial Configuration Of The Pro 4060
Tip!You must register your SonicWALL at <http://www.mysonicwall.com> to obtain the latest version of SonicOS firmware and access technical support. If you have purchased the SonicOS Enhanced upgrade for your PRO 2040 or PRO 3060, you must register your appliance and download the SonicOS Enhanced firmware. -
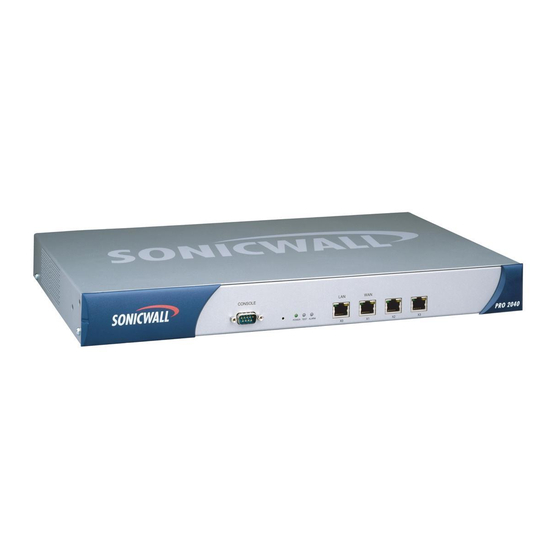
Page 9: Sonicwall Pro 2040 Front View
• Alarm - Lights when the firmware is reset and when certain network traffic conditions occur. • Test - Lights when the SonicWALL is powered up and performing diagnostic tests to check for proper operation. These tests take about 90 seconds. If the Test LED remains lit after this time, power down the SonicWALL and apply power again after a few seconds. -
Page 10: Sonicwall Pro 2040 Rear View
Power Input Internal Fans • Power Input - Connects to the external power supply that is provided with the SonicWALL. The use of an Uninterruptible Power Supply (UPS) is recommended to protect the SonicWALL against damage or loss of data due to electrical storms, power failures, or power surges. -
Page 11: Sonicwall Pro 3060 Front View
• Alarm - Lights when the firmware is reset and when certain network traffic conditions occur. • Test - Lights when the SonicWALL is powered up and performing diagnostic tests to check for proper operation. These tests take about 90 seconds. If the Test LED remains lit after this time, power down the SonicWALL and apply power again after a few seconds. -
Page 12: Sonicwall Pro 3060 Rear View
Internal Fans Power Input • Power Input - Connects to the external power supply that is provided with the SonicWALL. The use of an Uninterruptible Power Supply (UPS) is recommended to protect the SonicWALL against damage or loss of data due to electrical storms, power failures, or power surges. -
Page 13: Sonicwall Pro 4060 Front View
• Alarm - Lights when the firmware is reset and when certain network traffic conditions occur. • Test - Lights when the SonicWALL is powered up and performing diagnostic tests to check for proper operation. These tests take about 90 seconds. If the Test LED remains lit after this time, power down the SonicWALL and apply power again after a few seconds. - Page 14 Internal Fans Power Input • Power Input - Connects to the external power supply that is provided with the SonicWALL. The use of an Uninterruptible Power Supply (UPS) is recommended to protect the SonicWALL against damage or loss of data due to electrical storms, power failures, or power surges.
-
Page 15: Sonicwall Pro 2040 Technical Specifications
SonicWALL PRO 2040 Technical Specifications Processor: 800 mHz VIA C3 Dimensions: 17.00 x 10.00 x 1.75 inches (43.13 x 25.40 x 4.45 cm) RAM: 128 MB Weight: 8.5.0 lb. (3.9 kg) Flash Memory: 64 MB Secure Compact Flash Interfaces: LEDs:... -
Page 16: Sonicwall Pro 3060 Technical Specifications
Safety: UL, cUL, TUV/GS *Only one of the user-defined ports is available with SonicOS Standard. If you upgrade to SonicOS Enhanced, additional ports are available for configuration. **1,000 policies are included with SonicOS Enhanced. SonicWALL Internet Security Appliance Quick Start Guide Page 15... -
Page 17: Sonicwall Pro 4060 Technical Specifications
SonicWALL PRO 4060 Technical Specifications Processor: Intel - 2GHz with dedicated security Dimensions: 17.00 x 13.00 x 1.75 inches ASIC (43.13 x 33.02 x 4.45 cm) RAM: 256 MB Weight: 13.0 lb. (5.9 kg) Flash Memory: 64 MB Secure Compact Flash... - Page 18 Only uploaded firmware can be saved to a different location. • Boot - Clicking the icon reboots the SonicWALL with the firmware version listed in the same row. Note! Clicking Boot next to any firmware image overwrites the existing current firmware image making it the Current Firmware image.
- Page 19 Notes Page 18...
- Page 20 SonicWALL Internet Security Appliance Quick Start Guide Page 19...
- Page 21 F: 408.745.9300 © 2002 SonicWALL, I n c . SonicWALL is a registered trademark of SonicWALL, I n c . Other product and company names mentioned herein may be t rademarks and/ or registered trademarks of their respective companies. Specifications and descriptions subject to change with out notice.
Need help?
Do you have a question about the PRO 2040 and is the answer not in the manual?
Questions and answers