Table of Contents
Advertisement
Quick Links
Advertisement
Table of Contents

Subscribe to Our Youtube Channel
Related Manuals for Q-See QCW3MP16


Summary of Contents for Q-See QCW3MP16
-
Page 1: Quick Start Guide
3MP WI-FI MINI CAMERA QUICK START GUIDE ENGLISH... - Page 2 WELCOME! Congratulations on your latest purchase and welcome to the Q-See family. Prepare to see the superior clarity and resolution provided by the latest Wi-Fi series camera. This guide includes everything you will need to help get your camera up and running right out of the box. We are excited to have you on...
-
Page 3: What's Included
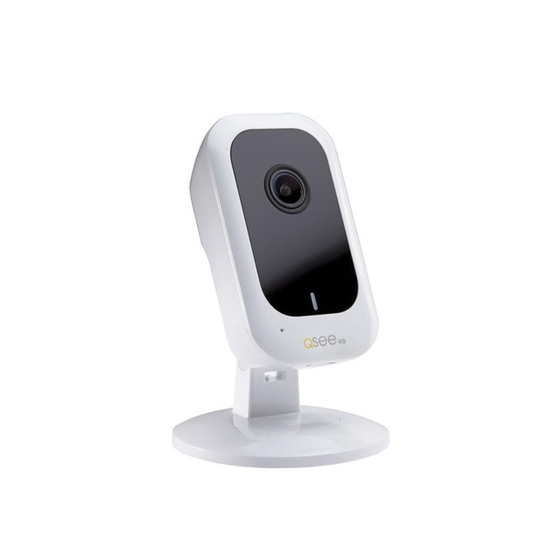
WHAT’S INCLUDED Setup is simple, fast, and designed to get you monitoring your home or business in no time. • (1) QCW3MP16 Wi-Fi Camera • (1) USB Power Adapter • (1) Micro USB Cable • (1) 16GB Micro SD Card •... -
Page 4: Get Connected
You are now ready to setup the camera. IMPORTANT: Go through all of the steps to setup and test your system before mounting any cameras or hardware. Always visit www.q-see.com/support to find the most recent guides and up-to-date support for your Q-See products. - Page 6 You will receive regular updates about the The first step to this exciting journey is to latest firmware version for your camera. register your device on the Q-See Support Portal at www.q-see.com/register. The Registering your product will streamline username and password used to register...
- Page 7 STEP 2 DOWNLOAD & INSTALL THE QC VIEW APP NOTE: Ensure that your mobile device is connected to the Wi-Fi network you wish to use for your camera. Download the QC View App from the App Store on your mobile device.
-
Page 8: Add A New Device
STEP 3 ADD A NEW DEVICE In Device Manager, press the “+” in the top right corner to add a new device. Select “Wi-Fi configuration” and create a name for your camera. Tap the QR code icon in the SN field and then scan the QR code located on the back camera panel (see page 14 the for QR code location). - Page 9 Wi-Fi camera. Enter the Wi-Fi Password for your network then select Next. NOTE: If you are experiencing an issue connecting to your Wi-Fi network due to distance, Q-See recommends adding a Wi-Fi Extender to improve the Wi-Fi signal and bandwidth.
- Page 10 STEP 5 START LIVE PREVIEW Once your device has been added successfully, select Start Live Preview to view the feed from your camera.
- Page 11 STEP 6 VIEW THE LIVE VIDEO FEED Your camera has been set up successfully. You can now access your camera feed anytime and anywhere using the QC View App.
- Page 12 NVR. The NVR has to be connected to the same network as your mobile device for the initial setup process. Visit www.q-see.com/support to *This screenshot is from a QC Series NVR. verify if your system is compatible with this camera.
-
Page 13: Additional Features
ADDITIONAL FEATURES SPEAKER BASE ADJUSTMENT AND TWO-WAY TALK The Wi-Fi Mini Camera features an adjustable magnetic base which can be easily attached CAMERA to any metal surface, or mounted with metal LENS screws to the desired location. The LED indicator light will ensure that your camera is connected to Wi-Fi. - Page 14 ADDITIONAL FEATURES PORTS & RESETTING YOUR CAMERA MICRO USB PORT ADJUSTABLE Your camera’s micro USB port is conveniently MAGNETIC BASE located beneath the QR code on the back of QR CODE the housing, and the micro SD memory card slot is found on the bottom of your camera for easy access.
-
Page 15: Fcc Information
DISCLAIMER: Although Q-See has made every effort to ensure that the information in this guide was correct at the time of printing, Q-See does not assume any liability to any party for any loss, damage, or disruption caused by any errors, omissions, or typos that may occur.
Need help?
Do you have a question about the QCW3MP16 and is the answer not in the manual?
Questions and answers