
Related Manuals for Motocaddy CUBE


Summary of Contents for Motocaddy CUBE
- Page 1 CUBE / CUBE CONNECT Push Trolley Instruction Manual REGISTERONLINE www.motocaddy.com/warranty...
- Page 2 For instructions covering the CUBE CONNECT smart features, please refer to the accompanying Motocaddy CONNECT Smart Display Instruction Manual. To power on the CUBE CONNECT Smart Display, hold down the middle button until it initialises and displays “SEARCHING OPEN APP”. To power off, hold down the middle button for five seconds.
- Page 3 Attaching the Wheels / Adjusting the Front Wheel Alignment Attaching the Rear Wheels The Motocaddy CUBE / CUBE CONNECT has no definitive left or right wheel. To attach the wheels, slide the release button down (fig. 1) and push the wheel axle into the housing (fig. 2).
- Page 4 Unfolding your Trolley / Adjusting the Handle Height Unfolding your Trolley Lift the trolley using the carry handle (located within the lower bag support) and pull the front wheel up (fig. 1) and towards you until fully extended Fig 1 Fig 2 Place the trolley on the floor with all three wheels touching the ground.
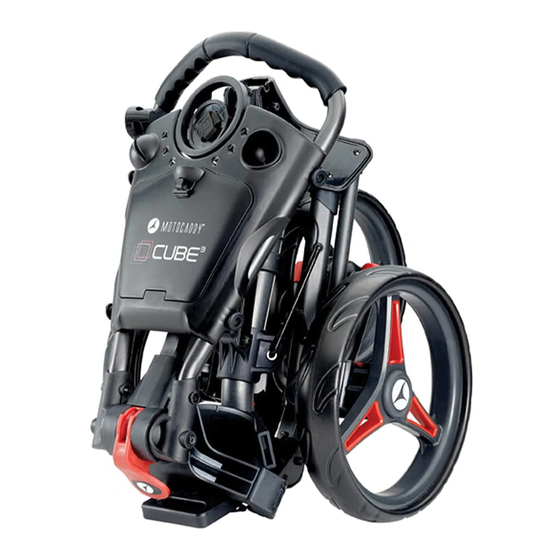
- Page 5 Folding your Trolley Folding your Trolley It may be easier to engage the parking brake before folding your trolley. Fig 1 Fig 2 Release the locking lever and gently lower the handle (fig. 1) Place one hand on the carry handle and push the upper bag support down towards the front wheel (fig.
- Page 6 Fig 1 Using the Lower Bag Supports This Motocaddy trolley is fitted with the EASILOCK™ bag attachment system. If you are using an EASILOCK™ compatible golf bag please follow these simple instructions: Remove the two pre-fitted lower bag straps by depressing the rear button and sliding (fig. 3) Match up the indicating line on the golf bag with the line on the lower bag support Lower the bag until the pins lock in position.
- Page 7 Adjusting the Bag Supports / Using the Parking Brake Adjusting the Bag Supports The bag support straps are manufactured from elasticated material to allow your golf bag to be held tightly in place. The strap should be adjusted to be reasonably tight around the golf bag: Fig 1 Unclip the elasticated straps from the housing by pulling outwards in the direction shown (fig.
- Page 8 +44 (0)1279 712 370 e: info@motocaddy.com w: www.motocaddy.com We are dedicated to protecting the environment and encourage the recycling of Motocaddy products through a free collection and disposal service. To find out more or to locate your nearest Motocaddy recycling point, please contact us through our website.
Need help?
Do you have a question about the CUBE and is the answer not in the manual?
Questions and answers