Table of Contents
Advertisement
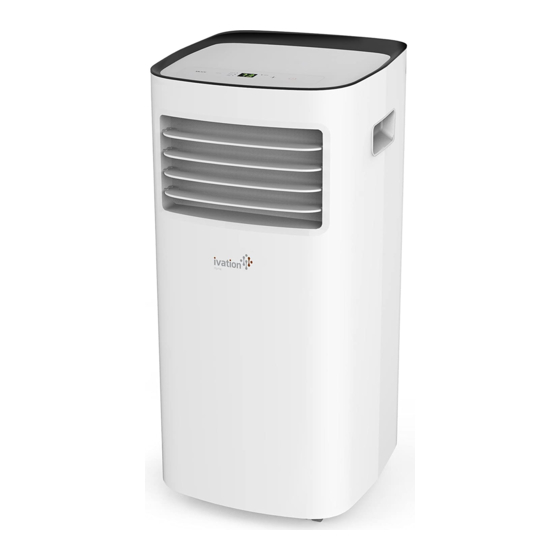
10,000 BTU Portable
Air Conditioner
User Guide
IVAPAC10KBTU
Thank you for purchasing the Ivation® 10,000 BTU Portable Air Conditioner. This User Guide is intended to provide you with
guidelines to ensure that operation of this product is safe and does not pose risk to the user. Any use that does not conform
to the guidelines described in this User Guide may void the limited warranty.
Please read all directions before using the product and retain this guide for reference. This product is intended for household
use only.
This product is covered by a limited one-year warranty. Coverage is subject to limits and exclusions. See warranty for details.
Box contents
Air conditioner
Assembly materials
Remote controller with 2 AAA batteries
User guide
Advertisement
Table of Contents

Summary of Contents for Ivation IVAPAC10KBTU
-
Page 1: Air Conditioner
IVAPAC10KBTU Thank you for purchasing the Ivation® 10,000 BTU Portable Air Conditioner. This User Guide is intended to provide you with guidelines to ensure that operation of this product is safe and does not pose risk to the user. Any use that does not conform to the guidelines described in this User Guide may void the limited warranty. - Page 2 Parts 1. Control panel 2. Remote signal receiver 3. Horizontal control lever 4. Vertical control lever 5. Panel 6. Caster 7. Handle 8. Air filter 9. Upper air intake vent 10. Drain outlet 11. Air outlet 12. Lower air intake vent 13.
-
Page 3: Safety Precautions
Hardware 1. Unit adapter 2. Exhaust hose 3. Window slider adapter 4. Bolt 5. Window slider A 6. Window slider B 7. Adhesive foam seal A (2) 8. Adhesive foam seal B (2) 9. Foam seal C 10. Security bracket 11. - Page 4 2. Insert the exhaust hose into the window slider adaptor and 3. Insert the exhaust hose into the air outlet vent as unit adapter. Then clamp together with the elastic buckles seen below. of the adapter. Exhaust hose Exhaust hose assembly Unit adaptor Window slider...
-
Page 5: Control Panel
Security Bracket 2 Screws 4. Install the security bracket with 5. Insert the window slider adapter 2 screws as shown (optional). into the hole of the window slider. NOTE: do not overextend, bend, or block the hose. This will prevent the air conditioner from functioning properly. Control panel 1. -
Page 6: Water Drainage
Auto-restart If the unit stops unexpectedly due to a power cut, it will restart with the previous function setting 3 minutes after the power resumes. Continuous Water drainage drain hose 1. When in dry mode, remove the drain plug from the back of the unit. -
Page 7: Troubleshooting
Edison, NJ 08837 USA Europe: C&A Europe 167 Hermitage Road Crusader Industrial Estate London N4 1LZ United Kingdom info@myivaton.com Made in China Ivation and the Ivation logo are registered trademarks of C&A Holdings, LLC in the U.S. ©2017 All rights reserved...


Need help?
Do you have a question about the IVAPAC10KBTU and is the answer not in the manual?
Questions and answers