Table of Contents
Advertisement
Quick Links
REGULAR SERVICE PERIOD (1)
Perform at every indicated month or operating
hour interval, whichever comes first.
ITEM
Check level
Engine oil
A
B
Change
Check
Air cleaner
C
D
Clean
Replace
A
Sediment cup
E
Clean
Check-adjust
Spark plug
F
Replace
Spark arrester
G
Clean
(applicable types)
H
Idle speed
Check-adjust
Valve clearance
I
J
K
Check-adjust
L
Combustion chamber
Clean
Fuel tank and filter
M
Clean
N
Fuel tube
Check
(1) For commercial use, log hours of operation to determine proper maintenance intervals.
(2) Service more frequently when used in dusty areas.
(3) Replace paper element type only.
(4) These items should be serviced by your servicing dealer, unless you have the proper tools and are mechanically proficient. Refer to Honda shop manual for servicing procedures.
(5) In Europe and other countries where the machinery directive 2006/42/EC is enforced, this cleaning should be done by your servicing dealer.
A
OIL FILLER CAP/DIPSTICK
UPPER LIMIT
OIL DRAIN BOLT
<CYCLONE TYPE>
<100 db TYPE>
D
C
PAPER
PAPER
ELEMENT
ELEMENT
FOAM
ELEMENT
FOAM
ELEMENT
Paper element: Tap the element lightly several times on a hard surface to remove dirt, or
blow compressed air (not exceeding 207 kPa, 2.1 kgf/cm²
from the inside. Never try to brush off dirt; brushing will force dirt into the paper fibers.
・
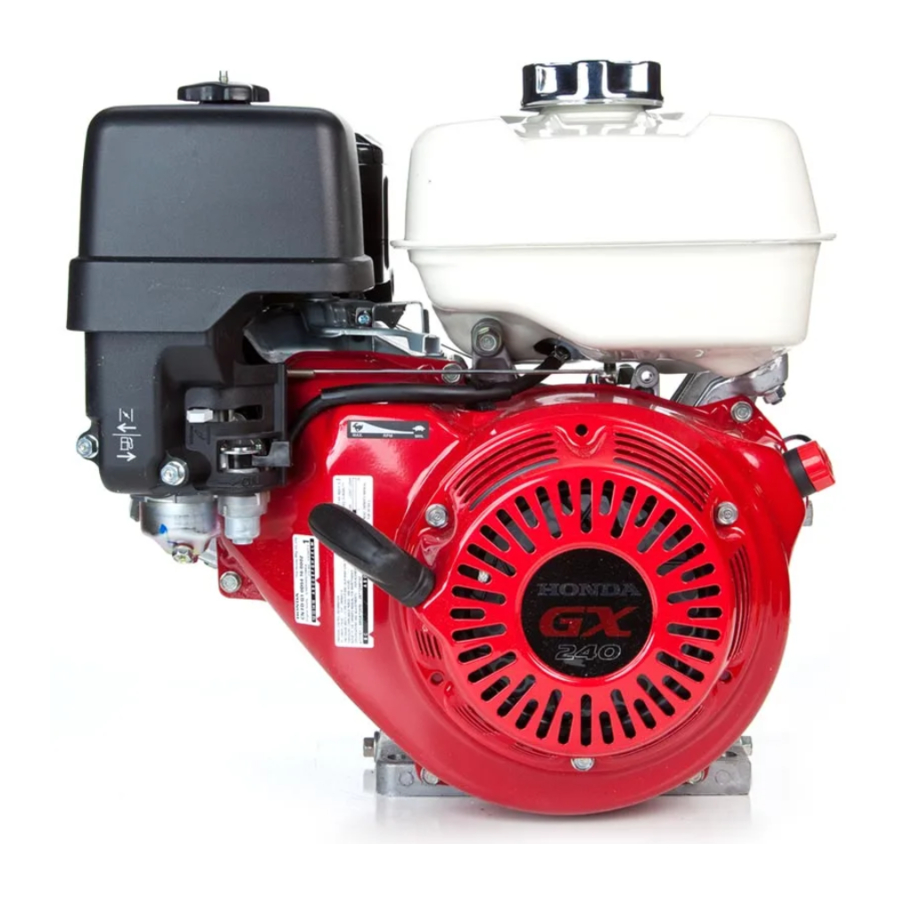
GX240
GX270R/RT/T/U/UT
First
month
3 months
Each use
or
20 hrs.
●
●
●
After every 500 hrs.
Every 2 years (Replace if necessary)
SAE Viscosity Grades
B
AMBIENT TEMPERATURE
Recommended oil: SAE 10W-30
API service category: SE or later
1.1 ℓ (1.2 US qt)
Engine oil capacity:
<SILENT TYPE>
E
PAPER ELEMENT
D
O-RING
SEDIMENT
CUP
,
30 psi) through the element
Maintenance Information
Every
Every
Every
6 months
year
or
or
or
50 hrs.
100 hrs.
300 hrs.
●
●
(2)
●
(3)
●
●
●
●
(5)
●
(4)
●
(4)
(4)
●
(4)
(4)
C
FOAM ELEMENT
NONFLAMMABLE
SOLVENT
ENGINE OIL
SQUEEZE THOROUGHLY
Excess oil will restrict air flow through the
foam element and may transfer to the paper
element, soaking and clogging it.
Loosen the drain screw
to drain the carburetor
thoroughly before
removal.
0.6
0.7
-
mm
F
Standard spark plug:
BP6ES, BPR6ES (NGK)
W20EP-U, W20EPR-U (DENSO)
G
SPARK ARRESTER
SPARK ARRESTER
SCREEN
WIRE BRUSH
Clean the carbon deposits from the spark
arrester screen with a wire brush. Be careful
not to damage the spark arrester screen.
I
TOP HOLE
ALIGN
TRIANGLE MARK
Set the piston at top dead center of the
compression stroke (both valves fully closed).
K
ROCKER ARM
ROCKER ARM
PIVOT
VALVE
ROCKER ARM
PIVOT LOCK NUT
・To increase valve clearance, screw out.
・To decrease valve clearance, screw in.
M
K
· Clean the fuel tank
with nonflammable
solvent and allow the
fuel tank to dry
thoroughly.
O-RING
· Clean the filter with
FUEL FILTER
nonflammable
solvent. Inspect the
FUEL FILTER
fuel filter to be sure it
JOINT NUT
is undamaged.
H
Specified idle speed:
1,400 ± 150
rpm
THROTTLE STOP SCREW
・On some applications the engine speed is
fixed and does not idle.
・The standard idle speed may be different
depending on the application.
Refer to the equipment manufacturer's
instructions for specific idle speed setting.
J
FEELER GAUGE
H
0.15
0.02
Valve clearance:
mm ±
mm (IN)
0.20
0.02
mm ±
mm (EX)
L
WIRE BRUSH
Remove any carbon deposits from the
combustion chamber using a soft wire brush.
N
FUEL TUBE
Check the fuel tubes for deterioration, cracks,
and other damage. Replace fuel tube(s) if
necessary.
© Honda Motor Co., Ltd. 2009
Advertisement
Table of Contents


Need help?
Do you have a question about the GX240 and is the answer not in the manual?
Questions and answers