Advertisement
Quick Links
Advertisement

Subscribe to Our Youtube Channel
Related Manuals for CAPIDI CAP288SWE

Summary of Contents for CAPIDI CAP288SWE
- Page 1 B A B Y A L A R M Instruction Manual...
- Page 2 Thank you for purchasing our digital babyalarm. Your unit has been manu factured and checked under the strictest possible quality control to ensure that each alarm leaves the factory in perfect condition. In the unlikely event you find any defects or have any problem, please contact our dealer or service center.
-
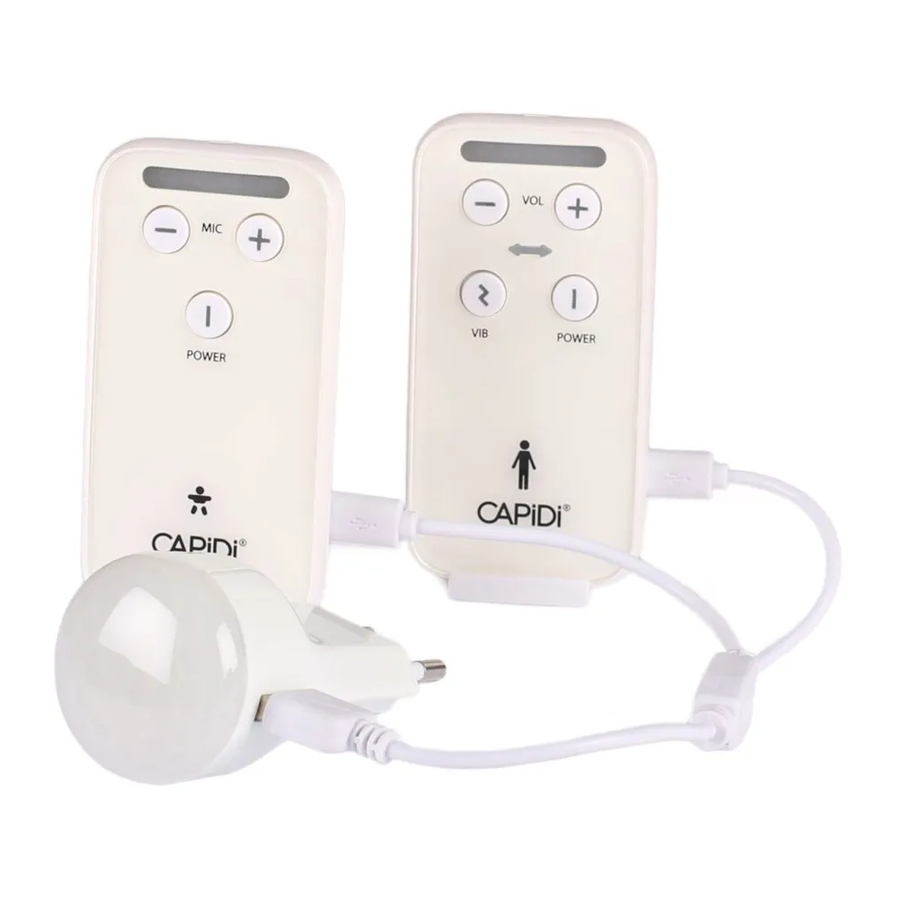
Page 3: Controls Layout
B A B Y U N I T PA R E N T U N I T CONTROLS LAYOUT 1 Power ON/OFF button 10 Volume down button 2 Mic sens up button 11 Power/battery low indicator 3 Mic sens down button 12 LED level meter 4 Power/battery low indicator 13 Vibration button... -
Page 4: Power Supply
POWER SUPPLY Baby Unit (BU) and Parent unit (PU) 1. Operation from Li-Po battery The Li polymer battery pack is partially charged up and already installed in the unit. Once switched on, the unit is operational. 2. Charging up the Li-Po battery Connect the USB Y-cable to USB nightlight and to USB port 7 17 The power on indicator... - Page 5 PAIRING This process is to match the PU with BU so that they can communicate with each other while no other devices (even babyalarm of identical model) can interfere with you or receiving your signal. The PU and BU are already paired when they are shipped from factory. However, in case you encounter interference, perform pairing again to archive better privacy 1.
- Page 6 OPERATION BABY UNIT (BU) 1. Place the BU about 1 m from the crib with the microphone facing towards the baby. Switch on the unit by long press of power button for 2 sec, the power indicator will show steady green. If this indicator starts flashing green, the battery level becomes low and need to be recharged using the supplied USB nightlight.
- Page 7 OPERATION PARENT UNIT (PU) 1. Switch on the unit by long press of power button . The power indicator will show steady green. If this indicator starts flashing green, the battery I 11 level becomes low and need to be recharged using the USB nightlight. At the same time, the LED level meter will show the battery status for around 5 sec.
- Page 8 REMOVE CLIP Both the BU and PU can be carried around using the belt clip. To remove the clip, follow diagram as shown : REPLACE FRONT COVER The front cover of this babyalarm is exchangeable. To replace front cover, see picture. 1.
-
Page 9: Standard Accessories
PRECAUTIONS • Use only the supplied USB nightlight, use of other adapters may cause damage to the babyalarm. • The babyalarm is best performed within a temperature range of 0°C to +50°C and the lowest operating temperature is -20°C • Do not leave the alarm exposed to strong sunlight for a long time or nearby any heat source, moisture and excessive environment.
Need help?
Do you have a question about the CAP288SWE and is the answer not in the manual?
Questions and answers