
Related Manuals for Brunswick Bridgeport


Summary of Contents for Brunswick Bridgeport
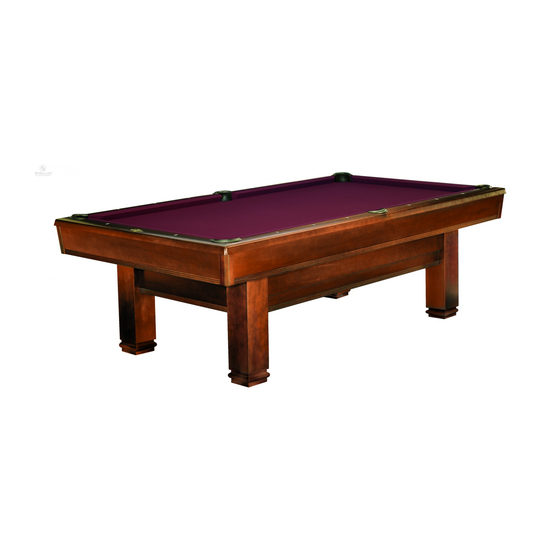
- Page 1 Bridgeport POCKET BILLIARD TABLE INSTALLATION MANUAL www.brunswickbilliards.com SERVICE DEPARTMENT P.O. BOX 68 BRISTOL, WI 53104 51-905884-000 AUGUST 2008...
- Page 2 NOTE: Please use the instructions in this manual to assemble the tables shown below. Illustrations may be different depending on the table being assembled. Also note that careful handling of all components will assure damage-free assembly. PAGE 2 BRUNSWICK INSTALLATION MANUAL...
- Page 3 Step #3: Attach the two bottom drawer runners to the cleats on the inside of the side stretchers using 1/4-20 x 2” hex head bolts, 1/4 flat washers and 1/4-20 hex nuts. Tighten securely. FIGURE THREE BRUNSWICK INSTALLATION MANUAL PAGE 3...
- Page 4 5/16-18 flat nuts. Step #7: Attach the two slate attach cleats to each end of the baseframe “B” as shown using 5/16-18 x 3-1/2” hex head screws, 5/16 flat washers and 5/16 hex nuts. FIGURE FIVE PAGE 4 BRUNSWICK INSTALLATION MANUAL...
- Page 5 Level the table by positioning shims under the other three legs until the table is level. Be sure that all four legs have positive bearing against the floor. FIGURE EIGHT BRUNSWICK INSTALLATION MANUAL PAGE 5...
- Page 6 Step #9: Slate joints can now be filled with Rock Hard putty or wax. Lightly sand or scrape across the joints after grouting. PAGE 6 BRUNSWICK INSTALLATION MANUAL...
- Page 7 NOTE: If your table is equipped with a gully return, the gully ball receiver should be installed at this time. Step #12: Center and attach gully ball receiver at the designated foot end of table as shown in Figure 2. BRUNSWICK INSTALLATION MANUAL PAGE 7...
- Page 8 Step 1. Step #6: Stretch the cloth from #1 to #3 and press into position. Step #7: Stretch the cloth #3 to #4, pulling from #1 and #2. Press into place. FIGURE THREE PAGE 8 BRUNSWICK INSTALLATION MANUAL...
- Page 9 #5 and toward the side pocket from #2 and tack or staple at #7. Step #10: Repeat Step 7, stretching from #6 and toward the side pocket from #4 and tack or staple at #8. FIGURE THREE BRUNSWICK INSTALLATION MANUAL PAGE 9...
- Page 10 NOTE: Occasionally cloth will stretch, leaving wrinkles at the pockets. To retighten, remove apron, one end rail and one side rail. Pull cloth taut, and retack or restaple along FIGURE SEVEN the open end and side to restore original tightness. PAGE 10 BRUNSWICK INSTALLATION MANUAL...
- Page 11 Step #6: Turn rail over and at corner pockets fold the cloth over the mitred edge as shown, stretching tightly and working out any wrinkles as you staple three places in area shown. FIGURE FIVE BRUNSWICK INSTALLATION MANUAL PAGE 11...
- Page 12 Step #12: Hold the small fold in place with thumb and forefinger and firmly hold it down over facing. Then staple at rear of facing and at bottom of rail as shown. Step #13: Trim excess cloth as required. FIGURE TEN PAGE 12 BRUNSWICK INSTALLATION MANUAL...
- Page 13 (#6 x 3/4"). Step #5: Butt the rails tightly together at the corners and square the corners with a carpenter's square. FIGURE THREE BRUNSWICK INSTALLATION MANUAL PAGE 13...
- Page 14 Step #8: Fasten the tie plate securely to the rails at these four locations with pan head cross recessed self tapping screws #10 x 3/4". Step #9: Into each rail, thread three, 3/8-16 threaded machine studs. Hand tighten securely. FIGURE FOUR PAGE 14 BRUNSWICK INSTALLATION MANUAL...
- Page 15 Step #6: Making sure that the side rails are in a straight line as sighted down the length of the table (cushion side), fasten the side rails securely with remaining nuts and dome washers. FIGURE FOUR BRUNSWICK INSTALLATION MANUAL PAGE 15...
- Page 16 APRON ASSEMBLY (CONTINUED) FIGURE FIVE Step #7: Position the side and corner pockets in their respective locations. Fit and trim pockets as necessary. Attach with four nails per pocket. FIGURE FIVE FIGURE SIX Step #8: Thoroughly brush the area on which the bed spots are to be applied.
Need help?
Do you have a question about the Bridgeport and is the answer not in the manual?
Questions and answers