Table of Contents
Advertisement
Advertisement
Table of Contents

Summary of Contents for Hitecsa TH-TUNE
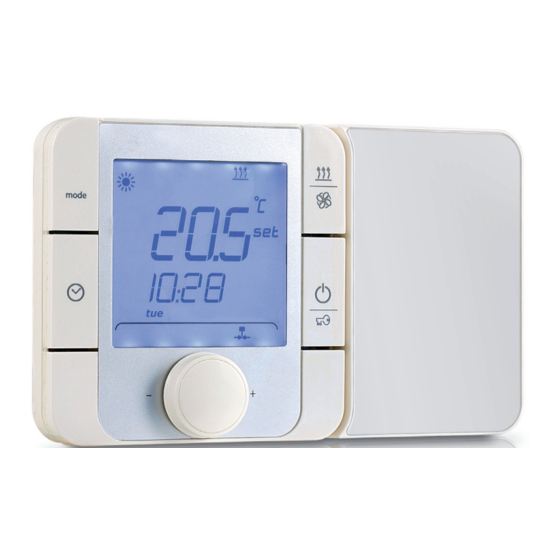
- Page 1 TH-TUNE AIR-AIR AND WATER-AIR AUTONOMOUS UNITS 06.18 207803 Rev.100...
- Page 2 Thank you for trusting the Hitecsa Products. Our company has been offering the market an extended range of specialized units for air conditioning and cooling installations for over 35 years. Our approach is based on efficiency, adaptability, usability and practical solutions.
-
Page 3: Table Of Contents
POWER SUPPLY ......................... 5 CONECTIONS ........................5 OPERATING MANUAL ....................... 6 DISPLAY: ..........................6 ON-OFF CONTROL ......................6 TEMPERATURE ADJUSTMENT ................... 6 Th-tune internal temperature probe calibration ............6 SYSTEM MODES ........................ 6 : ......................6 NTERNAL ODES ........................7 IME SCHEDULE Examples of time programming: ................. -
Page 4: Installation Instructions
TH-TUNE Air-Air and Water-Air autonomous units INSTALLATION INSTRUCTIONS 06.18 207803 Rev.100... -
Page 5: Electrical Conections
TH-TUNE Air-Air and Water-Air autonomous units ELECTRICAL CONECTIONS POWER SUPPLY The thermostat can operate at 50 Hz and at 60 Hz, and the voltage tolerances are 230V ± 20%. CONECTIONS Two wire power supply AWG18 (Cable section: 05 mm² to 1,5 mm²) connected to 230 VAC (L+N) terminals. -
Page 6: Operating Manual
TEMPERATURE ADJUSTMENT Adjust the setpoint temperature rotating the central button. Th-tune internal temperature probe calibration Apply a positive or negative correction value which will be added to the probe value. The zero value will not change the probe value. -
Page 7: Time Schedule
TH-TUNE Air-Air and Water-Air autonomous units OPERATION Time schedule Press and hold CLOCK button for 3 seconds until appears “Cloc” on the screen. (Make sure that the thermostat time is correct by selecting “Time band”). - In general, to scroll through the different screens, turn the central button and select by pressing it. -
Page 8: Warnings And Information Signals
Air-Air and Water-Air autonomous units OPERATION Warnings and Information signals On the Th-tune screen, some 4-letter alphanumeric characters (AL01) may appear, When the ( ) symbol also appears then it is an alarm, otherwise it is a warning or an information signal. The warnings disappear automatically when the cause disappears, however the alarms have to be reset. -
Page 9: Alarm Codes Description
TH-TUNE Air-Air and Water-Air autonomous units OPERATION Alarm Codes Description CODE DESCRIPTION FIELD AL01 Alarm probe B1 disconnected (Outdoor Temperature) General AL02 Alarm probe B2 disconnected (Air supply Temperature) General AL03 Alarm probe B3 disconnected (Comp. 1 discharge Temperature) General... -
Page 10: Description Of Modbus Parameters
TH-TUNE Air-Air and Water-Air autonomous units DESCRIPTION OF MODBUS PARAMETERS To be able to change the MODBUS parameters from the THTUNE terminal, the communications must first be enabled with a PGD1 or a MiniPGD terminal: Enable the supervisor in the factory level menu and enable Start / Stop of the unit through supervisor. - Page 11 TH-TUNE Air-Air and Water-Air autonomous units 06.18 207803 Rev.100 Reserved the right to make any modifications without previous notice.Translated from the original manual in Spanish.


Need help?
Do you have a question about the TH-TUNE and is the answer not in the manual?
Questions and answers
hau to lock the key board