Table of Contents
Advertisement
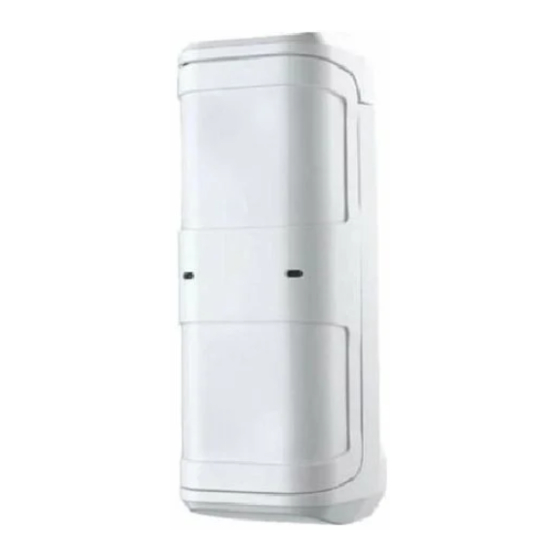
Quick Links
Advertisement
Table of Contents

Related Manuals for Texecom Prestige External Series


Summary of Contents for Texecom Prestige External Series
-
Page 1: Installation Manual
Installation Manual Prestige External Series Issue 2... -
Page 2: Accessing The Unit
Accessing the Unit Remove the top cap and loosen screw Push up head unit and remove. (screw retained in wall plate). Use a flat head screwdriver to lever out both sides of the terminal cover as shown. INS352-2... -
Page 3: Choosing A Location
Choosing a Location • Mounting height 1.0 - 1.4m (nominal 1.2m), measured to middle of unit. • Mount perpendicular to ground. ✓ Parallel 1.0 - 1.4m • Try to avoid direct sunlight. ✗ • Avoid pointing at swaying bushes/trees and swaying clothes on a clothes line. -
Page 4: Mounting The Unit
Mounting the Unit Front View WALL MOUNTING For wall mounting, the cable should be brought through the wall into the cable entry hole. Cable Entry REAR TAMPER To enable the rear tamper, the breakaway keyhole section must be securely fixed to the mounting surface. SURFACE WIRING For surface wiring, use the appropriate knockout in the Rear View... - Page 5 Wiring the Unit TERMINAL BLOCK 9-16 V 12V & 0V: ALARM: NO/NC (selectable) relay output. 18 Ω, 50V , 100mA Max. NC Relay output. TAMPER: 18 Ω, 50V , 100mA Max. RLED: 0V: LED off. 12V or No Connection: LED on. NC relay input.
- Page 6 JP4: LED JP5: MODE Day/Night Mode Night Mode Detector is always operating. Detector only operates at night. JP6 & JP7: END OF LINE JUMPERS Selects the End-of-Line Selects the resistance across the alarm resistance. Equivalent relay. Equivalent to wiring a resistor of the to wiring a resistor of selected value as shown.
- Page 7 Range Adjustment - Microwave (only on Prestige External DT) 6'6" 39'4" Ensure microwave range is set correctly to avoid detection of objects beyond the desired area of protection. INS352-2...
- Page 8 Range Adjustment - PIR Bottom of head unit To adjust the range of the detector, rotate the circular section shown until the desired range is shown in the window. Note: Range can vary due to environmental conditions. To reduce the risk of false alarms always select the lowest range possible for the installation.
-
Page 9: Coverage Area
Coverage Area Bottom of head unit Bottom of head unit Top View Top View Active Active detection detection coverage coverage 45˚ 90˚ 90˚ 45˚ 90˚ Walk-testing With the range, sensitivity, coverage and pulse count set as desired, enable the LEDs and walk-through the area of protection. -
Page 10: Auxiliary Input
As the Prestige External unit is not a complete alarm system, but only a part thereof, Texecom cannot accept responsibility or liability for any damages whatsoever based on a claim that the Prestige External MADE IN ENGLAND unit failed to function correctly. -
Page 11: Physical Specifications
Specifications Mounting Height: 1.0 - 1.4m, 1.2m nominal Supply Voltage: 9-16 V Current Drain (typical): Prestige External TD 28mA Prestige External DT 32mA Detection Method: Prestige External TD Dual, non-overlapping, digital PIR Prestige External DT Dual, non-overlapping, digital PIR / Microwave Range: 12m max. - Page 12 Texecom Limited, Bradwood Court, St. Crispin Way, Haslingden, Lancashire BB4 4PW, England. Technical Support: UK Customers Tel: 08456 300 600 (Calls charged at 3.36 pence per minute from a BT landline. Calls from other networks may vary.) International Customers Tel: +44 1278 411707 Email: techsupport@texe.com...
Need help?
Do you have a question about the Prestige External Series and is the answer not in the manual?
Questions and answers