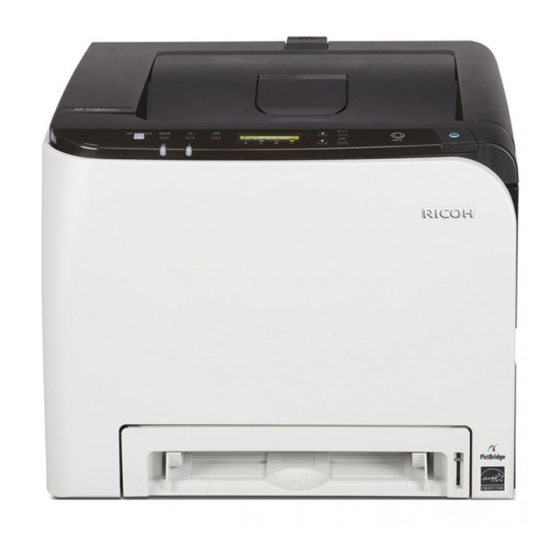
Ricoh SP C260DNW Setup Manual

Ricoh SP C260DNW Setup Manual

Hide thumbs Also See for SP C260DNW:

Advertisement

Setup Guide

1
Setting Up the Machine
2
Installing the Software
Control Panel Sheet
2
1

Advertisement

Table of Contents
loading

Summary of Contents for Ricoh SP C260DNW

  • Page 1: Setup Guide

    Setup Guide Setting Up the Machine Installing the Software Control Panel Sheet...
  • Page 3: Setting Up The Machine

    1. Setting Up the Machine 33 cm (13 inches) 20 cm (7.9 inches) 89.6 10 cm (4.0 inches) Power Source 120 - 127 V, 60 Hz, 11 A 220 - 240 V, 50/60 Hz, 6 A 20 cm (7.9 inches) 70 cm (27.6 inches) DAC502...
  • Page 4 DUE062 DUE064 DUD080 DUE066 DUE021 DUE022 DUE023 DUE024 DUE067 DUE074 DUE068 DUE069 DUE070 DUE071 DUE072...
  • Page 5 DUE073 Install the software to use the machine. Go to page 4 “2. Installing the Software”. For OS X, see User’s Guide in the provided CD-ROM or our website.
  • Page 6: Installing The Software

    After scanning the following QR code with After scanning the following QR code with your your smart device, search for the "RICOH smart device, search for the "RICOH Smart Smart Device Connector" application and Device Connector" application and download it download it from the site that appears.
  • Page 7: Connecting The Machine (Usb/Network)

    Connecting the Machine (USB/Network) Windows DUE077 DUE078 Select [USB Connection] or [Network Connection] according to communication environment or your device. ● The following items are necessary to set up a wired connection. ● USB interface cable or Ethernet interface cable ●...
  • Page 8: Connecting The Machine Via Wi-Fi

    Connecting the Machine via Wi-Fi Windows DUE079 Select [Wireless Connection]. Easy Setup Using the CD-ROM Using the CD-ROM supplied with this machine, you can install the driver from your computer and configure the wireless LAN settings for this machine. ● The following items are necessary to set up a wireless connection.
  • Page 9 Easy Setup Using the Wi-Fi Setup Wizard Press the [ ] or [ ] key to select [Wi-Fi], and then press the [OK] key. From the control panel of this machine, you can also configure the wireless LAN settings for the machine. The following item is necessary to set up a wireless connection.
  • Page 10 Connecting to devices using the WPA2-PSK or Connecting to the devices using the Open Mix Mode WPA2/WPA authentication System or Shared Key authentication 17. Enter the encryption key using the [ ] or [ ] key, and then 17. Press the [ ] or [ ] key to select the encryption method, press the [OK] key.
  • Page 11: Easy Setup Using The Wps Button

    Easy Setup Using the WPS Button 11. Press the [ ] or [ ] key to select [Host Interface], and then press the [OK] key. ● Before doing the following procedure, install the printer driver according to the procedure on page 5 "Connecting the Machine (USB/Network)".
  • Page 12: Easy Setup Using A Pin Code

    Easy Setup Using a PIN Code Press the [ ] or [ ] key to select [Active], and then press the [OK] key. ● Before doing the following procedure, install the printer driver according to the procedure on page 5 "Connecting the Machine (USB/Network)".
  • Page 13: Control Panel Sheet

    19. Execute WPS (PIN system) from the router (access point)’s 20. Check the result. web page. Connection has succeeded: • Press the [Menu] key to return to the initial screen. Connection has failed: • Press the [Back] key to return to the screen displayed in Step 16. Check the configuration for the router (access point), then try the connection again.
  • Page 14 Trademark Android is a trademark of Google Inc. IOS is a trademark or registered trademark of Cisco in the U.S. and other countries and is used under license. Wi-Fi, Wi-Fi Direct, Wi-Fi Protected Setup, WPA, Wi-Fi Protected Access, WPA2, and Wi-Fi Protected Access 2 are registered trademarks of Wi-Fi Alliance.
  • Page 15 M0AS-8603A...

This manual is also suitable for:

Sp c262dnwSp c261dnw

Table of Contents