Scottoiler eSystem Installation Manual
For kawasaki gpz 500 2003; kawasaki gpz 500 2004; kawasaki gpz 500 2005; kawasaki gpz 500 2006; kawasaki gpz 500 2007; kawasaki gpz 500 2008; kawasaki gpz 500 2009; kawasaki gpz 500 2010; kawasaki gpz 500 2011; kawasaki gpz 500 2012; kawasaki gpz 500 201
Hide thumbs
Also See for eSystem:
- Operating manual (25 pages) ,
- Installation manual (1 page) ,
- Installation manual (1 page)
Advertisement
Quick Links
English-Kawasaki-GPZ 500 (03-)-17th Octoder 2014
Scottoiler: Kawasaki GPZ 500 (03-)
Scottoiler eSystem (the electronic Scottoiler) Installation Guide
Note: Picture shows a similar Swingarm
Note: This is a generic image
Note: This is a generic image
If you have any further comments or queries, and are unable to resolve them using our website, please do not hesitate to call
technical on 0141 955 1100 or email
Scottoiler Ltd. 2 Riverside, Milngavie, Glasgow, G62 6PL Tel. 0141 955 1100 Fax. 0141 956 5896
The delivery tubing can be routed along the swingarm
using conduit and glue or self adhesive cable clips
and the dispenser can be secured on the rear spindle
using a Dispenser plate & Clip. For further information
see our easy step installation guide -
Assemblies,
General. The nib should feed the rear
sprocket between the 6 & 7 o'clock positions, with the
cut face outwards.
Connect the delivery tubing to the check valve but do
not connect the check valve, part 6, to the REP, part
7, until you are priming the system.
See picture below left
The REP can be mounted on the frame or under the
seat and can be orientated anywhere between
horizontal and vertical, as long as the nozzle is
inclined upwards. Remember to avoid exhaust and
engine components and to keep the filling hole
accessible. For further information, see our easy step
installation guide –
Reservoir Positions,
The Display Bracket, part 5, can be rotated through
360° to give 4 mounting options and can also be
flipped to provide 4 further options. The bracket can
be secured to any M5 / M6 bolt e.g. brake or clutch
lever, brake cylinder or fairing mountings, in some
cases you might need to trim the supplied bolt. It is
possible to bend the bracket to shape, do so before
fitting the Display Unit, part 1, to prevent damage to
the unit. Alternatively, the Sticky Fastener, part 4, can
be used to securely fasten the Display Unit to any flat
surface e.g. the fork yokes.
See third picture
Locate the bikes' battery and attach the red terminal
from the display unit to the +ve terminal on the battery,
and attach the black terminal to the -ve terminal of the
battery. Take care when routing the wires, avoiding
hot engine and exhaust components and also
avoiding moving parts such as the throttle linkages.
Where possible follow existing wiring and secure
using cable ties.
Once fitted, fill the REP and prime the pump. Attach
the delivery tubing and prime until the oil reaches the
rear sprocket and then install the check valve. Do not
install the check valve until the delivery tubing
is full.
For further information, see the website
page
which includes the Setup and Installation Guide.
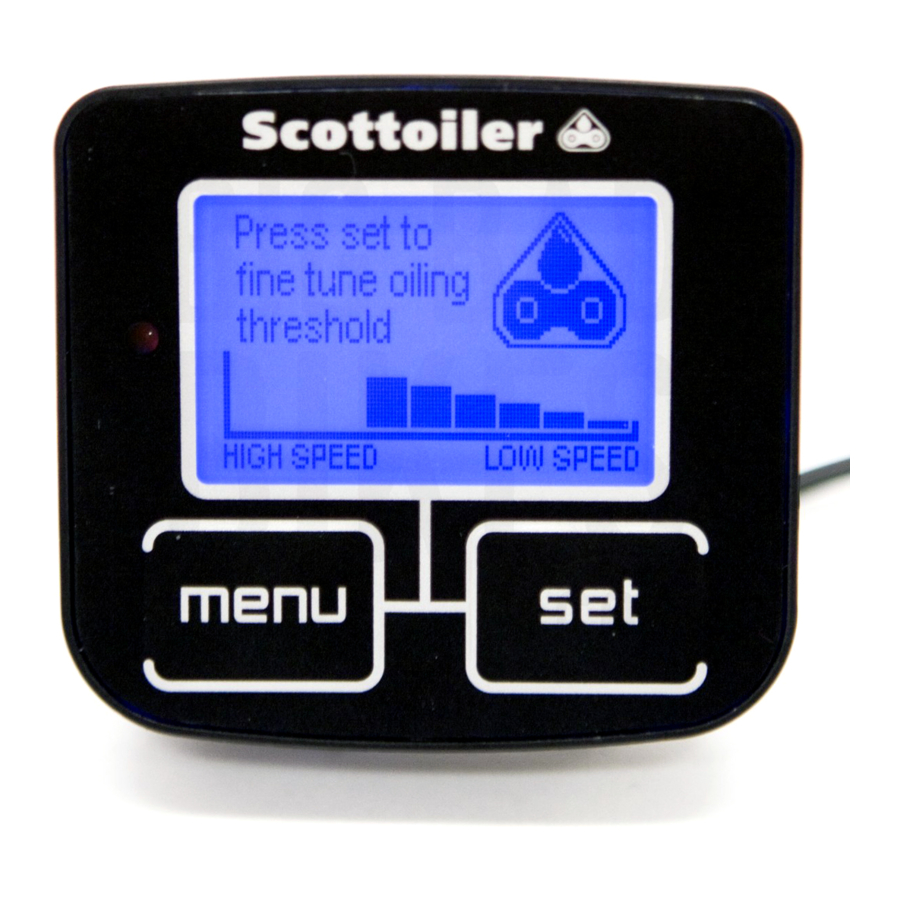
Set the flow rate, using the 'Driving Screen' on the
Display Unit, to 60-70 seconds per drop (s/dp), check
the condition of your chain after a ride, and adjust as
required.
See picture bottom left
technical@scottoiler.com
for assistance. Thank you.
KAW-037
Dispenser
General.
eSystem
www.scottoiler.com
Advertisement


