Table of Contents
Advertisement
Quick Links
P9 WX33NST
QuickStart Guide
Accessories
Please make sure that following items
are in luded in the box, along with the
main. If any items missing, contact
your deale .
WARNING
2 Pens
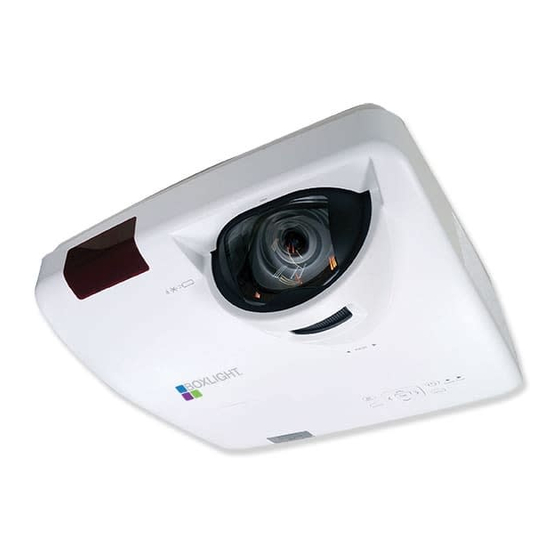
Projector
USB Mini cable
The brightness in a room has a great influence on picture quality. It is recommended to limit the ambient lighting in
Positioning the projector
order to get the best image.
All measurements are approximate and may vary from the actual sizes.
XGA
(Diagonal:Inch)
0.943 m(1.03m)
(Diagonal:Inch)
100"
0.845 m(0.924m)
0.943 m(1.03m)
0.748 m(0.817m)
100"
0.845 m(0.924m)
90"
0.65 m(0.711m)
0.748 m(0.817m)
Fixed
90"
0.65 m(0.711m)
80"
0.552 m(0.605m)
Fixed
80"
70"
0.552 m(0.605m)
0.455 m(0.498m)
70"
60"
0.455 m(0.498m)
60"
50"
50"
(Center)
(Center)
Note: The data in "()" is the project distance for 16:9 aspect ratio.
WXGA
(Diagonal:Inch)
1.004 m(1.03m)
1.004 m(1.03m)
(Diagonal:Inch)
100"
0.9 m(0.924m)
0.9 m(0.924m)
100"
0.796 m(0.817m)
0.796 m(0.817m)
90"
90"
0.692 m(0.711m)
0.692 m(0.711m)
Fixed
80"
Fixed
80"
0.587 m(0.605m)
0.587 m(0.605m)
70"
70"
0.484 m(0.498m)
0.484 m(0.498m)
60"
60"
50"
50"
(Center)
(Center)
Note: The data in "()" is the project distance for 16:9 aspect ratio.
Brfore using, read the " Quick Start Guide " and the owner's manual to ensure
correct usage through understanding.
After reading, store them in a safe place for future reference.
Do not look into the lens while the projector's power is turned on.
Do not put something close the lens when power on the projector, it may damage
the projector or may cause fire hazard.
AC Power cord
Remote control with batteries Quick start guide
INPUT
VGA
VIDEO
HDMI
AUTO
MENU
KEYSTONE
IMAGE
FREEZE
PATTERN
SCREEN
LAMP
MUTE
INFO.
BLANK
+
+
D.ZOOM VOLUME
TIMER
-
-
HDMI cable
User's Manual (CD)
WiFi Dongle
(Optional)
4:3
Screen
50"
60"
70"
80"
90"
size
1016
1219
1422
1626
1829
(WxH)mm
x
x
x
x
X
4:3 aspect
762
914
1067
1219
1372
ratio
zoom fisso 0.455m 0.552m 0.65m 0.748m 0.845m 0.943m
16:9
50"
60"
70"
80"
90"
Screen size
(WxH)mm
1107
1328
1550
1771
1992
16:9 aspect
x
x
x
x
X
ratio
623
747
872
996
1121
Welcome
zoom fisso 0.498m 0.587m 0.692m 0.796m
0.9m
16:10
50"
60"
70"
80"
90"
Screen size
(WxH)mm
1077
1292
1508
1723
1939
16:10 aspect
x
x
x
x
x
ratio
673
808
942
1077
1212
z o o m f i s s o 0.484m 0.587m 0.692m 0.796m 0.9m 1.00m
16:9
50"
60"
70"
80"
90"
Screen size
(WxH)mm
1107
1328
1550
1771
1992
16:9 aspect
x
x
x
x
X
ratio
623
747
872
996
1121
zoom fisso 0.498m 0.587m 0.692m 0.796m
0.9m
Turn on the projector
1.Complete peripheral connections (with a computer, VCR,etc.) before
turning on theprojector.
2.Connect the projector's AC power cord into the AC outlet. The POWER
indicator turns red.
3.Press the POWER button on the top control or on the remote control. The
POWER indicator becomes green and the cooling fans start to work. The
preparation display appears on the screen.
4.If the projector is locked with a PIN code, a PIN code input dialog box
appears. Enter the PIN code as instructed below.
Enter a PIN code
Press the OK button, press button to select a number and press the OK button to enter it to the PIN code
box, then number changes to "*", automatically move the cursor to next box.
If you fixed an incorrect number, press MENU button to reset it again.
Repeat the steps to complete entering a threedigit number. After entering the three-digit number, automatically
move the cursor to "Set", press the OK button then you can start to operate the projector.
If you entered an incorrect "PIN code", the number (***) turn red. PIN code will be reset within one
second automatically, Enter the correct PIN code all over again.
Install remote control batteries
① Open the battery cover.
To ensure safe operation, please observe the following precautions:
● Use two (2) AAA or LR3 type alkaline batteries.
● Always replace batteries in sets.
● Do not use a new battery with a used battery.
● Avoid contact with water or liquid matter.
● Do not expose the remote control to moisture or heat.
● Do not drop the remote control.
Operating range
100"
2032
Point the remote control toward the remote control receivers
x
on the projector (front and back) when pressing any button.
1524
Welcome
The maximum operating range for the remote control is
about 5 meters and 60 degrees.
100"
2214
x
1245
1.004m
Adjustable foot
100"
The projector can be adjusted up to 40 mm (10 degree) with the
2154
adjustable foot. Rotate the adjustable foot to lift the projector to
x
a certain height. During lifting, rotate the footclockwise.
1346
To lower or retract the adjustable foot, rotate the foot counterclockwise.
Keystone distortion of projected images can be corrected by auto
100"
settings, remote control operation or menu operation.
2214
x
1245
1.004m
Move
Move the cursor to "Set", and press "OK".
移动
② Install new batteries.
③ Put the cover back.
Two AAA batteries
For correct polarity
(+ and –), be sure
battery terminals
are in contact
with pins in the
compartment.
● If the battery has leaked in the remote control, carefully wipe the case clean
and install new batteries.
● Risk of explosion if two batteries are replaced by an incorrect type.
● Dispose of used batteries according to the instructions on the battery or local
regulations or guides.
30°
5m
Adjustable foot
PIN Code
*
Set
Cancel
Select
Back
OK
Esc
30°
30°
5m
Advertisement
Table of Contents

Related Manuals for BOXLIGHT P9 WX33NST


Summary of Contents for BOXLIGHT P9 WX33NST
- Page 1 P9 WX33NST Turn on the projector QuickStart Guide 1.Complete peripheral connections (with a computer, VCR,etc.) before turning on theprojector. PIN Code 2.Connect the projector’s AC power cord into the AC outlet. The POWER indicator turns red. 3.Press the POWER button on the top control or on the remote control. The POWER indicator becomes green and the cooling fans start to work.
- Page 2 - Make sure you are not too far from the projector when using the on the lens. If so, you have to wait till the condensed water remote control. Maximum operating range is 5 m. disappears. - Unlock the Key lock function in the Setting menu for the remote BOXLIGHT.COM control.
Need help?
Do you have a question about the P9 WX33NST and is the answer not in the manual?
Questions and answers