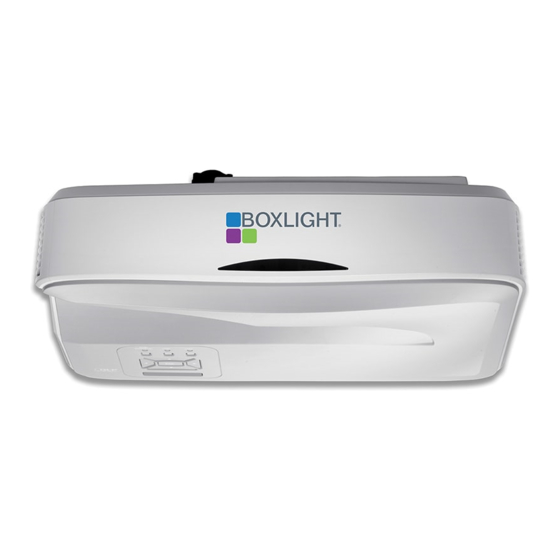
Advertisement
Quick Links
P12 Projector Mounting Guide for Pen- and Non-Interactive Models
Introduction
This document provides positioning information for the P12I pen-interactive and P12N non-interactive projectors, enabling you to
determine the proper placement for the WXGA, 16:9, and ultra-wide models of the P12 projector. It is essential to reference the
correct table for the projector model and measurement units (millimeters or inches) when placing the wall bracket.
Note: This document is only for the pen-interactive and non-interactive models of the P12 projector. The positioning information
for the touch-interactive P12 models is on a separate document titled "P12 Touch-Interactive Projector Positioning Guide."
Background
For the pen-interactive and non-interactive models of the P12 projector, the projected image can be positioned at the top of the
whiteboard's projection surface. The wall mount bracket will produce an image of the desired size when the top of the wall plate
is positioned at a distance "O" as on the diagram below (outlined in red-dashes).
Figure 1
Positioning the Wall Bracket
It is essential to horizontally position the wall bracket as shown on the diagram at right. The left edge of the
wall bracket must be 0.5" (13mm) to the right of the intended image center. If the wall bracket is instead
centered on the whiteboard, which initially seems the likely placement, the displayed image will not be
centered and proper alignment will not be possible.
Vertical positioning of the wall bracket should be determined from the relevant table below based on the
intended image size and aspect ratio.
Figure 2
Mounting Arms
The 27" (697mm) WallMount-P12W is the model bundled with the WXGA and 16:9 models.
The longer 33" (841mm) WallMount-P12U is the model bundled with the P12 ultra-wide model.
1
Advertisement

Summary of Contents for BOXLIGHT P12 Series
- Page 1 P12 Projector Mounting Guide for Pen- and Non-Interactive Models Introduction This document provides positioning information for the P12I pen-interactive and P12N non-interactive projectors, enabling you to determine the proper placement for the WXGA, 16:9, and ultra-wide models of the P12 projector. It is essential to reference the correct table for the projector model and measurement units (millimeters or inches) when placing the wall bracket.
- Page 2 P12 Projector Mounting Guide for Pen- and Non-Interactive Models Example To produce the largest possible diagonal image at 16:10 aspect ratio on a frameless whiteboard: • Measure the width and height of the projection surface. In this example, the measured width is 80” and the height is 48”. •...
- Page 3 P12 Projector Mounting Guide for Pen- and Non-Interactive Models Alignment Figure 4 Figure 5...
- Page 4 P12 Projector Mounting Guide for Pen- and Non-Interactive Models...
- Page 5 P12 Projector Mounting Guide for Pen- and Non-Interactive Models P12 Pen-Interactive and Non-Interactive Projector Positioning Tables P12 WXGA (16:10) Wall mount installation measurement chart - inches Distance Distance from surface Distance from surface Distance Distance from top of Diagonal from top of from top of Image width Image height whiteboard image to top image size whiteboard image to top image to top (W) in in. (H) in in. to center of of interface (S) in inch to back of of wall plate...
- Page 6 P12 Projector Mounting Guide for Pen- and Non-Interactive Models P12 1080P (16:9) Wall mount installation measurement chart - inches Distance Distance from surface Distance from surface Distance Distance from top of Diagonal from top of from top of Image width Image height whiteboard image to top image size whiteboard image to top image to top (W) in in. (H) in in. to center of of interface (S) in inch to back of of wall plate of projector projector boss (O1) in projector (T1) (O) in in.
- Page 7 P12 Projector Mounting Guide for Pen- and Non-Interactive Models P12 UWHD (16:6) Wall mount installation measurement chart - inches Distance Distance from surface Distance from surface Distance Distance from top of Diagonal from top of from top of Image width Image height whiteboard image to top image size whiteboard image to top image to top (W) in in. (H) in in. to center of of interface (S) in inch to back of of wall plate of projector projector boss (O1) in projector (T1) (O) in in.
- Page 8 P12 Projector Mounting Guide for Pen- and Non-Interactive Models Wall Mount P12U and P12W Plate Template CONFIRM PRINTED PAPER SIZE 1. Template must be printed at 100%. 2. Prior to printing, ensure that Page Scaling is set to “None” on your print dialog box. 3.
- Page 9 P12 Projector Mounting Guide for Pen- and Non-Interactive Models Caution 1. To ensure safety, please read this manual carefully before installation and follow the instructions herein. Store this manual in a secure place for future reference. 2. The manufacturer shall not be responsible legally for any equipment damage or personal injury caused by incorrect installation or operation not covered in this manual.


Need help?
Do you have a question about the P12 Series and is the answer not in the manual?
Questions and answers