Advertisement
Quick Links
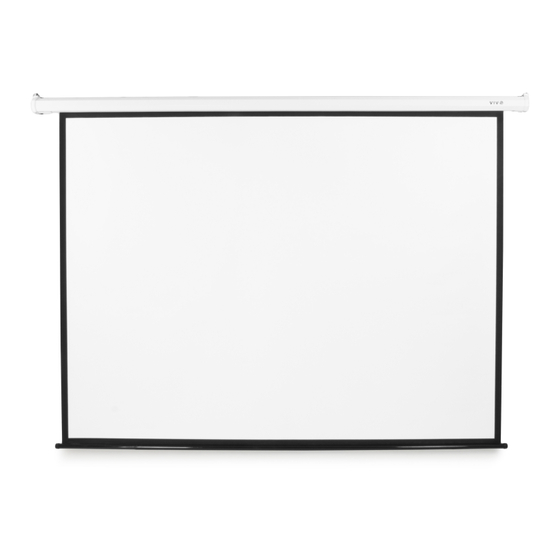
Motorized Projec Projection Screen Screen Screen
Instruction Manual
Mod Projec e l: PS-E-1 PS E-100E 100E-100E
Email: help@vivo-us.com
Live chat: www.vivo-us.com
Call: 1-800-371-5654
- -
Scan the QR code with your mobile device or follow the link
to helpful videos and specifications related to this product.
https Requir : PS-E-1 / /vivo us Requir . com/prod Projec u cts Requir / ps Requir e 100e
-
Tools Requir Required Projec : PS-E-1
phillips screwdriver, drill
Package Con Screen t en Screen t s Requir
Electric Projection Screen Unit
Remote Control
Wall Mount Caddy
To increase screen life and avoid damage, be sure to
retract the screen when not in use.
- -
Remote Control
NOTE: Hooks not included
1
Advertisement

Related Manuals for Vivo PS-E-100E


Summary of Contents for Vivo PS-E-100E
- Page 1 Scan the QR code with your mobile device or follow the link to helpful videos and specifications related to this product. https Requir : PS-E-1 / /vivo us Requir . com/prod Projec u cts Requir / ps Requir e 100e Tools Requir Required Projec : PS-E-1...
- Page 2 Step 2b In Screen s Requir t allation Screen Steps Requir Ceiling Installation: Insert hooks (not included) into drilled Step 1 holes, and tighten nuts with a wrench until hooks fit securely in Drill holes in wall or ceiling place. Carefully hang projector screen on hooks using the pre- to match the distance installed metal rings.
- Page 3 Step 2 Programmin Screen g multiple s Requir c reen Screen s Requir to a s Requir i n Screen g le remote To lower the screen: press the down arrow button on the Programming remote or wall unit. When the screen has reached the desired Step 1: Hold the stop button on the wall control unit for 5 seconds, height, press the center stop button.
- Page 4 Scan the QR code with your mobile device or follow the link us. We are happy to replace parts to ensure you have a fully to helpful videos and specifications related to this product. functioning product. For more VIVO products, check out our website at www.vivo-us.com. Last updated: 4/27/18...
Need help?
Do you have a question about the PS-E-100E and is the answer not in the manual?
Questions and answers