Advertisement
Advertisement
Table of Contents

Related Manuals for Nellie's WOW


Summary of Contents for Nellie's WOW
- Page 1 USER MANUAL...
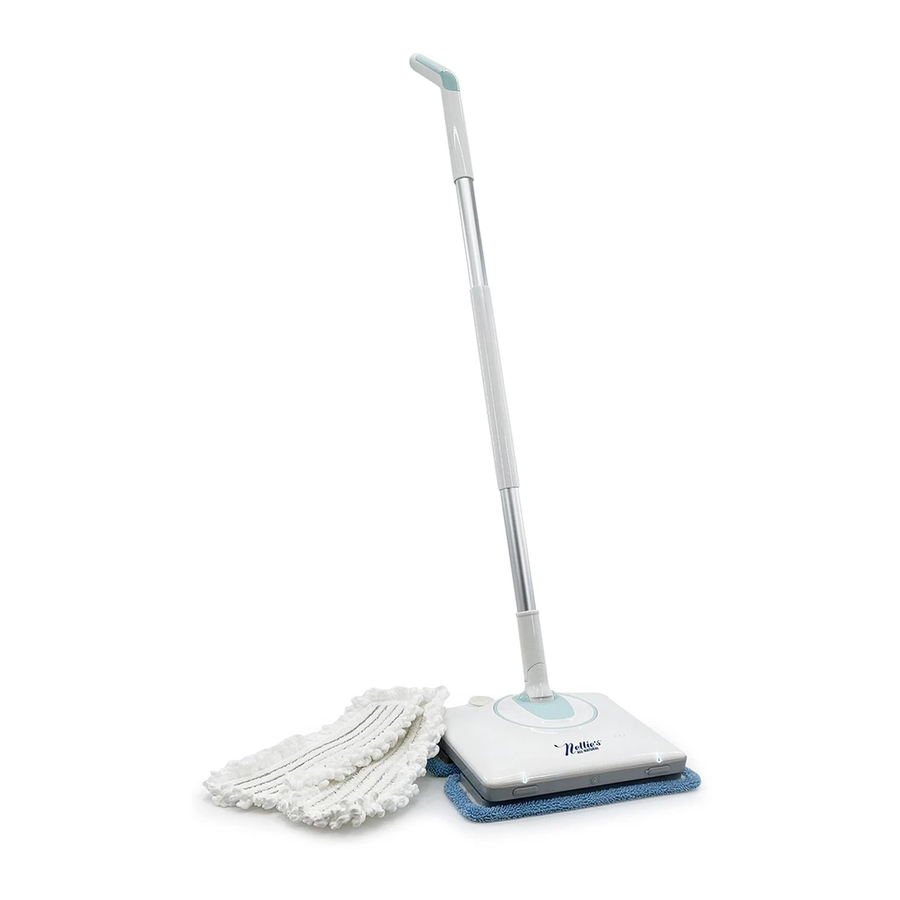
- Page 2 WOW MOP COMPONENTS Spray Button Power Button Pad Attach Nozzle (Shadowed Area) Handle Reservoir Base...
-
Page 3: Carton Contents
CARTON CONTENTS Measuring Cup WOW Wet Floor Pads WOW Dry Floor Pads Adapter User Manual... - Page 4 ASSEMBLY 1. Press down the lock catch to make the aluminum pipe connect with the 2. Place the base on the ground and keep the joint part straight. handle and decorative casing. Note: It may take some strength to fold the movable handle. Lock Catch Aluminum Pipe 3.
-
Page 5: Instructions For Use
INSTRUCTIONS FOR USE Power ON/OFF Adding Cleaning Solution Operating Pull back the handle. After hearing a clicking Open the cap of the reservoir and fill using the Press the power button on the handle to make sound, the headlamp and power indicator lamp measuring cup to add liquid. -
Page 6: Operation Tips
INSTRUCTIONS FOR USE OPERATION TIPS Battery Lights Handle Put handle in upright position to turn off. Three battery lights will show the status of the battery. 100%, 65% and 30%. 3 lights will flash when the machine is low in battery indicating to charge immediately. Cleaning Pads Notes: •... -
Page 7: Troubleshooting
TROUBLESHOOTING Fault Cause Treatment 1. Mop pads are not aligned with base. 1. Realign mop pads on the base. Unit is vibrating/wobbling. 1. Reservoir may be empty. 1. Refill reservoir. Reduced spray or no spray. 2. System isn’t completely primed. 2. - Page 8 TROUBLESHOOTING Fault Cause Treatment 1. Cord damage. 1. While unplugged, inspect the full length of No power. the cord for damage and refer to a qualified technician if there is damage. 2. Handle not properly in place. 2. Remove handle and click back into body. To remove handle: •Hold base of machine with your foot, then insert screwdriver into the slot beneath the cord...
-
Page 9: Hazardous Substances
WARNINGS Hazardous Substances Components Lead Mercury Cadmium Chromium Polybrominated biphenyl Polybrominated diphenyl ethers (Pb) (Hg) (Cd) (Cr (VI)) (PBB) (PBDE) Circuit Board Metal Element Monoblock Dry Cell Charging Battery The chart is based on the regulation of SJ/T11364 o: Means the content of the hazardous substance indicated in contained in the component is within the limits set by GB/T26572. x: Means the content of the hazardous substance indicated in contained in the component is higher than the limits set by GB/T26572. -
Page 10: Important Safety Instructions
IMPORTANT SAFETY INSTRUCTIONS Usage Battery & Charging Only for home use. Do not use charger and charging batteries provided by any third parties. Please remove large particles or substances from the floor before using. This product is not for Do not self disassemble or remodel the battery sweeping or vacuuming. -
Page 11: Technical Parameters
TECHNICAL PARAMETERS Name Parameters Battery 2000 mAh Voltage Rating 12 V Rated Power 35 W Power Charger Voltage 12.6 V Charging Time 3 - 5 h NELLIE’S 114–2455 Dollarton Highway North Vancouver, BC V7H 0A2 888.984.7471 nelliesclean.com Made in China...
Need help?
Do you have a question about the WOW and is the answer not in the manual?
Questions and answers
re: scrubber pads 1. which pad should be attached to the front and which one to the back 2. can I use two scrubber pads attached at the same time, to clean the floor, then use two polisher pads to ‘finish’ the job? I have been using the scrubber pad with the polisher pad. my clean Nellie scrubbed floor looks clean, but NOT so shiny clean … help.
The manual does not specify which scrubber pad should be attached to the front or back of the Nellie’s WOW. It also does not state whether two scrubber pads and two polisher pads can be used simultaneously. Therefore, this information cannot be determined from the provided context.
This answer is automatically generated
Three lights are on, first one blinking. No power when handle lowered.plugged in to charger. Has not been used in a while.
When three lights are flashing on the Nellie's WOW, it indicates a low battery and the machine needs to be charged immediately. There is no power when the handle is lowered because the battery is low. To stop the flashing lights, put the handle in the upright position.
This answer is automatically generated
how to change battery in handle
how to change batteries
My mop keeps stopping and won’t work for a while and then works for about one minute and shuts off again….it is fully charged…at least the 3 lights are n