Table of Contents
Advertisement
Quick Links
iNstructioNs
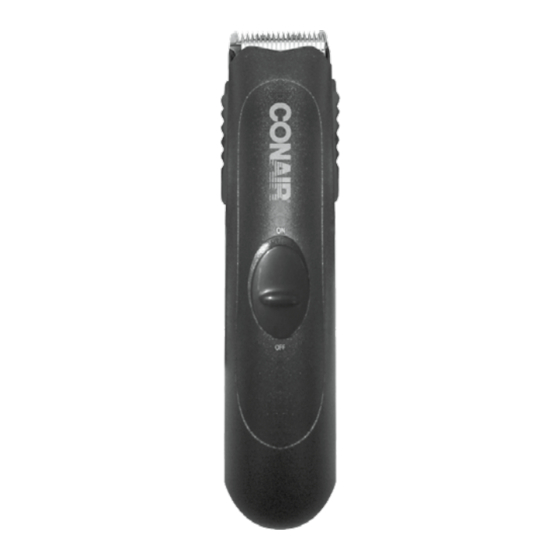
On/Off Switch
For use
1. Always purchase the correct size and grade of
battery most suitable for the intended use.
2. Replace all batteries of a set at the same time.
*Requires 2 AA batteries (not included). We recommend
3. Clean the battery contacts and also those of
using alkaline batteries in your trimmer because they
the device prior to battery installation.
last longer.
4. Ensure the batteries are installed correctly
Do not mix old and new batteries. Do not mix alkaline,
with regard to polarity (+ and -).
standard (carbon zinc), or rechargeable (nickel cadmium)
batteries
5. Remove batteries from equipment which is not
to be used for an extended period of time.
6. Remove used batteries promptly
oiLiNG the BLades
save these
About once a month you should oil the trimmer
iNstructioNs
blades. It is best to do this over a piece of news-
paper. Turn the trimmer on and hold it so that the
blades are pointed downward. Spread one drop of
For househoLd use oNLY
oil across the blades, then turn the trimmer off and
oPeratiNG iNstructioNs:
wipe away the excess oil with a soft cloth.
Be careful not to use too much oil and don't oil
1. Remove the battery compartment cover by
your trimmer more than necessary, as this could
pushing in and down toward the bottom of the
damage the motor. (Never attempt to oil the motor
trimmer.
bearing as it is permanently lubricated.)
2. Align the AA batteries with the positive and
Keep oil out of reach of children.
negative positions indicated inside the battery
compartment. Being careful not to bend the clips,
insert the negative end of each battery first so it
will slip easily into position.
3. Return the battery cover to its original position
by pushing it in and up until you hear a small
click as it locks into place.
4. To use your trimmer, push ON/OFF switch up-
wards to ON position.
5. After you finish using your trimmer, push down
on the ON/OFF switch to turn the trimmer off.
BLade care
Because the trimmer blades are precision made
for a very special use, they should always be
handled with care. This trimmer comes with a
removable blade set for easy cleaning. To remove
the blades follow these steps:
1. Make sure the trimmer is off, and the batteries
have been removed.
2. With the power switch facing you, gently push
up under the blades until they pop off.
3. To replace, align the tabs on the bottom of the
blades inside the mounting area on the back of
takiNG care
the trimmer and push down until the blades snap
oF Your trimmer
into place. Each time you finish using the trim-
mer, take the cleaning brush provided and brush
away any loose hair that has collected in the
blades. Then store the trimmer until the next use.
Be especially careful when changing or adjusting
blades. When you have your trimmer serviced,
be sure that all blades are sharpened or replaced
at the same time.
To promote the long life of the appliance, use your
trimmer only for the purpose intended by the manu-
facturer to trim your beard and mustache.
GrowiNG a Beard
aNd mustache
There are three key factors that determine which
beard or mustache style is most suitable for
your face:
1. The shape and dimensions of your face.
2. The natural growth of your beard/mustache.
3. The thickness of your beard/mustache.
If you are unsure of the type of beard or mus-
tache that most suits your face, speak with a
professional hair stylist and ask for an opinion
on what style would be best.
tYPes oF Beards/mustaches
1. Your trimmer adjusts to five positions so you
can have a beard length from 1/8" (shortest) to
Once your beard or mustache has been styled,
5/8" (longest).
it is essential that you maintain its appearance.
2. To use the 5-position comb, slide it over the
To do this, use your shaper to trim your beard/
trimmer blades and snap down into position. At
mustache weekly.
first, until you become familiar with the adjust-
For the best trimming results, your beard should
ments, use the longest trim setting (5/8"). (You
be slightly damp (not wet) before using the trim-
can always go back and make your beard a
mer. This will prevent the trimmer from removing
little shorter.)
more hair than desired.
3. Begin trimming your beard using smooth,
GettiNG started
even strokes. Start with your sideburns and work
downward toward your chin. (Never attempt to
outLiNiNG Your Beard
trim against the natural growth of your beard,
1. It is always best to begin with a clean, slightly
because the hair will be cut too short.)
damp beard.
4. If you decide you want a closer trim, you can
2. After you have combed
now adjust the 5-position comb to a shorter set-
through your beard in the
ting (such as 1/2" or 3/8") and go over your beard
direction it grows natu-
again until you achieve the desired length.
rally, you will want to
outline the desired shape,
beginning under your jawline.
3. Begin defining your
beard's shape under
your chin and work
upward on each side of
your face toward your
ears. Then define the upper outline of your beard
across your cheeks, past your sideburns and
toward your hairline.
Now You're readY
to trim Your mustache
to trim Your Beard
1. For best results, start with a clean, slightly
damp mustache.
2. Comb through your mus-
tache in the direction it grows.
3. Place the 5-position comb
over the trimmer blades and
snap it into position. It is a
good idea to start with the longest trim setting
adjustment. (You can always go back and cut your
mustache more closely with a shorter setting.)
aLwaYs trim Your mustache
From the toP dowN
After your mustache has
been trimmed to the desired
length, remove the 5-way
trimming attachment and,
using the blades only, define
the outline of the bottom of
your mustache.
usiNG the Nose/ear
hair attachmeNt
1. Make sure the trimmer on/off switch is in the
"off" position. Detach the normal trimming blade
(see section on Blade Care). Fit the tab on the
back of the nose/ear hair attachment into the
notch inside the trimmer head. Push the attach-
ment towards the front of the trimmer until it
snaps into place. Turn the on/off switch to the
"on" position. While detaching the attachment,
make sure the power switch is facing you and
press the attachment away from you.
Advertisement
Table of Contents

Related Manuals for Conair GMT100RDCS


Summary of Contents for Conair GMT100RDCS
-
Page 1: Getting Started
iNstructioNs BLade care tYPes oF Beards/mustaches Now You’re readY to trim Your mustache On/Off Switch Because the trimmer blades are precision made to trim Your Beard 1. For best results, start with a clean, slightly For use for a very special use, they should always be damp mustache. - Page 2 BEARD MUSTACHE trouBLe shootiNG Beard/mustache trimmer Conair will repair or replace, at our option, your appliance free of charge for 24 months from the There are several things to look for if your trim- T R I M M E R...
Need help?
Do you have a question about the GMT100RDCS and is the answer not in the manual?
Questions and answers