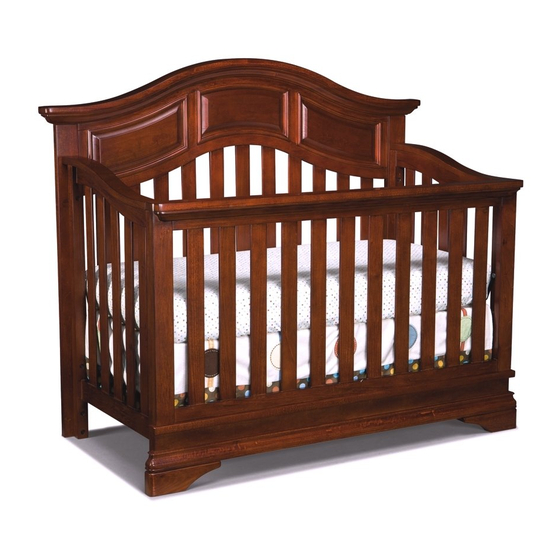
Westwood Design Donnington Assembly Instructions Manual
Convertible crib
Hide thumbs
Also See for Donnington:
- Assembly instruction manual (7 pages) ,
- Assembly instruction manual (11 pages)
Advertisement
Quick Links
Advertisement

Summary of Contents for Westwood Design Donnington
- Page 1 Assembly Instructions Donnington Convertible Crib...
- Page 3 Congratulations on your purchase of a Westwood Design product. We take great pride in the quality and design of our furniture. The safety of your child is our highest priority. It is important that you read these instructions carefully and completely to ensure that this product functions as it was designed.
- Page 4 Hardware: Allen Wrench Were you expecting more hardware? This crib uses Westwood's ground-breaking Always There Hardware system- the hardware is permanently contained inside the crib, so it is easier to assemble, there is no hardware to misplace if you put the crib into storage, and no chance of using the wrong bolt in the wrong location.
- Page 5 Step 1 A. Align the Headboard (A) with the crib sides. The spring mounting holes on the crib sides must face the inside of the crib B. Thread the bolts into the fittings on the headboard and tighten with the allen wrench. Repeat for the other side.
- Page 6 Step 2 A. Thread the screws on the Mattress Support (F) into the attachment holes on the crib sides and tighten with the allen wrech. There are three possible height settings. The support should be at its highest setting for newborns, then adjusted to the lower positions as the child grows and becomes mobile.
- Page 7 Step 3 A. Place the Footboard (B) against the front of the crib. B. Thread the four bolts into the footboard fittings, but don’t tighten them all the way yet. Repeat for the other side. C. Once all the bolts are threaded, tighten them with the allen wrench. Footboard (B) Thread and tighten all three bolts (both sides)
- Page 8 Day Bed Conversion A. Undo the four bolts attaching the upper footboard to the sides and remove the upper footboard. There are two bolts on each side. B. If it's not already, adjust the spring to its lowest position, following the procedure shown in these instructions.
-
Page 9: Care And Maintenance
Do not use any toxic stripping methods to remove the old finish. February 22, 2012 westwood design 635 N. Billy Mitchell Rd., Ste. B Salt Lake City, UT 84116...


Need help?
Do you have a question about the Donnington and is the answer not in the manual?
Questions and answers