Milwaukee 4262-1 Operator's Manual
Heavy-duty drill motors electromagnetic drill stands electromagnetic drill presses
Hide thumbs
Also See for 4262-1:
- Operator's manual (32 pages) ,
- Operator's manual (21 pages) ,
- Operator's manual (29 pages)
Table of Contents
Advertisement
Advertisement
Table of Contents

Related Manuals for Milwaukee 4262-1


Summary of Contents for Milwaukee 4262-1
- Page 1 OPERATOR'S MANUAL Cat. No. 4253-1 Cat. No. 4262-1 4204-1 4292-1 4206-1 4297-1 4208-1 4210-1 Cat. No. 4202 4203 HEAVY-DUTY DRILL MOTORS, ELECTROMAGNETIC DRILL STANDS, ELECTROMAGNETIC DRILL PRESSES TO REDUCE THE RISK OF INJURY, USER MUST READ AND UNDERSTAND OPERATOR'S MANUAL.
-
Page 2: Work Area Safety
GENERAL POWER TOOL SAFETY WARNINGS WARNING READ ALL SAFETY WARNINGS AND ALL INSTRUCTIONS. Failure to follow the warnings and instructions may result in electric shock, fi re and/or serious Save all warnings and instructions for future reference. injury. The term "power tool"... -
Page 3: Specific Safety Rules
• Clean the surface before attaching the drill important information. If unreadable or missing, stand to the work surface. Paint, rust, scale, or contact a MILWAUKEE service facility for a free uneven surfaces decrease the holding strength replacement. or the magnet. Chips, burrs, dirt and other foreign •... -
Page 4: Functional Description
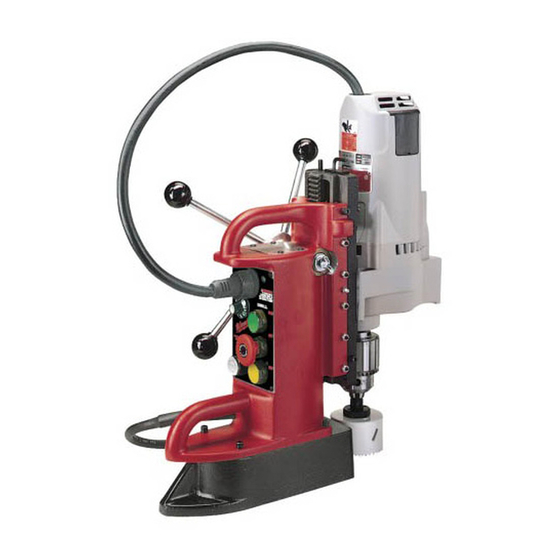
FUNCTIONAL DESCRIPTION Rack 11. Cord Slide 12. Control panel Slide locking wing screw 13. Control panel socket 14. Wing screw assembly Drill motor Grease fi tting 15. Feed handle 16. Feed handle grip Gib adjusting screws Chuck Housing Magnet 10. Adjusting handle SYMBOLOGY DANGER! To reduce the risk Double Insulated... -
Page 5: Grounding Warning
If The smaller the gauge number of the wire, the damaged, have it repaired by a MILWAUKEE greater the capacity of the cord. For example, a 14 service facility before use. If the plug will not gauge cord can carry a higher current than a 16 fi... -
Page 6: Operation
ASSEMBLY OPERATION Line Lockout WARNING To reduce the risk of injury, The line lockout prevents the drill motor from start- always unplug tool before changing or ing when line power is fi rst applied to the system removing accessories. Only use accessories or after a momentary power loss. - Page 7 stand’s weight without bending. A bent workpiece Control Panel reduces the magnet’s contact area which can result Fig. 4 in the magnet coming loose. Surface Preparation Paint, rust, scale or uneven surfaces decrease the holding strength of the magnet. Chips, burrs, dirt and other foreign materials on the surface of the magnetic base will also decrease holding power.
- Page 8 Chuck" or "Morse Taper Socket” and “Using Twist Tighten securely. Drills" and "Using MILWAUKEE STEEL HAWG™ 4. To remove the bit, insert the chuck key into one Cutters”). of the three holes in the chuck and turn it coun- 2.
- Page 9 Drilling Using MILWAUKEE STEEL HAWG™ CUTTERS When preparing to drill, align the bit with the spot to be MILWAUKEE STEEL HAWG™ CUTTERS cut an drilled. When proper alignment is established, ener- annular ring around the edge of the hole leaving gize the magnet and start the drill motor.
-
Page 10: Maintenance
After six months to one year, depending on use, erate pressure. Excessive pressure will only slow return your tool to the nearest MILWAUKEE service the operation and damage the cutter. Use less facility for the following: feed pressure when slotting or notching because •...
Need help?
Do you have a question about the 4262-1 and is the answer not in the manual?
Questions and answers