Advertisement
Table of Contents
- 1 Installing the Battery in the Remote
- 2 Setting the Calendar and Clock
- 3 Setting the Alarm
- 4 Using the FM Radio
- 5 Playing Music from a Micro-SD Card or a Flash Drive
- 6 Using the External Auxiliary Input
- 7 Bluetooth and Instabox I90
- 8 Battery Charging Management
- Download this manual
See also:
User Manual
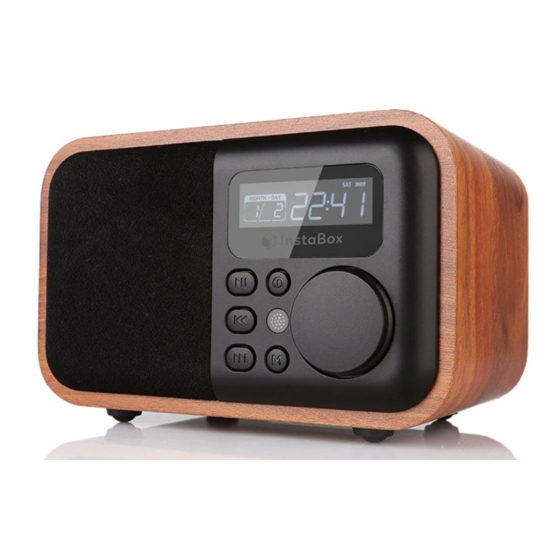
Getting started with the i90 InstaBox
Installing the battery in the remote
The diagram inside the remote is not very specific. You must install the battery with the positive
(+) side up. Note: The i90 comes with a CR2025, 3-volt Li cell. If you want longer life for your
remote, use a CR2032. The only difference is that the CR2032 is a tiny bit thicker but it still fits
nicely in the remote control. When installing the battery ensure that the positive contact pin is
located next to the rim of the battery and not forced below the disc. See illustration below:
Advertisement
Table of Contents

Subscribe to Our Youtube Channel
Related Manuals for InstaBox i90


Summary of Contents for InstaBox i90
- Page 1 The diagram inside the remote is not very specific. You must install the battery with the positive (+) side up. Note: The i90 comes with a CR2025, 3-volt Li cell. If you want longer life for your remote, use a CR2032. The only difference is that the CR2032 is a tiny bit thicker but it still fits nicely in the remote control.
- Page 2 OFF, 30, 60, 90, 120 minutes. Setting the alarm The Instabox i90 has four convenience alarms that can be set independently. Once set, the alarms will repeat twice daily. 1. Press Mode to get to the time function then press and hold Play for 3 seconds.
- Page 3 Playing music from a micro-SD card or a Flash drive Ports are provided on the rear panel of the i90 for a Micro-SD card and for a USB Flash drive. When either type of device is plugged into the i90, TF or USB will appear on the screen and MP3 format music will begin to play.
- Page 4 6. If the device content has tracks use the forward or back controls to play next or previous tracks. 7. The i90 will receive phone call audio and display ‘HP’ during a call. Press and hold the Play button to disconnect or auto-connect a call Battery Charging Management ...
Need help?
Do you have a question about the i90 and is the answer not in the manual?
Questions and answers