AUTOCUE SSP17 Manual To Installing
Hide thumbs
Also See for SSP17:
- Installation and operation manual (34 pages) ,
- Manual to installing (2 pages) ,
- Manual (2 pages)
Advertisement
Quick Links
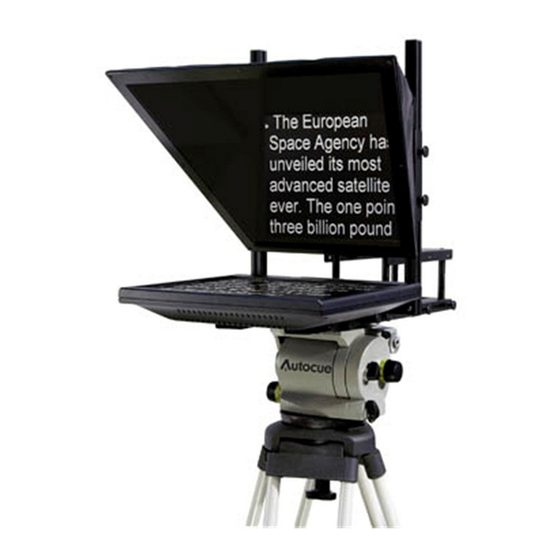
Camera Fixing
Fix the camera in place
using the camera
screws provided.
Connect the power supply
and the VGA or video cable.
17" Monitor
10" Monitor
Alternative Configurations
The SSP 17" and 10" can be reconfigured into
different prompting solutions.
Straight Read Configuration
1. Remove the hood and monitor.
2. Mount the monitor to the monitor
mounting plate. (A)
3. Mount the monitor to the hood up-
rights. (B)
3/8" BSW
1/4" BSW
Floor Standing Configuration
1. Remove the hood assembly.
2. Remove the monitor
assembly and mount on the
opposite side of the plate.
B
A
Free Standing Configuration
1. Remove the hood upright mount-
ing.
2. Mount the monitor on the monitor
mounting plate.
3. Attach to any tripod with a 1/4"
BSW fixing.
autocue.com
SSP17/10
Guide
Advertisement

Subscribe to Our Youtube Channel
Related Manuals for AUTOCUE SSP17


Summary of Contents for AUTOCUE SSP17
- Page 1 Alternative Configurations Camera Fixing SSP17/10 The SSP 17” and 10” can be reconfigured into different prompting solutions. Guide Straight Read Configuration 1. Remove the hood and monitor. 2. Mount the monitor to the monitor mounting plate. (A) 3. Mount the monitor to the hood up- Fix the camera in place rights.
- Page 2 Components For larger cameras the mounting plate may need 3. Lock the hood into Hood and extending. Loosen the four thumb screws on the position by tightening Glass camera plate and remove the rear two, the plate the four thumb screws. will now slide out.
Need help?
Do you have a question about the SSP17 and is the answer not in the manual?
Questions and answers