Table of Contents
Advertisement
11/04/26 16:08:38 32Z30600_001
Honda
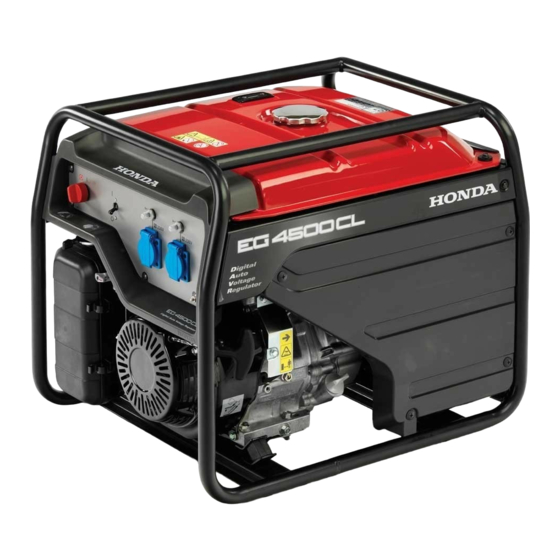
EG3600CL·EG4500CL
EG5500CL
OWNER'S MANUAL
Original instructions
MANUEL DE L'UTILISATEUR
Notice originale
BEDIENUNGSANLEITUNG
Originalbetriebsanleitung
MANUAL DE EXPLICACIONES
Manual original
The''e-SPEC''mark symbolizes environmentally
responsible technologies applied to Honda power
equipment, which contains our wish to ''preserve
nature for generations to come.''
Advertisement
Table of Contents


Need help?
Do you have a question about the EG3600CL and is the answer not in the manual?
Questions and answers