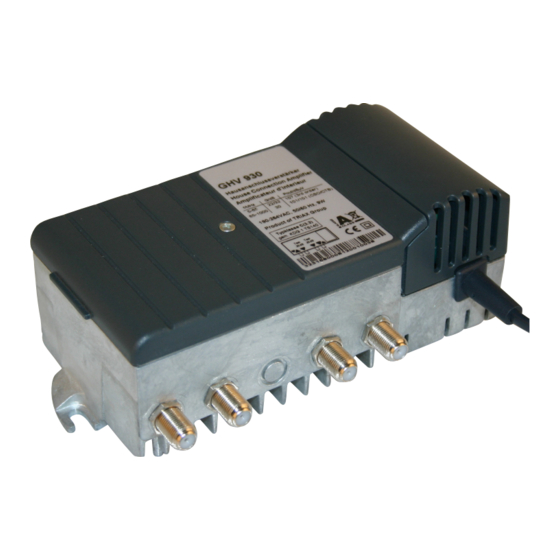
Summary of Contents for Triax 892288
- Page 1 User Guide House Distribu/on Amplifier Model Item no. GHV 900 Series 892288 triax.com Version 02 - 2014...
- Page 2 • • • • • • © Copyright © Triax A/S Copying and distribuon only with prior wrien permission from Triax A/S Triax A/S, Bjørnkærvej 13, 8783 Hornsyld. www.triax.com English GHV 900 Serie...
-
Page 3: Table Of Contents
Table of Contents Table of Contents Page 1. Introducon 1.1 Descripon 1.2 Who should read this? 1.3 Abbriviaons and Symbols 1.4 Warranty 2 . Security 2.1 Important 2.2 Requirements and wrong handling 2.3 Safety precauons 3. Installaon 3.1 Local Setup 3.2 Mounng 4. -
Page 4: IntroducOn
Introducon 1 Introducon Mulmedia capable House Distribuon Amplifier for smaller House installaons. 1.1 Descripon All funconal parts such as Pre-amplifier, Diplex filters, Return Channel Amplifier and their sengs and adjustment components are fully integrated onto the circuitboard of the Amplifier. This allows a complete installaon and setup based upon local require- ments. -
Page 5: Safety PrecauOns
Installaon 2.3 Safety BEWARE: You must adhere to the Safety Precauons of EN 60728-11 precauons Before you start working on the installaon, turn off Mains Power to the circuit. • Only let an authorized Elecctrician do the Mains power plug installaon if needed. •... -
Page 6: SeNgs
Sengs 4. Sengs Remove the top cover of the Amplifier by removing screw D (see Fig. 1) 4.1 Open Amplifier 4.2 Overview Fig. 2 Inside view ... -
Page 7: Setup Switches And Jumpers
Adjustments The Amplifier is configured using Rotary Switches and Jumpers as shown: 4.3 Sengs Seng Seng element, Downstream Default seng Fig. 3 Range Jumper Fig. 1 / 11 Return Path-ON/OFF Jumper, A ON/OFF Aenuator (Input) 0 dB Rotary switch 0-15 dB In 1dB-Steps Slope (Input) 0 dB... -
Page 8: Technical SpecificaOns
Art. No.: 892288—F.2014.09.23 triax.com/support Copyright © 2016 TRIAX. All rights reserved. The TRIAX Logo and TRIAX, TRIAX Multimedia are registered trademarks or trademarks of the TRIAX Company or its affiliates. All specifications in this guide are subject to change without further notice.


Need help?
Do you have a question about the 892288 and is the answer not in the manual?
Questions and answers