Advertisement
Quick Start Guide
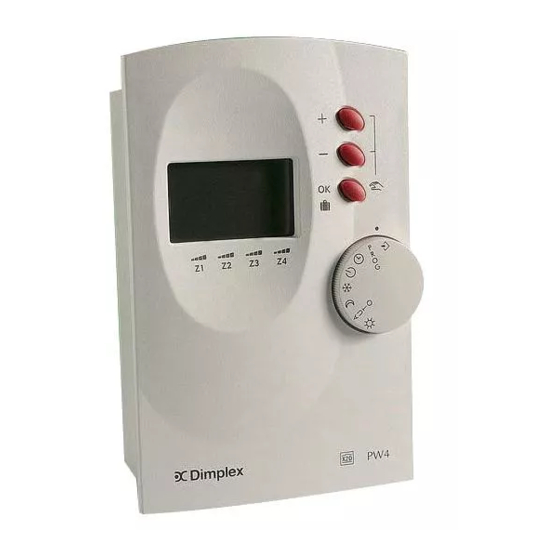
SmartRad with RXPW4 Central Controller
SmartRad
Mode Selector Switch
Symbol Function
Continuous comfort (all zones)
AUTO
Auto mode (heating runs to the set program for each
zone)
Continuous set back (all zones)
Continuous frost protection (all zones)
Set the time
PROG
Set the daily programs
Off (no heat output)
Configures communication and heater modes
Heater operation when connected to RXPW4 controller
When connected to an RXPW4 controller, the heater will operate in
accordance with the controller program/setting. The program can
only be over ridden at the controller.
The heater will provide the following functionality in each of the
controller modes:
Mode
Bars on
Display
Comfort / On
4
Background
1*
Off
1*
Frost Protection
n/a
* Note the controller can be configured so that the AUTO program
operates either as Background or Off modes. Please see RXPW4
installation /operating instructions for further details.
Heater Function
Thermostat setting
5°C below thermostat setting
Heater does not operate
Heater operates when tem-
perature drops below 5°C
RXPW4 4-zone central controller
Typical system
Zone 1, e.g. living area
Zone 3, e.g. bathroom
The RXPW4 controller allows control of multiple Dimplex heaters
from a single point.
Heaters can be grouped together in "zones" and each zone config-
ured with a different time program for each day of the week. Up to
4 zones are available.
Your system has installed with the following rooms in each zone:
Zone 1:
Zone 2:
Zone 3:
Zone 4:
Setting up the controller
Set the time
Before the controller can be used, the correct time and day must be
set.
Do this by turning the dial to the
and "-" buttons to set the current time and day.
Set the daily programs for each zone
An individual time program can be set for each zone for each day of
the week by turning the dial to the PROG position.
Please refer to the installation and operating instructions for details
of how to set the program.
Everyday operation
AUTO mode
Turn the dial to AUTO mode for the heating to operate in accor-
dance with the program for each zone.
Over ride
The program for each can be temporarily over ridden from the
controller. Please refer to the installation and operating instructions
for details of how this can be done.
1 - Time
2 - Day of the week
3 - Current mode
4 - Zone status reference
5 - Controller setup/override buttons
6 - Validation button
7 - Holiday mode
8 - Selector switch index mark
9 - Mode selector switch
Zone 2, e.g. bedroom
Zone 4, e.g. water
position and using the "+"
Advertisement
Table of Contents


Need help?
Do you have a question about the RXPW4 and is the answer not in the manual?
Questions and answers