Sign In
Upload
Download
Table of Contents
Contents
Add to my manuals
Delete from my manuals
Share
URL of this page:
HTML Link:
Bookmark this page
Add
Manual will be automatically added to "My Manuals"
Print this page
×
Bookmark added
×
Added to my manuals
Manuals
Brands
Olympus Manuals
Digital Camera
IS-5 Deluxe
Instruction manual
Olympus IS-5 Deluxe Instruction Manual
Hide thumbs
1
Table Of Contents
2
3
4
5
6
7
8
9
10
11
12
13
14
15
16
17
page
of
17
Go
/
17
Contents
Table of Contents
Bookmarks
Table of Contents
Table of Contents
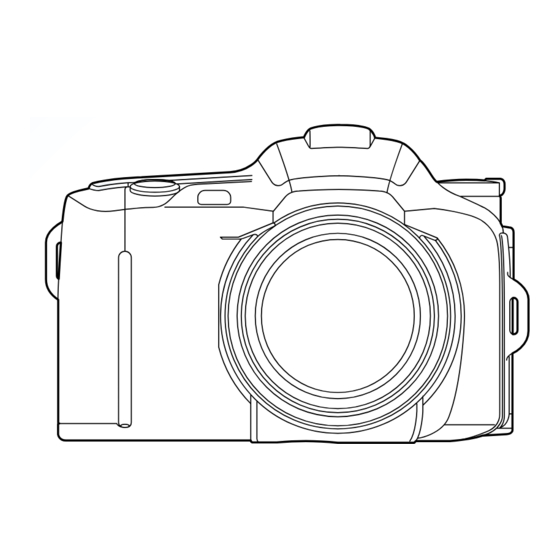
Names of Parts Camera Body
Camera Body/Lcd Panel
Viewfinder Display
Using the Strap
Diopter Adjustment
Loading and Checking the Batteries
Loading the Film
Taking Pictures Programmed Auto (FULL AUTO)
Focus Lock
Unloading the Film
Taking Panorama Pictures
(Panorama Models Only)
Flash Photography
Setting the Flash Mode
Auto Flash
Red-Eye Reduction Flash
Fill-In Flash
Exposure Modes 1. Direct Mode Select Buttons
Stop Action
Portrait
Landscape
Night Scene
Exposure Mode Button
A ] Aperture Preferred Auto
S ] Shutter Speed Preferred Auto
M ] Manual Exposure
In the Manual Exposure Mode
Exposure Compensation
Spot Metering
Selftimer
Remote Control(Optional)
Macro Shooting
Continuous Shooting
Restoring the Programmed Auto [FULL AUTO] Mode
Illuminating the LCD Panel
Correcting the Date and Time
Printing the Date/Time
Care and Storage
Specifications
Accessories (Optional)
Advertisement
Quick Links
1
Table of Contents
2
Names of Parts Camera Body
3
Camera Body/Lcd Panel
4
Loading and Checking the Batteries
5
Loading the Film
6
Specifications
Download this manual
INSTRUCTIONS
2
MODE D'EMPLOI
33
BEDIENUNGSANLEITUNG
65
INSTRUCCIONES
97
129
Table of
Contents
Previous
Page
Next
Page
1
2
3
4
5
Advertisement
Table of Contents
Need help?
Do you have a question about the IS-5 Deluxe and is the answer not in the manual?
Ask a question
Questions and answers
Related Manuals for Olympus IS-5 Deluxe
Digital Camera Olympus IS-20 Instructions Manual
Olympus is-20 deluxe instructions (64 pages)
Digital Camera Olympus DS 30 Instructions Manual
Olympus instructions digital camera is-300, is-30 dlx (69 pages)
Digital Camera Olympus IS-300 Instructions Manual
(52 pages)
Digital Camera Olympus IS-50 Instructions Manual
Olympus instruction manual digital camera is-50, is-500 (15 pages)
Digital Camera Olympus IS-1 Instructions Manual
Olympus is-1 instructions (76 pages)
Digital Camera Olympus IS-2DLX Instructions Manual
Olympus instructions manual digital camera is-2dlx (76 pages)
Digital Camera Olympus IS-5000 Instruction Manual
(17 pages)
Digital Camera Olympus Super DLX IS-10 Instructions Manual
Olympus camera product number: is-10 (56 pages)
Digital Camera Olympus i-SPEED Instructions Manual
High speed video camera system (56 pages)
Digital Camera Olympus iZoom 75 Instructions Manual
Olympus izoom 75: instruction manual (79 pages)
Digital Camera Olympus IR-300 Basic Manual
Olympus ir-300: instruction manual (108 pages)
Digital Camera Olympus IR-300 Advanced Manual
Olympus ir-300: reference guide (182 pages)
Digital Camera Olympus IR 300 - Digital Camera - 5.0 Megapixel Basic Manual
Ir-300 basic manual english, français, español, deutsch) (11.9 mb) (108 pages)
Digital Camera Olympus Pen E-PL9 Instruction Manual
(187 pages)
Digital Camera Olympus Stylus Zoom Instructions Manual
Full automatic 35 mm autofocus lens-shutter camera with built-in 35—70 mm zoom lens (52 pages)
Digital Camera Olympus E-M1X Instruction Manual
(683 pages)
This manual is also suitable for:
Is-5000
Table of Contents
Print
Rename the bookmark
Delete bookmark?
Delete from my manuals?
Login
Sign In
OR
Sign in with Facebook
Sign in with Google
Upload manual
Upload from disk
Upload from URL


Need help?
Do you have a question about the IS-5 Deluxe and is the answer not in the manual?
Questions and answers