Apeks XTX200 Maintenance Manual
Xtx series second stage regulator range
Hide thumbs
Also See for XTX200:
- Maintenance manual (19 pages) ,
- Technical maintenance manual (18 pages) ,
- Owner's manual (43 pages)
Table of Contents
Advertisement
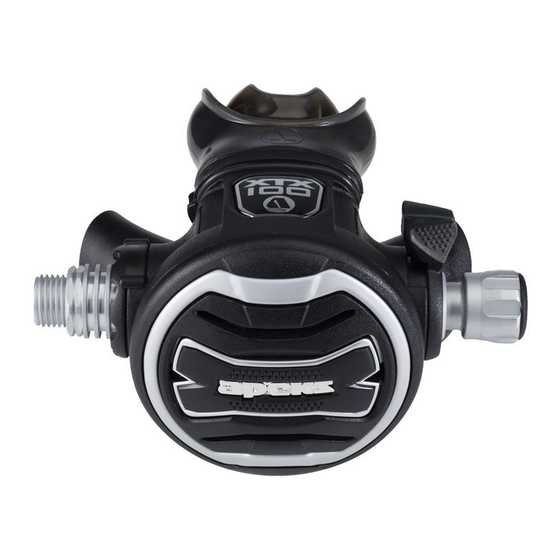
XTX SECOND STAGE
MAINTENANCE MANUAL
AUTHORISED TECHNICIANS
Document No. AP6209F
APEKS MARINE EQUIPMENT LTD, NEPTUNE WAY, BLACKBURN, LANCASHIRE. BB1 2BT
Tel: 0044 (0) 1254 692200 Fax: 0044 (0) 1254 692211 E-mail: info@apeks.co.uk Web: www.apeks.co.uk
REGULATOR
FOR
TECHNICAL SUPPORT
Issue 1
30/10/2013
Advertisement
Table of Contents


Need help?
Do you have a question about the XTX200 and is the answer not in the manual?
Questions and answers