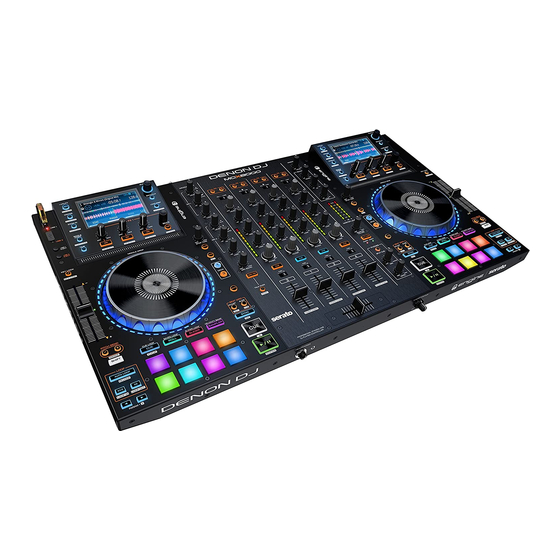
Denon MCX8000 Quick Start Manual
Hide thumbs
Also See for MCX8000:
- Quick start manual (45 pages) ,
- User manual (51 pages) ,
- User manual (51 pages)
Advertisement
Quick Links
Advertisement

Summary of Contents for Denon MCX8000
- Page 1 Quistart Guide English ( 2 – 9 )
- Page 2 Software Download Card Quickstart Guide Safety & Warranty Manual Important: Visit denondj.com and find the webpage for MCX8000 to download the complete User Guide. Support For the latest information about this product (system requirements, compatibility information, etc.) and product registration, visit denondj.com.
- Page 3 • When ending a session, turn off (1) output devices, (2) MCX8000, (3) input sources. 7. To use Serato DJ: Using a standard USB cable (included), connect the USB port on MCX8000 to your computer. Open Serato DJ and go! For more information on how to use Serato DJ with MCX8000, visit serato.com/dj/support...
- Page 4 Features Top Panel 60 60 60 61 61 61 39 40 41 1. Input Selector: Set this switch to the desired audio source from this channel: PC (a track playing on that layer in the software), Line (a device connected to the Line Input on the rear panel), or Engine (a track on a connected USB flash drive;...
- Page 5 9. Crossfader: Use this crossfader to mix between the two active decks. 10. Channel FX: Use these buttons to apply Effect A and/or B to the corresponding channel. 11. Sampler Volume: Turn this knob to adjust the volume level of the software’s sampler. 12.
- Page 6 29. Cue / Track Start: During playback, press this button to return the track to a temporary cue point. If you have not set a temporary cue point, then press this button to return to the start of the track. (To set a temporary cue point, make sure the track is paused, move the platter to place the audio playhead at the desired location, and then press this button.) If the deck is paused, press and hold this button to play the track from the temporary cue point.
- Page 7 42. Auto-Loop/Reloop: Press this button to create an auto-loop with the length that is set in the software. Press and hold Shift and then press this button to skip to the last-played loop and activate it immediately. 43. X 1/2 Loop / Loop In: Press this button to halve the length of the current loop. Press and hold Shift and then press this button to create a Loop In point at the current location.
-
Page 8: Front Panel
65. USB 1/2 Eject: Press each button to “eject” your USB flash drive from the corresponding USB port. Make sure MCX8000 is not playing a track on the drive before pressing it. Front Panel 1. Phones Outputs (1/4” or 1/8” / 6.35 mm or 3.5 mm): Connect headphones to these 1/4” (6.35 mm) and 1/8”... -
Page 9: Rear Panel
1. Power Input: Use the included power adapter (12V DC, 5A, center-positive) to connect this input to your power source. 2. Power Button: Press this button to power MCX8000 on or off. Power on MCX8000 only after you have connected all of your input devices and before you power on your amplifiers and loudspeakers. -
Page 10: Trademarks And Licenses
Appendix (English) Trademarks and Licenses Denon and Engine are trademarks of D&M Holdings Inc., registered in the U.S. and other countries. Serato, Serato DJ, and the Serato logo are registered trademarks of Serato Audio Research. Kensington and the K & Lock logo are registered trademarks of ACCO Brands. - Page 11 Connections Audio Outputs 2 XLR outputs (master left/right, balanced) 1 RCA output pair (master left/right, unbalanced) 2 XLR outputs (booth left/right, balanced) 1 1/4” (6.35 mm) stereo output (headphones) 1 1/8” (3.5 mm) stereo output (headphones) Audio Inputs 2 RCA input pairs (line-level, unbalanced) 2 RCA input pairs (phono- or line-level, unbalanced) 1 XLR+1/4”...
- Page 12 denondj.com Manual Version 1.3...


Need help?
Do you have a question about the MCX8000 and is the answer not in the manual?
Questions and answers