Table of Contents
Advertisement
Quick Links
Advertisement
Table of Contents

Subscribe to Our Youtube Channel
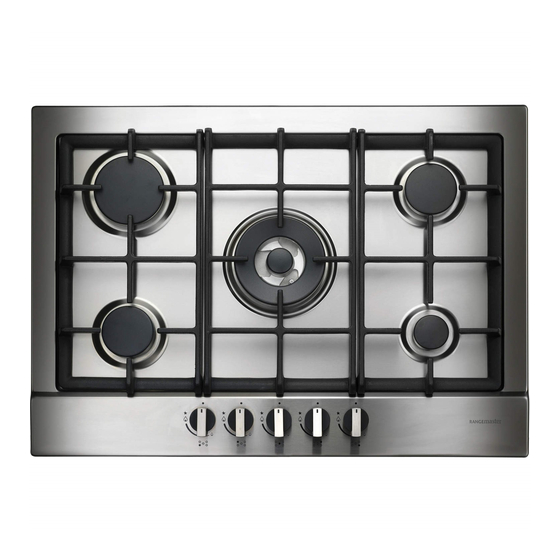
Summary of Contents for Rangemaster RG70
-
Page 1: User Guide
RG70 Gas Hob User Guide & Installation & Service Instructions U109926 - 02... -
Page 2: Table Of Contents
Contents Before You Start... Hob Overview Cleaning Your Hob Troubleshooting Installation Conversion to LPG Gas Circuit Diagram Technical Data Warranty/After Sales Service... -
Page 3: Before You Start
1. Before You Start... Thank you for buying a Rangemaster hob. It should give you many years trouble-free cooking if installed and operated correctly. It is important that you read this section before you start, particularly if you have not used a gas hob before. - Page 4 Cleaning In the interests of hygiene and safety, the hob should be kept clean at all times as a build up of fats and other foodstuffs could result in a fire. Clean only the parts listed in this guide. Clean with caution. If a wet sponge or cloth is used to wipe spills on a hot surface, be careful to avoid steam burns.
-
Page 5: Hob Overview
Ensure that the flames are under the pans. Using a lid will help the contents boil more quickly (Fig.2-4). Large pans should be spaced well apart. DocNo.021-0002 - Overview RG70 gas ArtNo.316-0001 RG60 hob control ArtNo.316-0005 RG70 control to low ArtNo.311-0001 Right pans gas... -
Page 6: Hob Care
Fig.2-5 ArtNo.311-0002 Pan with rim Fig.2-6 ��� ��� �������� ������ ���� Fig.2-7 ArtNo.311-0004 Tipping wok Fig.2-8 Pans and kettles with concave bases or down turned base rims should not be used (Fig.2-5). Simmering aids, such as asbestos or mesh mats, are NOT recommended. -
Page 7: Cleaning Your Hob
A – Cap, B – Head, C – Notch, D – Base, E – FSD, F – Electrode Fig.3-2 � � � ArtNo.316-0009 RG70 triple ring burner � A – Inner burner cap, B – Outer burner cap, C – Burner head, D – Burner base Fig.3-3 �... -
Page 8: Cleaning Table
Cleaning Table Refer to the cleaning tables (Table 3-1 and Table 3-2) for details on cleaning the hob. The cleaners listed are available from supermarkets or electrical retailers. For enamelled surfaces use a cleaner that is approved fro use on vitreous enamel. The Vitreous Enamel Association has a list of approved suppliers. -
Page 9: Troubleshooting
4. Troubleshooting If there is an installation problem and I don’t get my original installer to come back to fix it, who pays? You do. Service organisations will charge for their call- outs if they are correcting work carried out by your original installer. -
Page 10: Installation
The relevant Building / IEE regulations. INSTALLATION DocNo.061-0002 - Installation - RG70 gas hob In the Republic of Ireland: The installation must be carried out by a competent person and installed in accordance with the current edition of IS 813 “Domestic Gas Installations”, the current Building Regulations... -
Page 11: Positioning The Hob
Check the appliance is electrically safe and gas sound when you have finished. You will need the following equipment to complete the hob installation satisfactorily: • Gas Pressure tester • Flexible gas hose • Multimeter You will also need the following tools: Electric drill Jigsaw Steel tape measure... -
Page 12: Safety Information
Check the appliance is electrically safe and gas sound when you have finished. For safety reasons curtains must not be fitted immediately behind the hotplate. Conversion to LP If the appliance is to be converted to LP gas do the conversion at this point. -
Page 13: Customer Care
Check the appliance is electrically safe and gas sound when you have finished. Electrical Connections This appliance must be installed by a qualified electrician to comply with the relevant Institute of Electrical Engineers (I.E.E.) regulations and also the local electricity supply company requirements. -
Page 14: Conversion To Lpg Gas
WARNING – SERVICING TO BE CARRIED OUT ONLY BY AN AUTHORISED PERSON Disconnect from electricity and gas before servicing. Check appliance is safe when you have finished. 6. Conversion to LPG Gas DocNo.071-0002 - LP gas conversion - BI hobs Check in the ‘Technical Data’... -
Page 15: Circuit Diagram
7. Circuit Diagram � Spark generator Ignition switch DocNo.091-0002 - Circuit diagram - RG70/RGG77 gas � ArtNo.080-0016 - RG70/RGG77 circuit diagram � � � �... -
Page 16: Technical Data
8. Technical Data The hob is an independent Class 3 built-in unit. This hob is category II It is supplied set for group H natural gas. A conversion kit from NG to LP gas is packed with the hob. INSTALLER: Please leave these instructions with the user. DATA BADGE LOCATION: Base of the hob. -
Page 17: Warranty/After Sales Service
9. Warranty/After Sales Service DocNo.111-0002 - Warranty No.9 If consultation or technical assistance is needed, please provide the local authorised service agent with the purchase invoice and the product code/serial number. The 2 years free maintenance for the operation of the appliance started from the date of purchase of this product. - Page 20 DocNo.000-0001 - Back cover Rangemaster �������������� ����������� ������� ����� w w w.ra n g e m a s t e r.c o .u k ArtNo.000-0003 CE logo...


Need help?
Do you have a question about the RG70 and is the answer not in the manual?
Questions and answers