Table of Contents
Advertisement
Advertisement
Table of Contents

Related Manuals for BFT EOS


Summary of Contents for BFT EOS
- Page 1 D811325 25-11-02 Vers. 02 AUTOMATION FOR OVERHEAD AND SECTIONAL GARAGE DOORS...
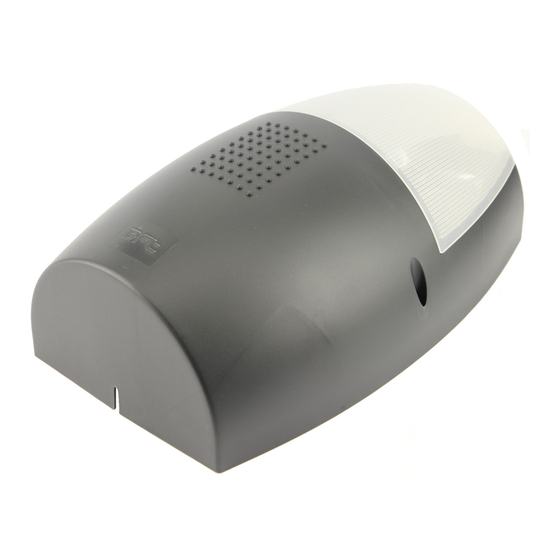
- Page 2 2) GENERAL OUTLINE while tightening the chain to obtain the whole track. The EOS system is compatible with the EElink protocol for fast installation • Fit the joint to overlap each of the two half tracks by half its length, as and maintenance.
- Page 3 • With the help of an adequate support, lift the motorised head until the Here is the explanation of the meaning of each option, followed by the track is levelled, as in fig.11. relevant setting procedure. • Fix the two supporting brackets to the ceiling, as in fig.12. Recheck Meaning of the settings: everything and fix the two supporting brackets to the gearmotor base - Automatic Closing Time: regulates the dwell time with the door open,...
- Page 4 then scroll the display screenfuls using the up/down arrows, and set the 9) RECEIVER CONFIGURATION numerical values of the parameters listed below. The on-board receiver combines characteristics of utmost safety in copying variable code (rolling code) coding with the convenience of carrying out transmitter “cloning”...
- Page 5 characters (ex. COD RX - OK - 1A9C - OK - 22FD - OK - 01). The + and - figures are equal to 00, it means that the receiver is preset for collective keys must be pressed simultaneously to exit the code display. operation, whereas if the last two figures are different from 00, it means that Having carried out key code reading, you are advised to write it down the receiver is preset for individual operation.
- Page 6 memory data; therefore, if you plan to carry out replacement cloning In the case where an obstacle is found, the SCE panel stops the door and operations by remote control, you need to memorise the contents of the activates a reverse manoeuvre; at the same time the display shows the receiver memory by reading it using UNIRADIO and entering it in the “AMP”...
- Page 7 17) AUTOSET MENU (Autoset) 24) ACCESSORIES • Bring the door to its closing position. External release device to be applied to the cremone bolt already • Initiate an autoset operation by moving to the appropriate SCE panel fitted to the overhead door (fig.22). menu (Fig.B).
- Page 8 Fig. A LEGEND ACCESS TO MENUS Simultaneously press the + and - keys. Simultaneous pressure of the + and Ð keys Press the OK key allows you to exit the active menu and return 8888 to the preceding menu; if this takes place at the main menu level, programming is exited and the display switched off.
- Page 9 Fig. B FIG. B1A FIG. B2A T2 T1 PRECEDING MENUS FIG. A TRC 4 TRC 1-2 MITTO 2-4 TRC 1-2 TRC 4 Press P1 (pushbutton) on radio Release P1 on radio RADIO ADD start hidden button release control device Ð see Fig. 1A control device Press the required T (key) on desired button...
- Page 10 Fig. 1 Fig. 2 Fig. 3 Fig. 4 Fig. 5 Fig. 7 E14 24Vdc 25Wmax Fig. 6 Fig. 8 AUTOMATION FOR SPRING OVERHEAD DOORS AUTOMATION FOR SPRING OVERHEAD DOORS...
- Page 11 Fig. 9 Fig. 10 Fig. 11 Fig. 12 Fig. 13 Fig. 14 AUTOMATION FOR SPRING OVERHEAD DOORS AUTOMATION FOR SPRING OVERHEAD DOORS...
- Page 12 Fig. 15 Fig. 16 SCE MA SCE-MA S SCE-MA S M 24V Grigio/Grey/Gris 15 + Grau/Gris/Cizento Marrone/Brown/Brun 16 - Braun/Marr˜n/Castanho 1 2 3 4 5 1 2 3 4 5 Rx 1 Rx 2 Tx 1 Tx 2 SCA/II¡CH.R 4 PHOT (2 TX + 2RX) SHIELD ENCODER 1 2 3 4 5...
- Page 13 Fig. 17 Fig. 18 reg. fc close CLOSE close OPEN OPEN OPEN Fig. 19 Fig. 20 Auto CLOSE & '> AUTOMATION FOR SPRING OVERHEAD DOORS AUTOMATION FOR SPRING OVERHEAD DOORS...
- Page 14 Fig. 21 Fig. 22 Fig. 24 Fig. 23 Fig. 25 AUTOMATION FOR SPRING OVERHEAD DOORS AUTOMATION FOR SPRING OVERHEAD DOORS...
- Page 15 Fig. 26 TRC 1-2 MITTO 2-4 UNIPRO/UNIRADIO UNIFLAT UNIDA Contatti Contacts Contacts UNIFLAT Kontakte Contactos Contatos UNIFLAT Contatti Contacts UNIFLAT Contacts UNITRC Kontakte Contactos Contatos TRC4 UNITRC UNIMITTO TRC1-2 Contatti Contacts MITTO 2-4 Contacts Contatti Contacts Kontakte Contacts Kontakte Contactos MITTO 2-4 Contactos Contatos...
- Page 16 Fig. 27 - 0 3 - 2 2 - 0 2 - 2 2 - 0 1 - 2 2 - 0 0 - 2 2 Fig. 28 Fig. 29 UNIRADIO SCE S SCE-MA S SCE S 3... SCE S 1 SCE S 2 Max.
Need help?
Do you have a question about the EOS and is the answer not in the manual?
Questions and answers