Advertisement
Quick Links
Advertisement

Related Manuals for Aqualisa HiQu

Summary of Contents for Aqualisa HiQu
- Page 1 HiQu Digital Bath Installation guide HiQu Digital Bath installation instructions Page 1...
- Page 2 HiQu Digital Bath HiQu Digital Digital Bath HiQu Digital Bath installation instructions Page 2...
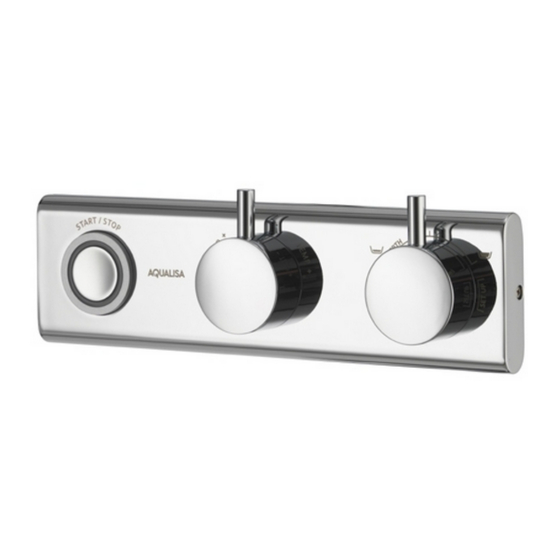
- Page 3 Components (HP/Combi) Literature not shown. Components (Gravity Pumped) Literature not shown. HiQu Digital Bath installation instructions Page 3...
-
Page 4: Safety Information
Children should be supervised to ensure they do not play with the product. Installation of Digital pumped processor (for gravity stored systems) The HiQu Digital pumped bath system is designed to operate up to maximum static pressure of 100kPa ((1 bar)(10 metres head)(14.5psi)). - Page 5 Regulations prior to connection of the product. After installation Familiarise the end user with the HiQu Digital bath operation and hand them this guide. Complete and post the guarantee card or register online at www.aqualisa.co.uk HiQu Digital Bath installation instructions...
- Page 6 (shown overleaf) before com- mencing installation. The HiQu Digital Bath system is supplied with universal fixings in- tended to secure it to a suitable wall. To ensure safe operation and installation of this product, the processor MUST be installed in one of the orientations shown.
- Page 7 The distance between the Digital processor and bath control must be within range of the 10m data cable supplied. THE PROCESSOR MUST BE SITED IN A POSITION SO THAT AC- CESS CAN BE GAINED FOR TESTING AND SERVICE PURPOSES. HiQu Digital Bath installation instructions Page 7...
- Page 8 Run a pipe from the mixed water outlet on the Digital processor through to the proposed siting for the bath fill outlet. Suitable non restrictive double check valves (not supplied) MUST be fitted to the blended outlet pipe in line with current Water Supply Regulations. HiQu Digital Bath installation instructions Page 8...
- Page 9 Apply a thin bead of mastic to the mas- tic groove at the rear of the back plate. Secure the back plate to the wall using the screws provided, if suitable. Connect the data cable to the rear of the controller. HiQu Digital Bath installation instructions Page 9...
- Page 10 THE MINIMUM AMOUNT OF ELBOWS. BEFORE ANY ELECTRICAL ADJUSTMENT IS ATTEMPTED, THE ELECTRICITY SUPPLY MUST BE TURNED OFF AT THE MAINS SWITCH. ELECTRICAL INSTALLATION MAY ONLY BE CARRIED OUT BY A QUALIFIED PERSON. HiQu Digital Bath installation instructions Page 10...
-
Page 11: This Appliance Must Be Earthed
A further data cable socket has been provided for use with a secondary Digital remote start/stop controller. This can be accessed by carefully snapping and removing the entry pillar and connecting the cable as de- scribed above. HiQu Digital Bath installation instructions Page 11... - Page 12 WHEN MAKING ANY ADJUSTMENT TO THE PROCESSOR SETTINGS THE POWER MUST BE ISOLATED. Re-instate the electricity supply to the processor and press the ‘start/stop’ but- ton on the controller to turn the bath on. HiQu Digital Bath installation instructions Page 12...
- Page 13 Site conditions can affect temperature settings, installer to adjust as required. ALL COPPER PIPE WORK MUST BE CROSS-BONDED AND CONNECTED TO A RELIABLE EARTHING POINT. HiQu Digital Bath installation instructions Page 13...
- Page 14 Part No:700392 Issue 01 Jun 12 Please note that calls may be recorded for training and quality purposes The company reserves the right to alter, change or modify the product specifications without prior warning ® Registered Trademark Aqualisa Products Limited...
Need help?
Do you have a question about the HiQu and is the answer not in the manual?
Questions and answers