Table of Contents
Advertisement
Quick Links
Download this manual
See also:
User Manual
Video Wall Clock HD 720p
Clock with built-in CMOS video camera and HD video resolution
The Declaration of Conformity for this device is under the Internet link:
www.technaxx.de/ (in bottom bar "Konformitätserklärung"). Before using the
device the first time, please read the user manual carefully.
This device has a rechargeable battery. It must be fully charged before
first use. NOTE: Charge the battery of the device every 2–3 month if it is
Service phone No. for technical support: 01805 012643 (14 cent/minute from
German fixed-line and 42 cent/minute from mobile networks).
Keep this user manual for future reference or product sharing carefully. Do the
same with the original accessories for this product. In case of warranty, please
contact the dealer or the store where you bought this product.
Features
Clock with built-in CMOS video camera for wall mounting or table
and shelf
HD video resolution 720p
Inconspicuous camera lens in the dial
PIR motion detection sensor
Manual Recording function
Audio recording by hidden microphone in USB port
Easy handling
Technaxx
for wall mounting or table and shelf
Free Email: support@technaxx.de
Warranty 2 years
®
* User Manual
not used!
Advertisement
Table of Contents

Related Manuals for Technaxx 4218


Summary of Contents for Technaxx 4218
- Page 1 The Declaration of Conformity for this device is under the Internet link: www.technaxx.de/ (in bottom bar “Konformitätserklärung”). Before using the device the first time, please read the user manual carefully. This device has a rechargeable battery. It must be fully charged before first use.
-
Page 2: Technical Specifications
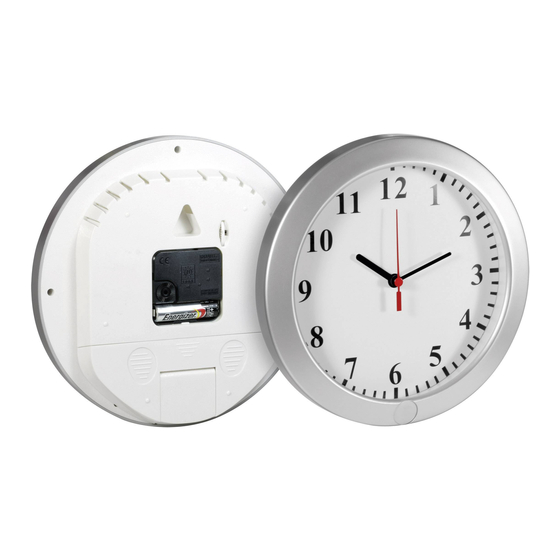
Do not disposal old devices or batteries into the domestic waste. Cleaning: Protect the device from contamination and pollution (use a clean drapery). Avoid using rough, coarse-grained materials or solvents/aggressive cleaner. Wipe the cleaned device accurately. Distributor: Technaxx Deutschland GmbH & Co.KG, Kruppstr. 105, 60388 Frankfurt a.M., Germany... - Page 3 Product overview Camera = Video camera 1 Hanging hole 4 Battery 2 Microphone 5 Stand 3 Lens adjustment 6 Time adjustment...
- Page 4 Stand (1) With both hands press gently on the back cover, to snap it out of the buckle. (2) Pull it back to use it as stand to put the clock to a table or closet. (3) If continue to slide, you can remove the back cover completely.
- Page 5 Rear view with back cover removed Reset ON / OFF MicroSD card Buckle port for stand USB port DC charging port Power „P“ function button USB Charging Use the provided USB cable connect the clock to a computer for charging, or optional use the DC cable for charging. While charging, the RED light keeps on lightening and the BLUE light keeps flashing.
- Page 6 DC 5V Charging Connect the clock to a socket with the included DC cable RED light turns on. It takes approx. 5 hours until the 1000mAh battery is fully charged. The clock can be charged via the DC port while the camera is recording at the same time. Make sure an MicroSD card is plugged in the slot before starting recording! Power ON...
-
Page 7: Connection To Pc
Manual recording To start manual recording press the power “P” function button about 3 seconds the RED light flashes 4 times and then the BLUE light turns on then light turns off the camera starts recording directly (it is regular recording, not PIR recording!). To stop manual recording and to save the video press the power “P”... - Page 8 Time and date setting Set the time and date in the text file „time.txt“ as follows: Create a text file in the root directory named "time.txt". Then open the text file. Type in date and time as follows (example): 2017 02 25 10:50:00 Then save the file and close it.
Need help?
Do you have a question about the 4218 and is the answer not in the manual?
Questions and answers