
Related Manuals for Westfield GEMINI 390 CARAVAN


Summary of Contents for Westfield GEMINI 390 CARAVAN
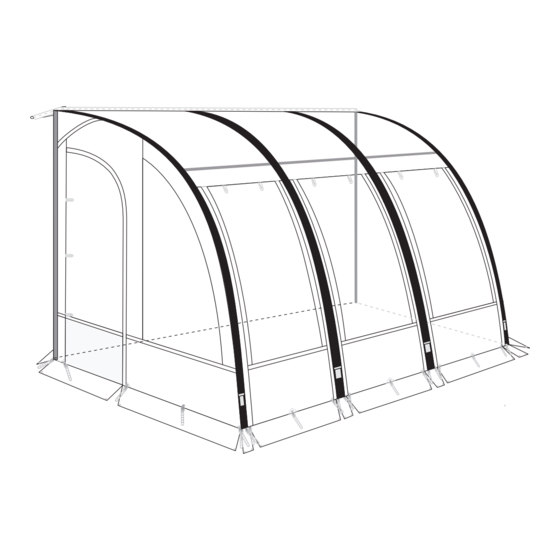
- Page 1 TRAVEL-SMART AWNING SERIES » GEMINI 390 CARAVAN« Model No. 12010223900000 Top Quality Camping...
-
Page 2: Table Of Contents
WELCOME Thank you for purchasing your Westfield awning. Please read these instructions carefully before attempting to set up your awning and retain them for future reference. If used correctly, your awning should give you years of trouble free use. We recommend that your awning is insured against accidental and storm damage as this is not covered by the warranty. -
Page 3: Assembly Parts List
Model No. 12010223900000 ASSEMBLY PARTS LIST Carry Bag Flysheet Draft Skirt & Wheel Cover Pump & Safety Pressure Valve x24/36 Guy rope Metal /Plastic Peg Pegging Ladder TPU repair patch OPTIONAL Storm Roof Pole Canopy Poles Kit Rear Poles Kit Inner Tent... -
Page 4: Recommendations
RECOMMENDATIONS damaged, before uppacking. assembly and ensure you have not forgotten anything, especially the first use. Under certain conditions awnings will suffer from condensation. Depending upon the conditions, the weather and the amount of moisture in the ground, the condensation could be quite severe and is commonly mistaken for leaking, it can run down the inside of the roof and drips off internal fittings. -
Page 5: Pump And Inflation
PUMP AND INFLATION PUMP: Safety Connect the safety valve to the inflate side of the pump and Pressure attach the hose to the safety valve as shown in the diagram to Valve the left. Never attach the pump to the awning without the included safety pressure valve. -
Page 6: Pitching Instructions
PITCHING INSTRUCTIONS the bottom of your caravan, motorhome or vehicle. The wheel cover either slides into the rail on the wheel arch or uses the figure of eight tubing and connects to the top of the draft skirt. the floor strap is attached. motorhome or vehicle and pull the awning along the rail to the desired position. - Page 7 PITCHING INSTRUCTIONS read and understood the pump and inflation section of these instructions. You must follow these instructions to ensure proper inflation of your awning. ensuring the safety pressure valve is connected to the pump at all times. strap as shown in the diagram. pumped up and sprung into place.
- Page 8 PITCHING INSTRUCTIONS (OPTIONAL) Storm Roof Poles OPTIONAL Rear Pole Kit side panel and extend the leg until it touches the ground. or vehicle. This creates the seal against your vehicle. it could cause damage if over tensioned. rear of the panel. OPTIONAL...
- Page 9 PITCHING INSTRUCTIONS (OPTIONAL) Inner Tent Ensure the attachment straps on the top of the inner tent are at their maximum as this makes it easier to attach the inner tent. of the awning. (for example connect the buckle on the red strap on the inner tent to the red strap in the roof of the awning) all around.
-
Page 10: General Care And Usage Instructions
GENERAL CARE AND USAGE INSTRUCTIONS Seams We tape all the main seams on our awnings to help prevent leakage. Depending upon your expectations, it may be necessary to treat the remaining seams with a seam sealant. Seam sealant should also be applied to areas where the taping is damaged or has peeled away through wear and tear. - Page 12 Top Quality Camping Westfield Outdoors GmbH Moselstr. 19 D-41464 Neuss Germany Drawings in this manual are for illustration purposes only, actual product may vary. Manufacturer reserves the right to change any specification or features without prior notice. Should you have any questions about your product or experience any difficulties, please contact the retailer from which you purchased the product.
Need help?
Do you have a question about the GEMINI 390 CARAVAN and is the answer not in the manual?
Questions and answers