Advertisement
Quick Links
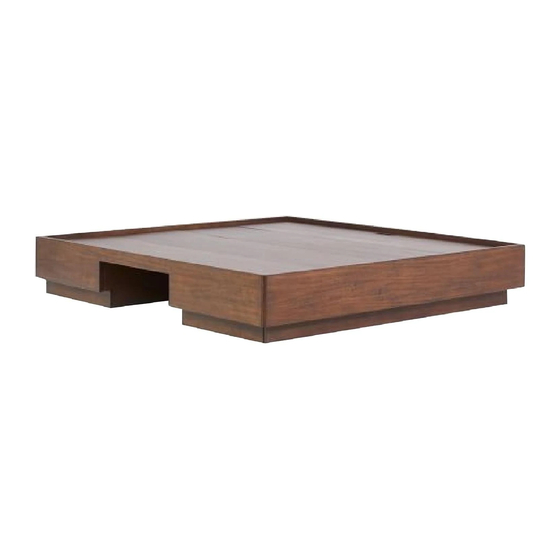
Plinth Bed
assembly instructions
! Do not throw away any of the packaging materials until the assembly is complete.
! To protect the finish, assemble this item on a soft surface, such as cardboard or carpet.
! Proper assembly of this item requires 2 people.
CARE INSTRUCTIONS:
Hardware may loosen over time. Periodically check that all connections are tight. Wipe with a soft, dry cloth. To
protect the finish, avoid the use of chemicals and household cleaners. All hot serving dishes should be placed on a
trivet or pad. Any liquid spilled onto the table should be cleaned up immediately with a damp cloth.
5413989, 5414052, 5442798, 5442806, 5442814, 5442822 – 09.17 .16
Page 1 of 9
Advertisement

Related Manuals for West Elm Plinth


Summary of Contents for West Elm Plinth
- Page 1 Plinth Bed assembly instructions ! Do not throw away any of the packaging materials until the assembly is complete. ! To protect the finish, assemble this item on a soft surface, such as cardboard or carpet. ! Proper assembly of this item requires 2 people.
- Page 2 Plinth Bed assembly instructions Parts: Footboard Headboard Side Rail Right Side Rail Left Long Apron Short Apron Right Short Apron Left Divider Center Support Rail (Not Required for Full bed) Center Support Leg (Not Required for Full bed) Center Top Panel...
- Page 3 Plinth Bed assembly instructions PARTS: Allen Key 1x Bolt M6x80mm 22x Spring Washer (M6) 48x Bolt M6x30mm 26x Flat Washer (M6) 48x Attach Long Apron (D) to Footboard (A). Insert Bolt (M) with Washers (O&P) to secure with the supplied Allen Key.
- Page 4 Plinth Bed assembly instructions Attach the remaining Long Apron (D) to Headboard (B). Insert Bolt (M) with Washers (O&P) to secure with the supplied Allen Key. 5413989, 5414052, 5442798, 5442806, 5442814, 5442822 – 09.17 .16 Page 4 of 9...
- Page 5 Plinth Bed assembly instructions Attach Short Apron Left/Right (E&F) to each Side Rail (C1 & C2). Insert Bolt (M) with Washers (O&P) to secure with the supplied Allen Key. 5413989, 5414052, 5442798, 5442806, 5442814, 5442822 – 09.17 .16 Page 5 of 9...
- Page 6 Plinth Bed assembly instructions Connect Headboard (B) and Dividers (G) to one assembled Side Rail with Bolt (N) and Washers (O&P). Then attach the other assembled Side Rail to the Headboard and Dividers with Bolt (N) and Washers (O&P). Secure with the supplied Allen Key.
- Page 7 Plinth Bed assembly instructions Attach Footboard (A) to the assembled piece. Insert Bolt (N) with Washers (O&P) to secure with the supplied Allen Key. NOTE: FOR FULL SIZED BED, SKIP TO STEP#8. Align the Center Support Legs (I) to the Center Support Rail (H) as shown and screw them into place by turning them clockwise.
- Page 8 Plinth Bed assembly instructions Attach the Center Support Rail with Legs to cut-outs on the Headboard/Footboard and Dividers. Adjust levelers to keep bed level when needed. Insert Bolt (N) with Washers (O&P) to secure to headboard and footboard with the supplied Allen Key.
- Page 9 Plinth Bed assembly instructions Place Top Panels (J&K) onto the bed platform as shown below. QUEEN/KING BED FULL BED 5413989, 5414052, 5442798, 5442806, 5442814, 5442822 – 09.17 .16 Page 9 of 9...
Need help?
Do you have a question about the Plinth and is the answer not in the manual?
Questions and answers