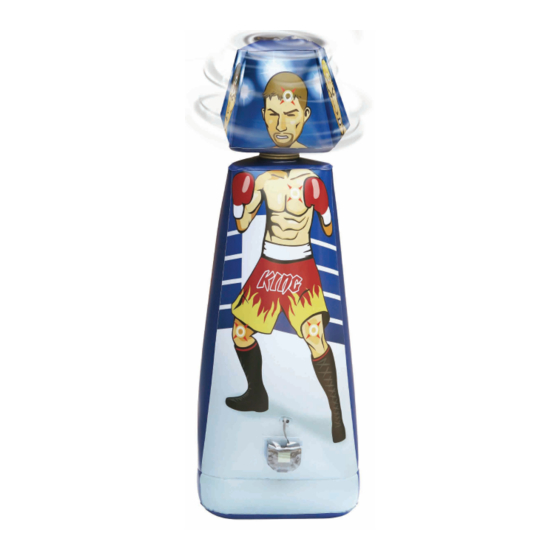
Summary of Contents for MD SPORTS BJ1651540
- Page 1 MODEL: 1651540 BJ’S ASSEMBLY INSTRUCTIONS ATTENTION DO NOT RETURN TO THE STORE Contact MD Sports Customer Service * For additional resources and Frequently Ask Questions, please visit us at themdsports.com...
- Page 2 LIMITED 90 DAYS WARRANTY This product is covered by a limited warranty that is effective for 90 days from the date of purchase. If, during the limited warranty period, a part is found to be defective or breaks, we will offer replacement parts at no cost to you, the customer.
- Page 3 ASSEMBLY TIPS 1 - Please read the instructions carefully, and follow all assembly, operation and safety instructions properly in order to avoid damage and injury. For the assembly, at least two adults are required. 2 - Some figures or drawings may not look exactly like your product. Please read and understand the text before beginning each assembly step.
-
Page 4: Safety Instructions
SAFETY INSTRUCTIONS WARNING Product must be assembled by an adult before use. ● Do not over-inflate. ● Not to be used as a floating device. ● This product is for youth use only; it is not intended for adult training ●... - Page 5 1651540 PARTS LIST Inflatable bag with sensors Wireless Control Box Vinyl Patch Electronic Scorer 1651540 PRE-INSTALLED PARTS Inlet Cap Inlet Cover Note: 1. Inflatable bag with sensors (#1) is not available as a replacement part. ASSEMBLY INSTRUCTIONS: FIG. 1 WATER Fill the Base with water.
- Page 6 FIG. 2 Cover nozzle Target Target Inflation Target Target DO NOT OVER INFLATE Cover nozzles Cover nozzles Base Base FIG. 2 2. Inflate the Base and Target Bags with an air pump (not included). See FIG. 2. FIG. 3 FIG. 3A electronic wire Velcro 8 pins...
- Page 7 FIG. 4 FIG. 4A 10 pins electronic wire FIG. 4B FIG. 4C Velcro Connect the electronic wire to the Wireless Control Box. ON/OFF SELECT START/ENTER UP/DOWN FIG. 4 4. Put the Wireless Control Box (#3) in the bag. See FIG. 4A, 4B and 4C. (Continued on the next page.) www.themdsports.com 1651540...
-
Page 8: Battery Installation
WARNING: 1) Requires 3 “AAA” and 2 “AAA” batteries (not included). 2) Do not mix old and new batteries. 3) Do not mix alkaline, standard (carbon zinc), or rechargeable (nickel-cadmium) batteries. Electronic Scorer Operation and Game Instructions Battery Installation 1. Using a Phillips Head Screwdriver (not included), remove the battery box cover on the back of the Electronic Scorer and install 3 new “AAA”... - Page 9 Combo Training Game 1. After inserting the batteries, switch the power on and the LED will flash 3 times. If the game is inactive for 5 minutes, it will enter sleep mode. To restart, press “ON/OFF”. 2. Install the batteries in the Wireless Control Box. Press “ON/OFF” and the LED will flash 3 times. If the game is inactive for 5 minutes, it will enter sleep mode.


Need help?
Do you have a question about the BJ1651540 and is the answer not in the manual?
Questions and answers